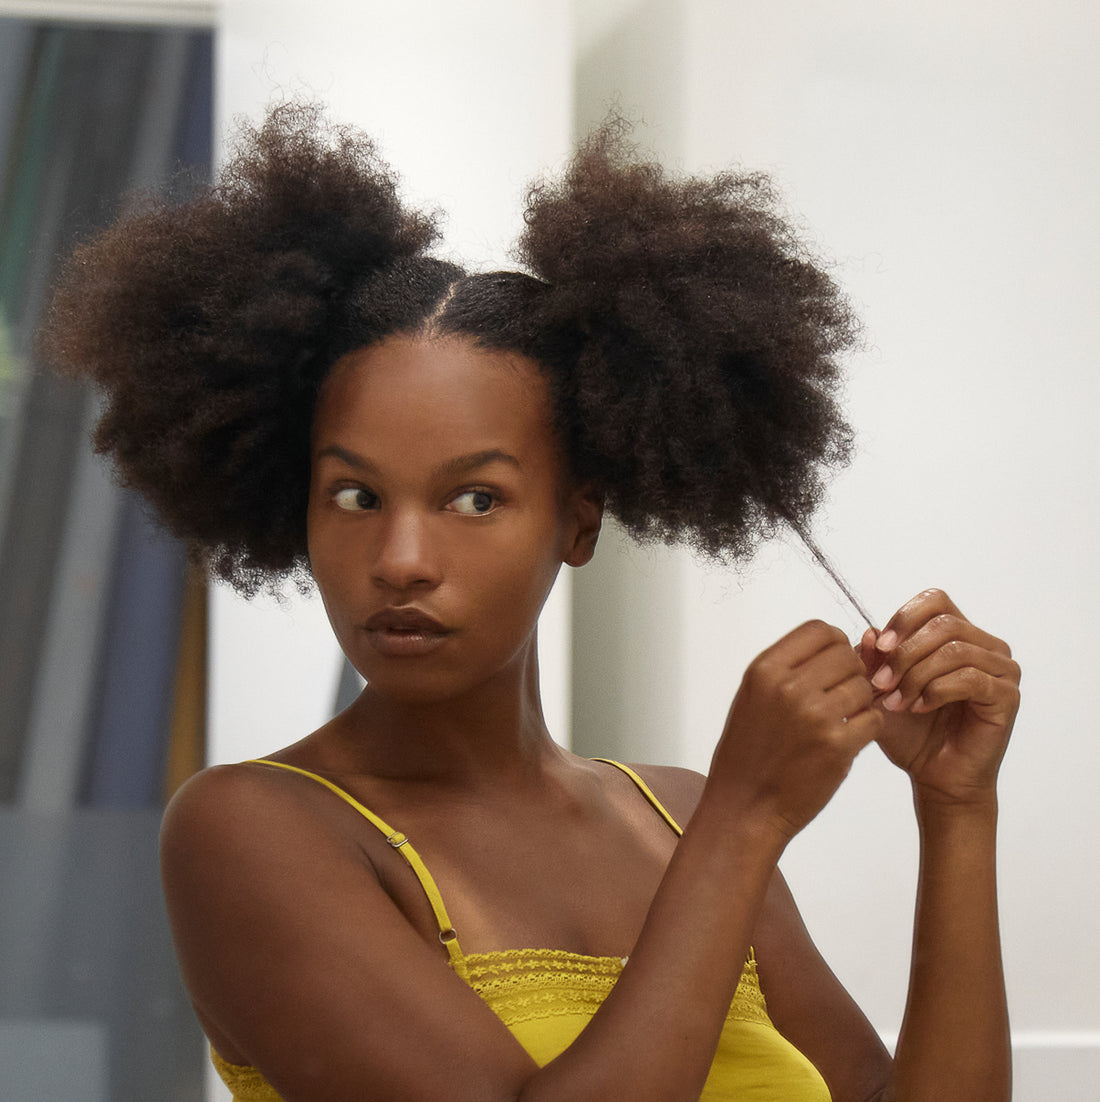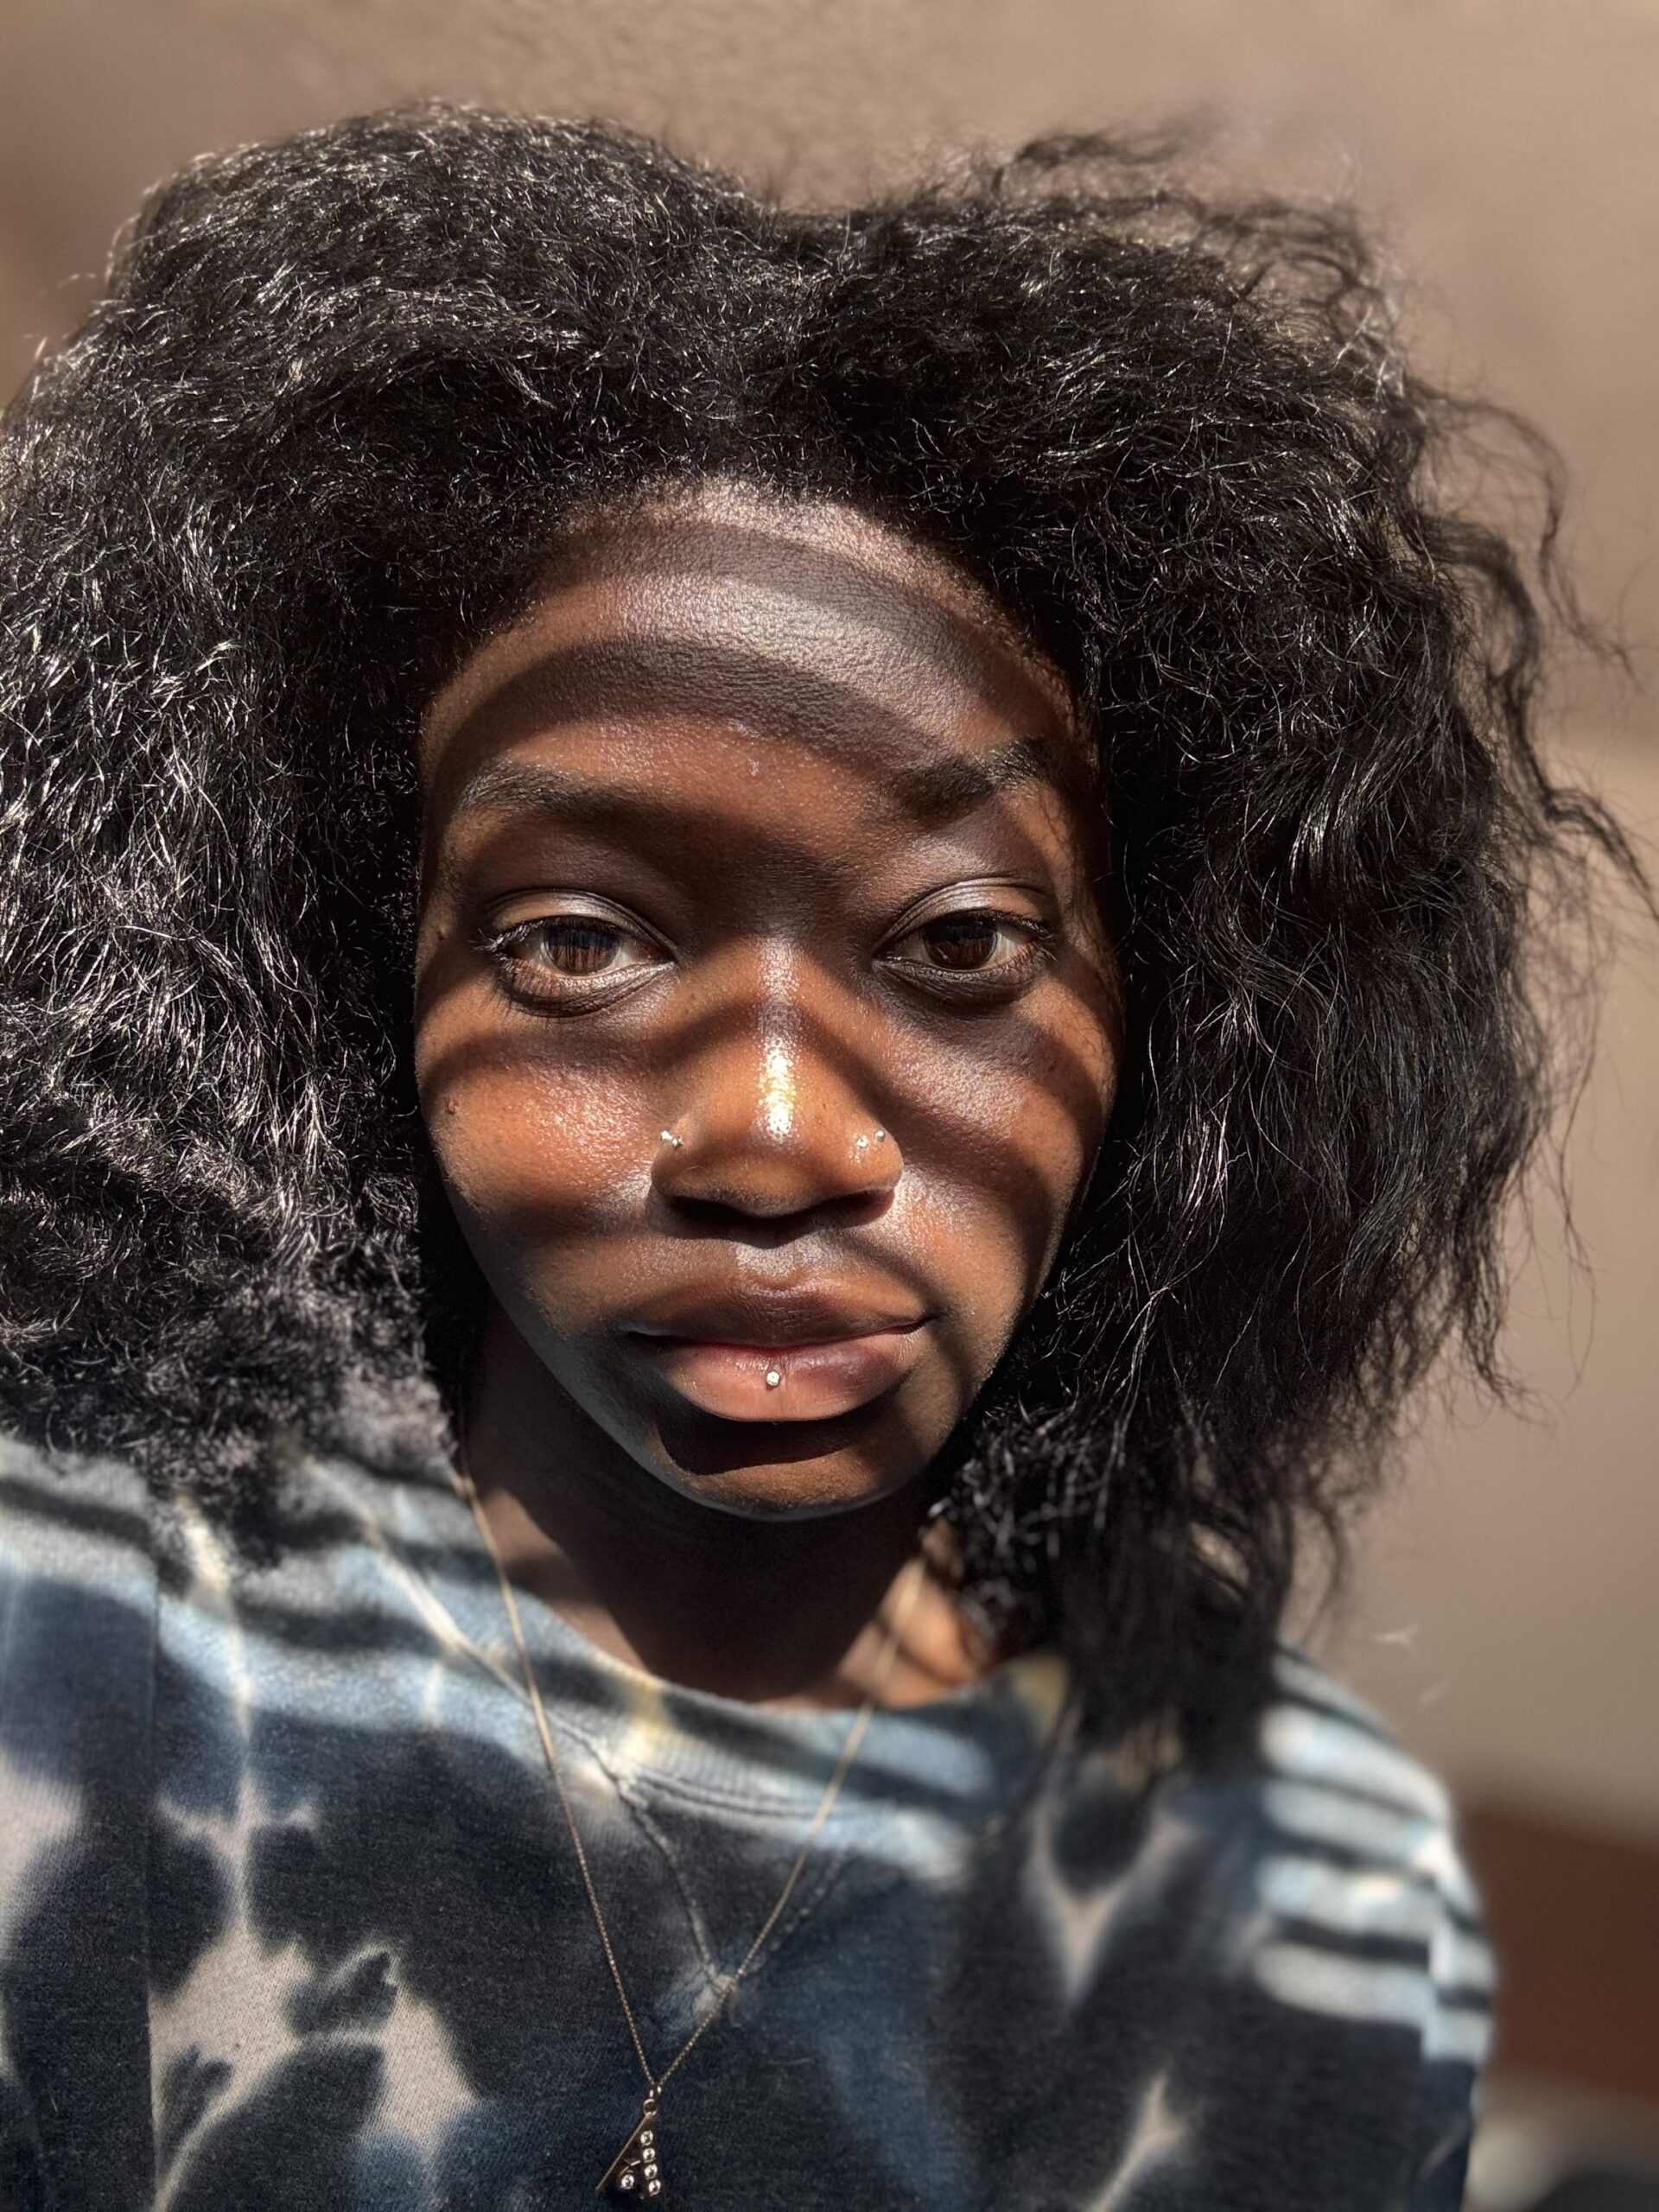
There are few things in the natural hair world as satisfying as perfectly laid edges. When your baby hairs are sleek, smooth, and holding their pattern without a single flake in sight, the entire look comes together in a way that feels polished, intentional, and absolutely gorgeous. But finding the right edge control to achieve that look without damaging your delicate hairline is a journey that many naturals know all too well.
The wrong edge control can leave you with white flakes by midday, a crusty, stiff feel that looks unnatural, or worse, it can contribute to traction alopecia around your hairline from harsh chemicals and excessive pulling. The right edge control, on the other hand, gives you a smooth, flexible hold that lasts all day, conditions your edges while keeping them in place, and washes out easily without buildup.
In 2026, the edge control market has expanded with formulas that are more sophisticated than ever. Brands are infusing their products with nourishing ingredients like biotin, castor oil, and shea butter that actively strengthen your hairline while providing hold. We have researched and compared the best options available right now to help you find the perfect edge control for your hair type, your hold preferences, and your budget.
Edge Control Basics: What It Is and Why It Matters
Edge control is a styling product specifically designed to smooth and lay down the shorter hairs around your hairline, often called baby hairs or edges. Unlike regular gel, edge control is typically thicker in consistency, with a wax-like or pomade-like texture that provides more targeted hold for small, delicate hairs.
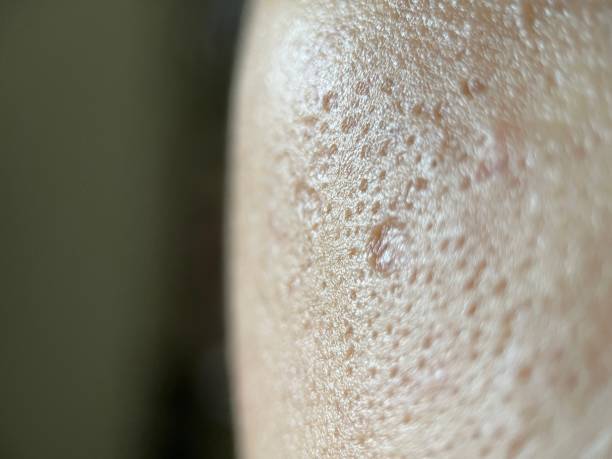
Your edges are some of the most fragile hairs on your head. They sit along the hairline where the skin is thinner and the hair follicles are more susceptible to damage from tension, manipulation, and harsh products. This is why choosing an edge control that provides hold without compromising hair health is so important. A product that grips too aggressively or contains drying alcohols can contribute to thinning around your hairline over time, which defeats the entire purpose of styling your edges in the first place.
The best edge controls achieve a balance between hold and flexibility. They keep your baby hairs in place through humidity, sweat, and daily activity while still allowing the hairs to move naturally. They do not flake as the product dries, they do not leave a white or ashy residue, and they wash out completely with regular shampooing.
What to Look for in a Quality Edge Control
Hold Level
Edge controls range from light to extreme hold. Your ideal hold level depends on your hair texture and how long you need your edges to last. Fine or loosely textured hair often does well with a light to medium hold. Coarser, kinkier textures like 4B and 4C typically need a firm to extreme hold to keep edges laid throughout the day. Consider your activity level too. If you are sweating through workouts or commuting through humid weather, you need a stronger hold than someone working in an air-conditioned office.
Ingredients to Seek

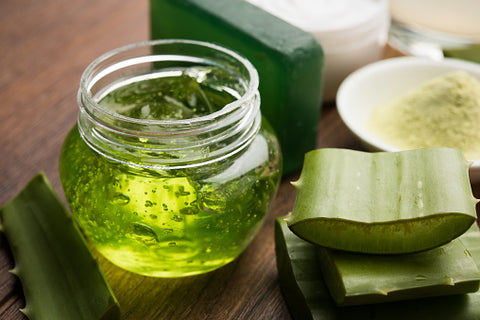
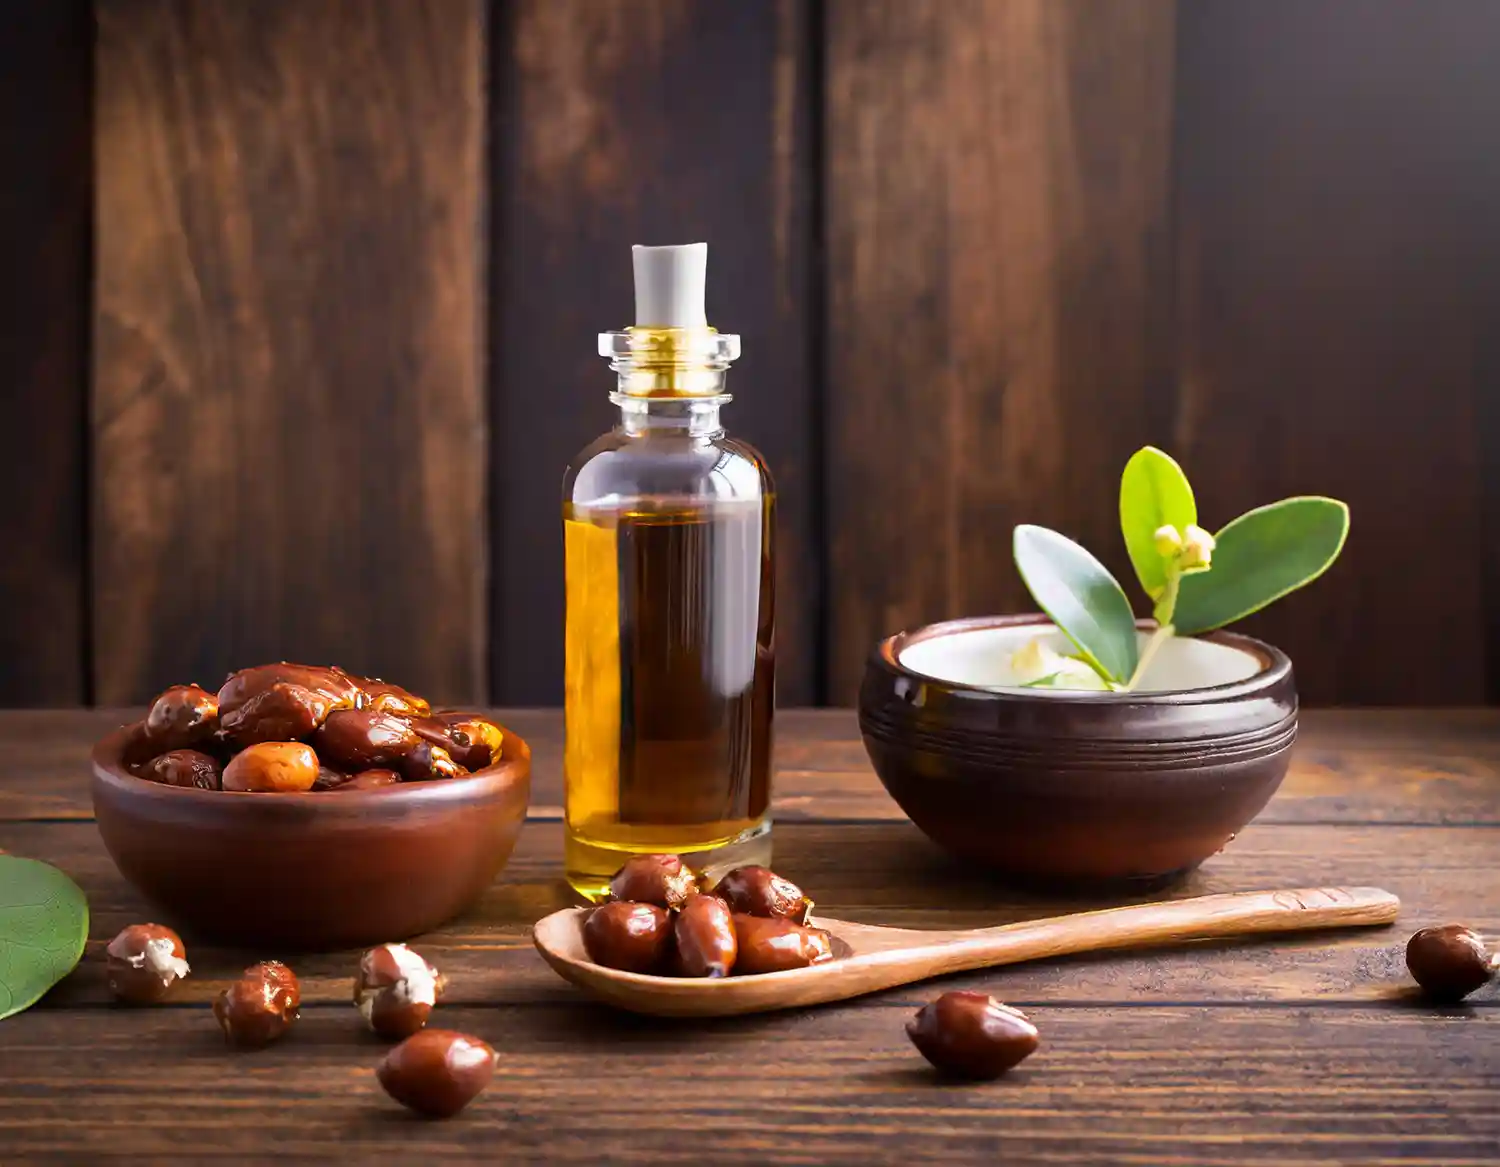
Look for edge controls that contain nourishing ingredients alongside their hold agents. Castor oil promotes healthy hair growth and adds shine. Biotin strengthens the hair shaft. Shea butter and mango seed butter condition and moisturize. Aloe vera soothes the scalp and provides light hold without stiffness. Argan oil adds shine and helps prevent breakage. These ingredients transform your edge control from a purely cosmetic product into a hairline-strengthening treatment.
Ingredients to Avoid

Short-chain alcohols like alcohol denatured, isopropyl alcohol, and SD alcohol dry out your hair and contribute to breakage over time. Heavy mineral oils can clog follicles along your hairline, potentially contributing to thinning. Excessive fragrance can irritate the delicate skin at your hairline. While no single ingredient is necessarily harmful in small amounts, products heavy in these ingredients are best avoided for regular use on your fragile edges.
Texture and Consistency

Edge controls come in several textures: gel-like, wax-like, pomade-like, and cream-based. Gel-like formulas tend to dry harder and provide more defined, sleek styles. Wax-like and pomade-like formulas offer more flexibility and a softer, more natural finish. Cream-based formulas are the lightest and work well for everyday, more subtle edge styling. Your preference depends on the look you are going for and how your hair responds to different textures.
Our Top Edge Control Picks for 2026

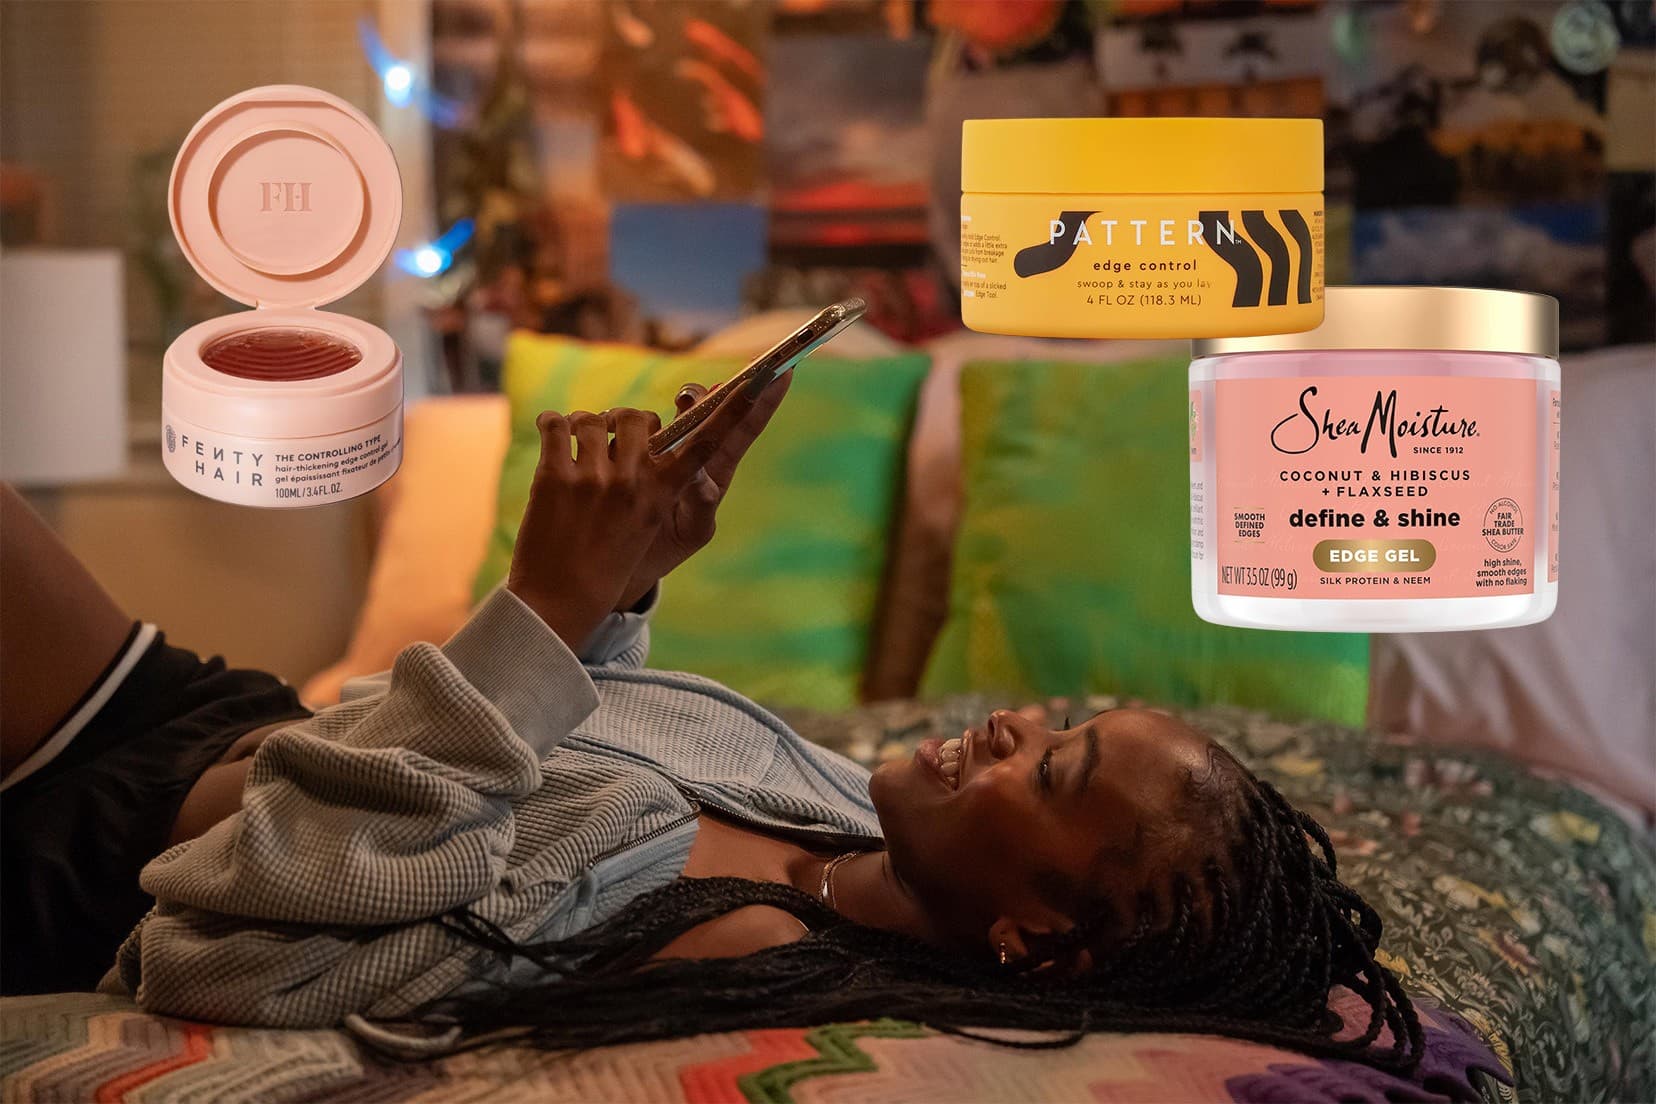
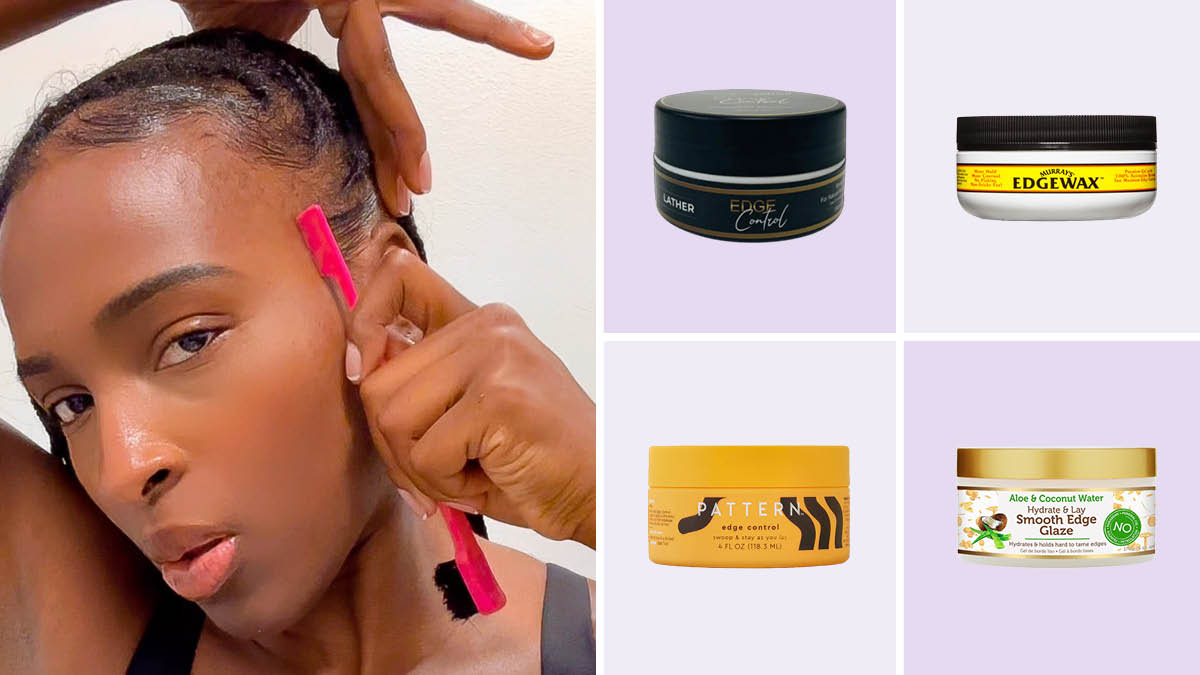
Best Overall: Pattern Beauty Edge Control
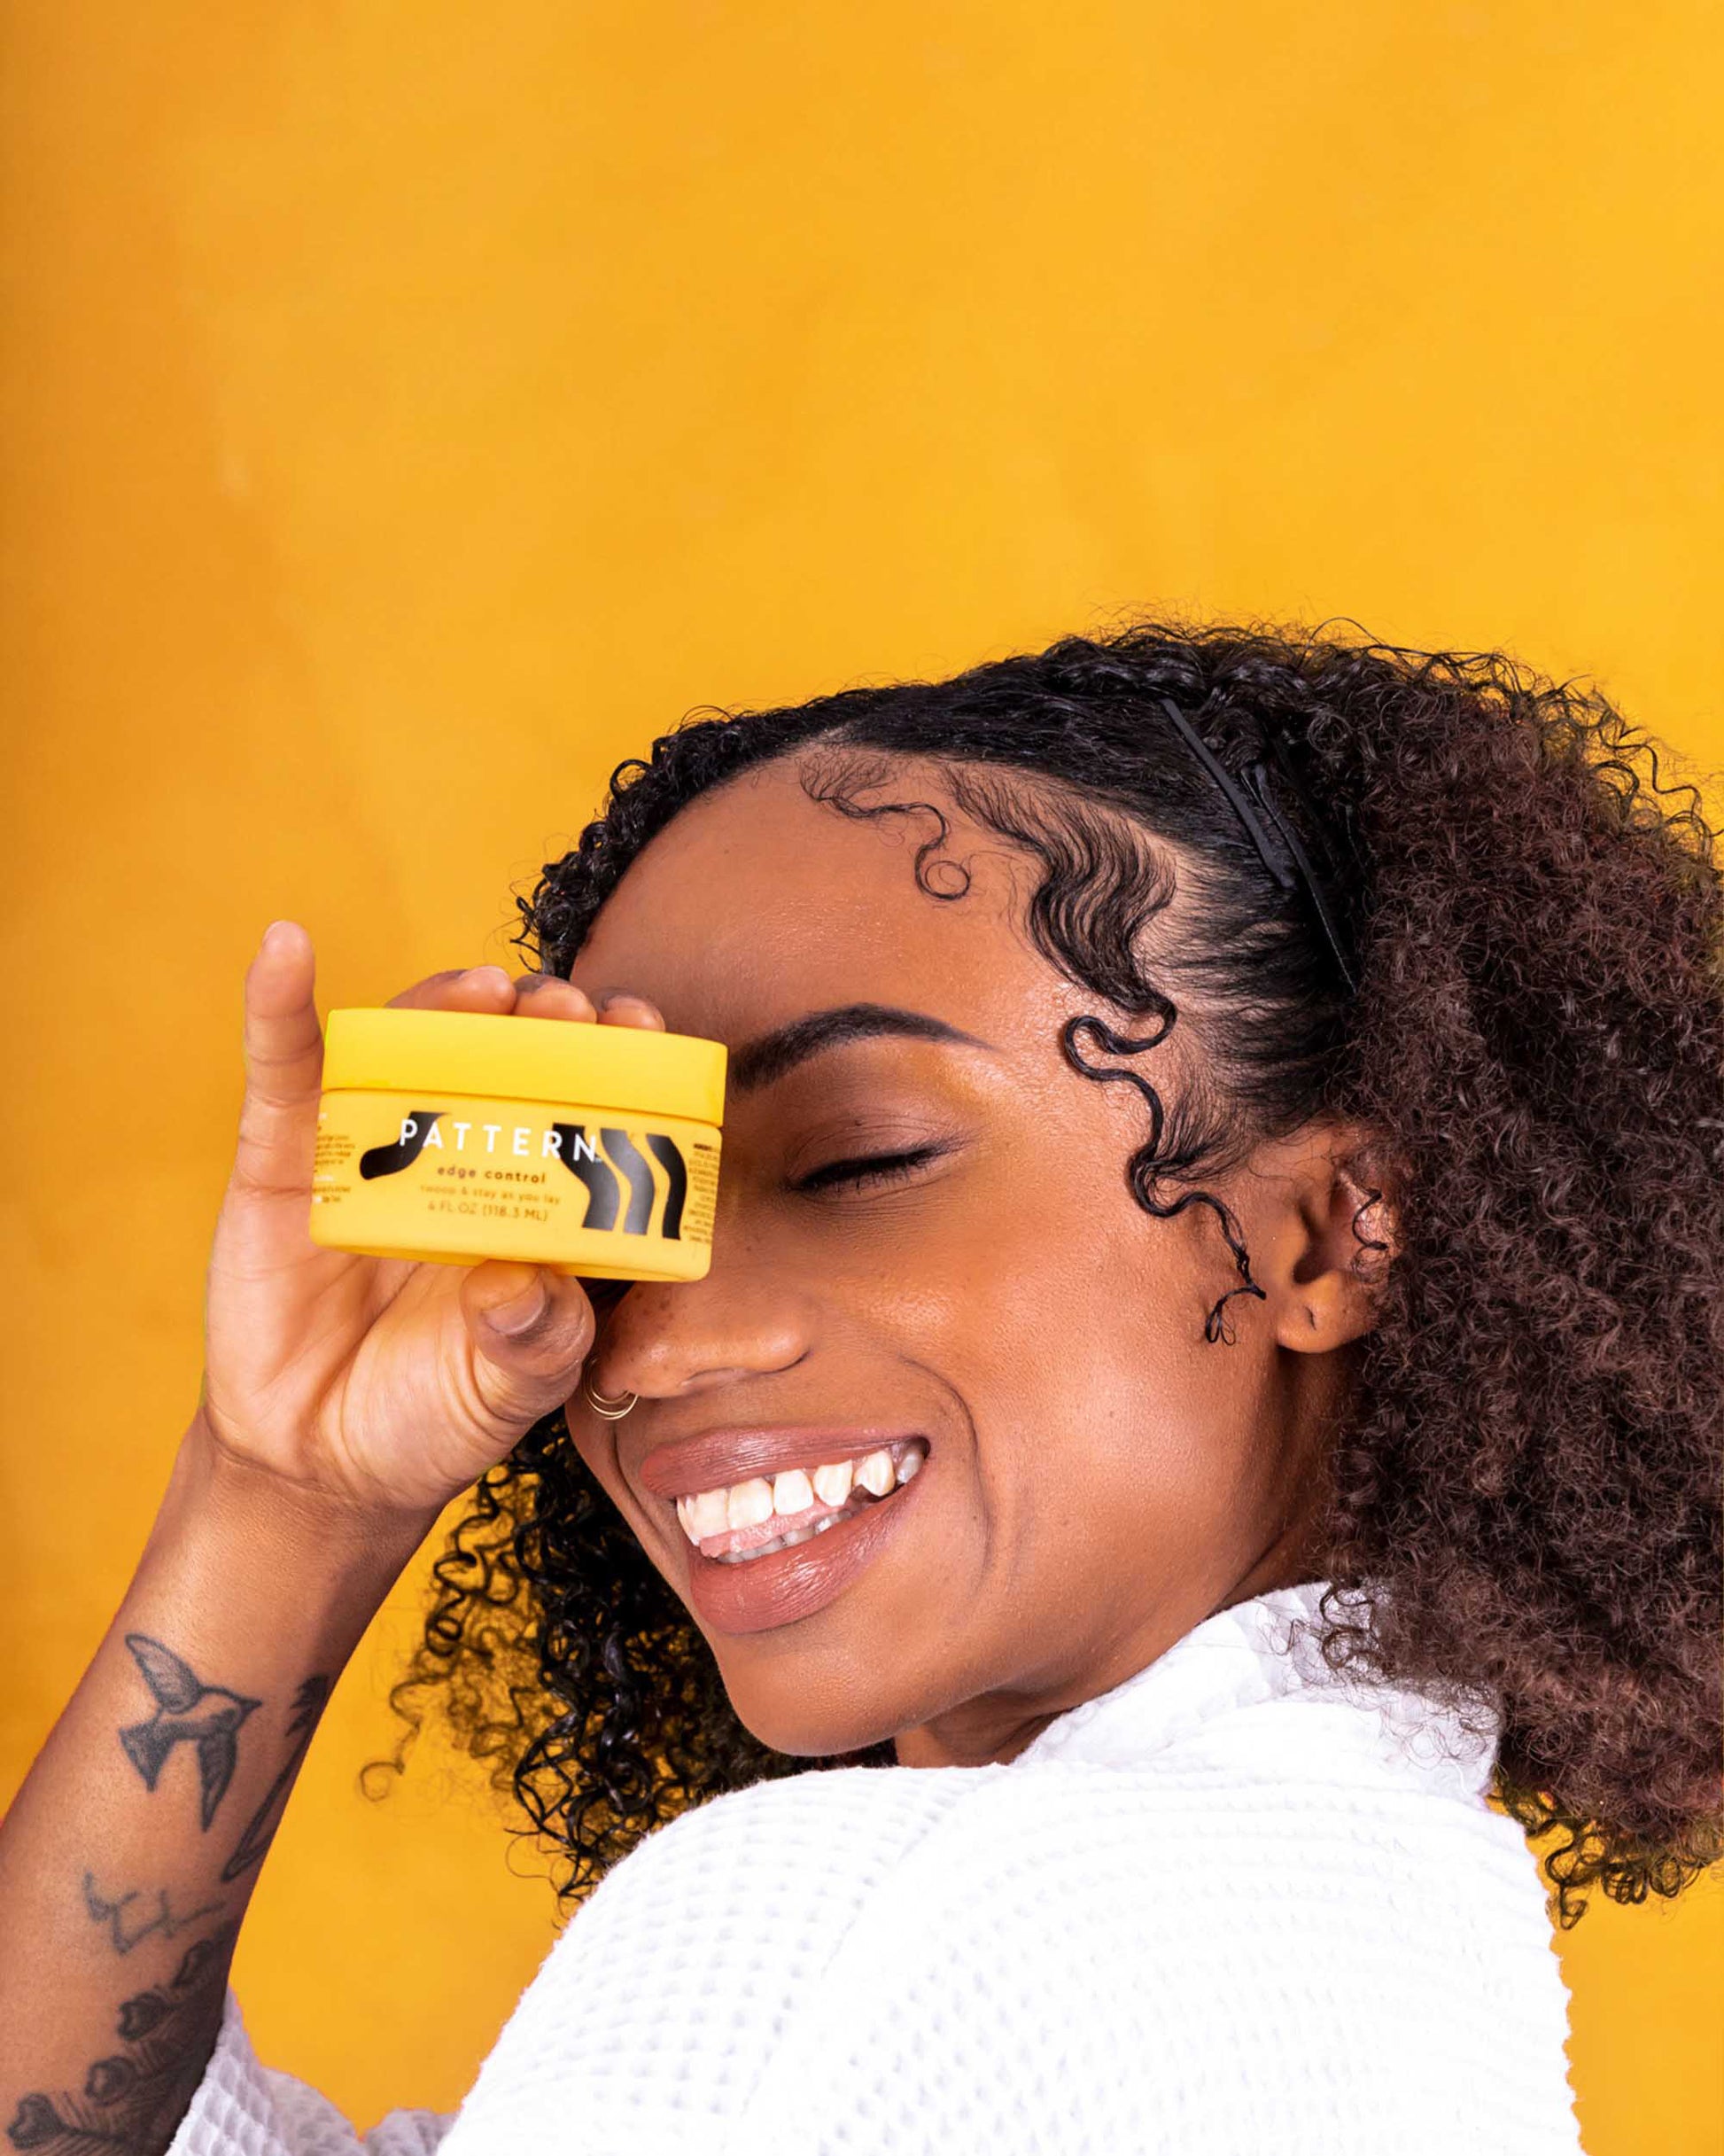
Pattern Beauty’s edge control gel has become a standout in 2026 for delivering strong, sleek hold without flaking. Infused with beeswax and mango seed butter, it works to strengthen and condition your hair while keeping baby hairs in place. The formula provides a flexible hold that does not turn crispy or leave residue, and it washes out easily. The scent is subtle and pleasant, and the jar packaging makes it easy to control how much product you pick up.
Best for Extreme Hold: She Is Bomb Collection Edge Control
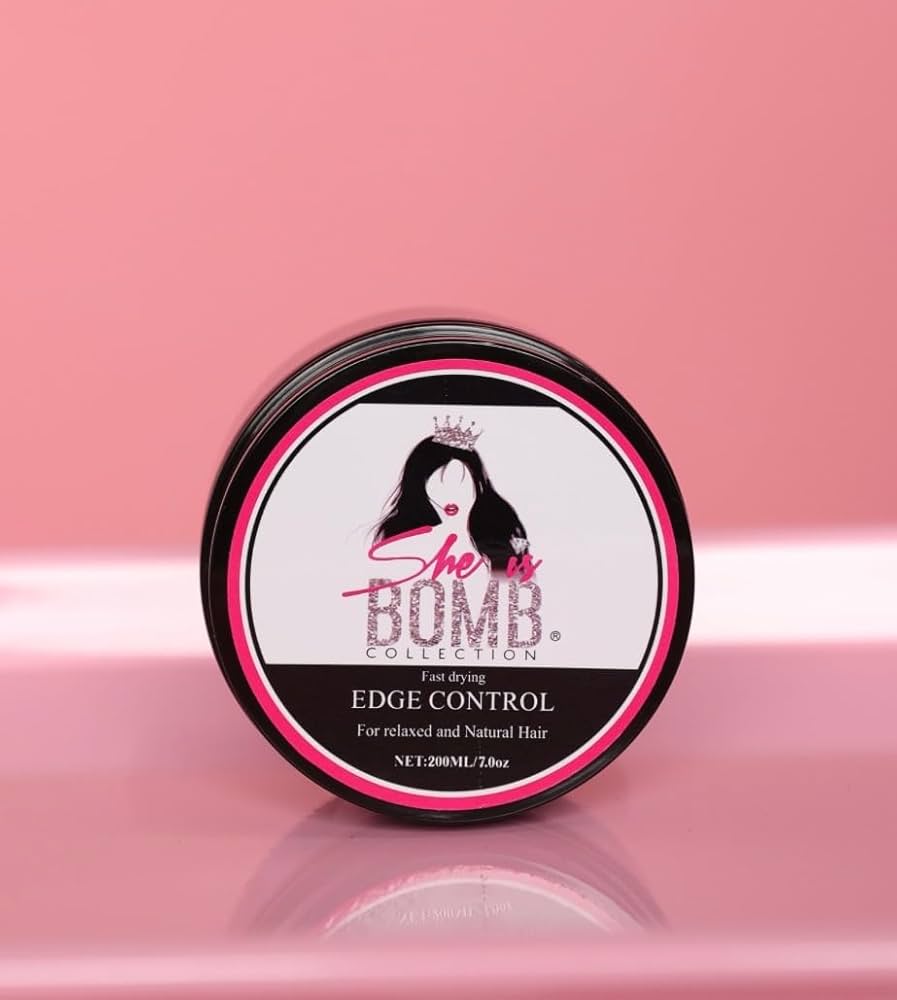
When you need edges that will not budge through anything, She Is Bomb delivers the strongest hold in the game without the flaking that usually accompanies ultra-strong formulas. This edge control has developed a massive following among women with 4C hair who need their edges to last through long workdays, outdoor events, and sweaty workouts. The hold is genuinely all-day, and the formula does not leave the white or ashy residue that many strong-hold products are known for.
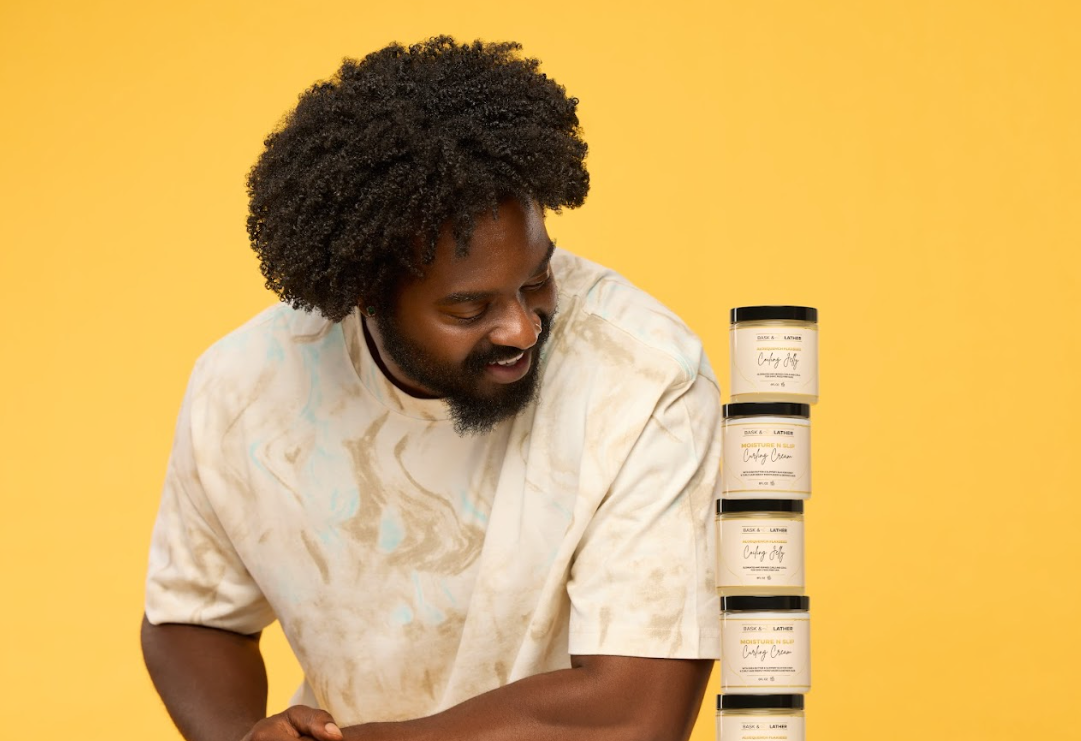
Best for Moisture: Bask and Lather Edge Cream
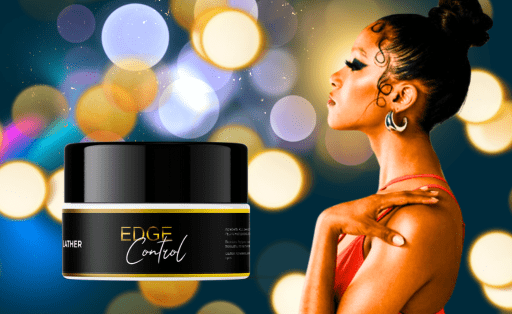
If your edges are dry and delicate, Bask and Lather’s edge cream balances moisture and control beautifully. The cream-based formula conditions your hairline while providing a medium hold that looks natural and feels soft to the touch. This is the edge control for women who want their edges styled but not stiff, with a finish that looks like your baby hairs are naturally behaved rather than gelled into submission.
Best Budget Option: EBIN New York 24 Hour Edge Tamer
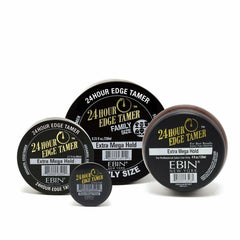
At under ten dollars, EBIN’s 24 Hour Edge Tamer offers impressive hold for its price point. Available in multiple formulas including extra mega hold for the thickest hair textures, this edge control has been a staple in the natural hair community for years. The hold is strong and long-lasting, though some formulas can flake slightly in very dry conditions. For the price, it is an excellent option for daily use.
Best Clean Formula: Design Essentials Sleek MAX Edge Control
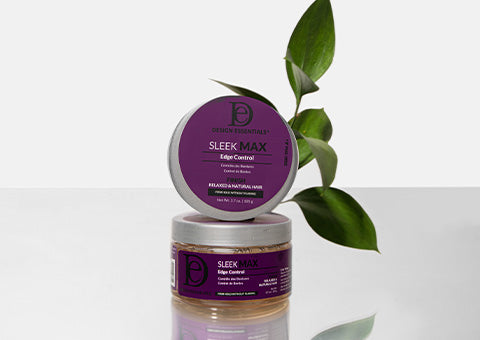
Design Essentials Sleek MAX is a versatile maximum hold gel infused with ingredients that help retain moisture and maintain hold. The formula is free from many common irritants and works on all hair types and textures. It is particularly popular among women who want a salon-quality edge control without questionable ingredients, and its availability at major retailers makes it easy to find.
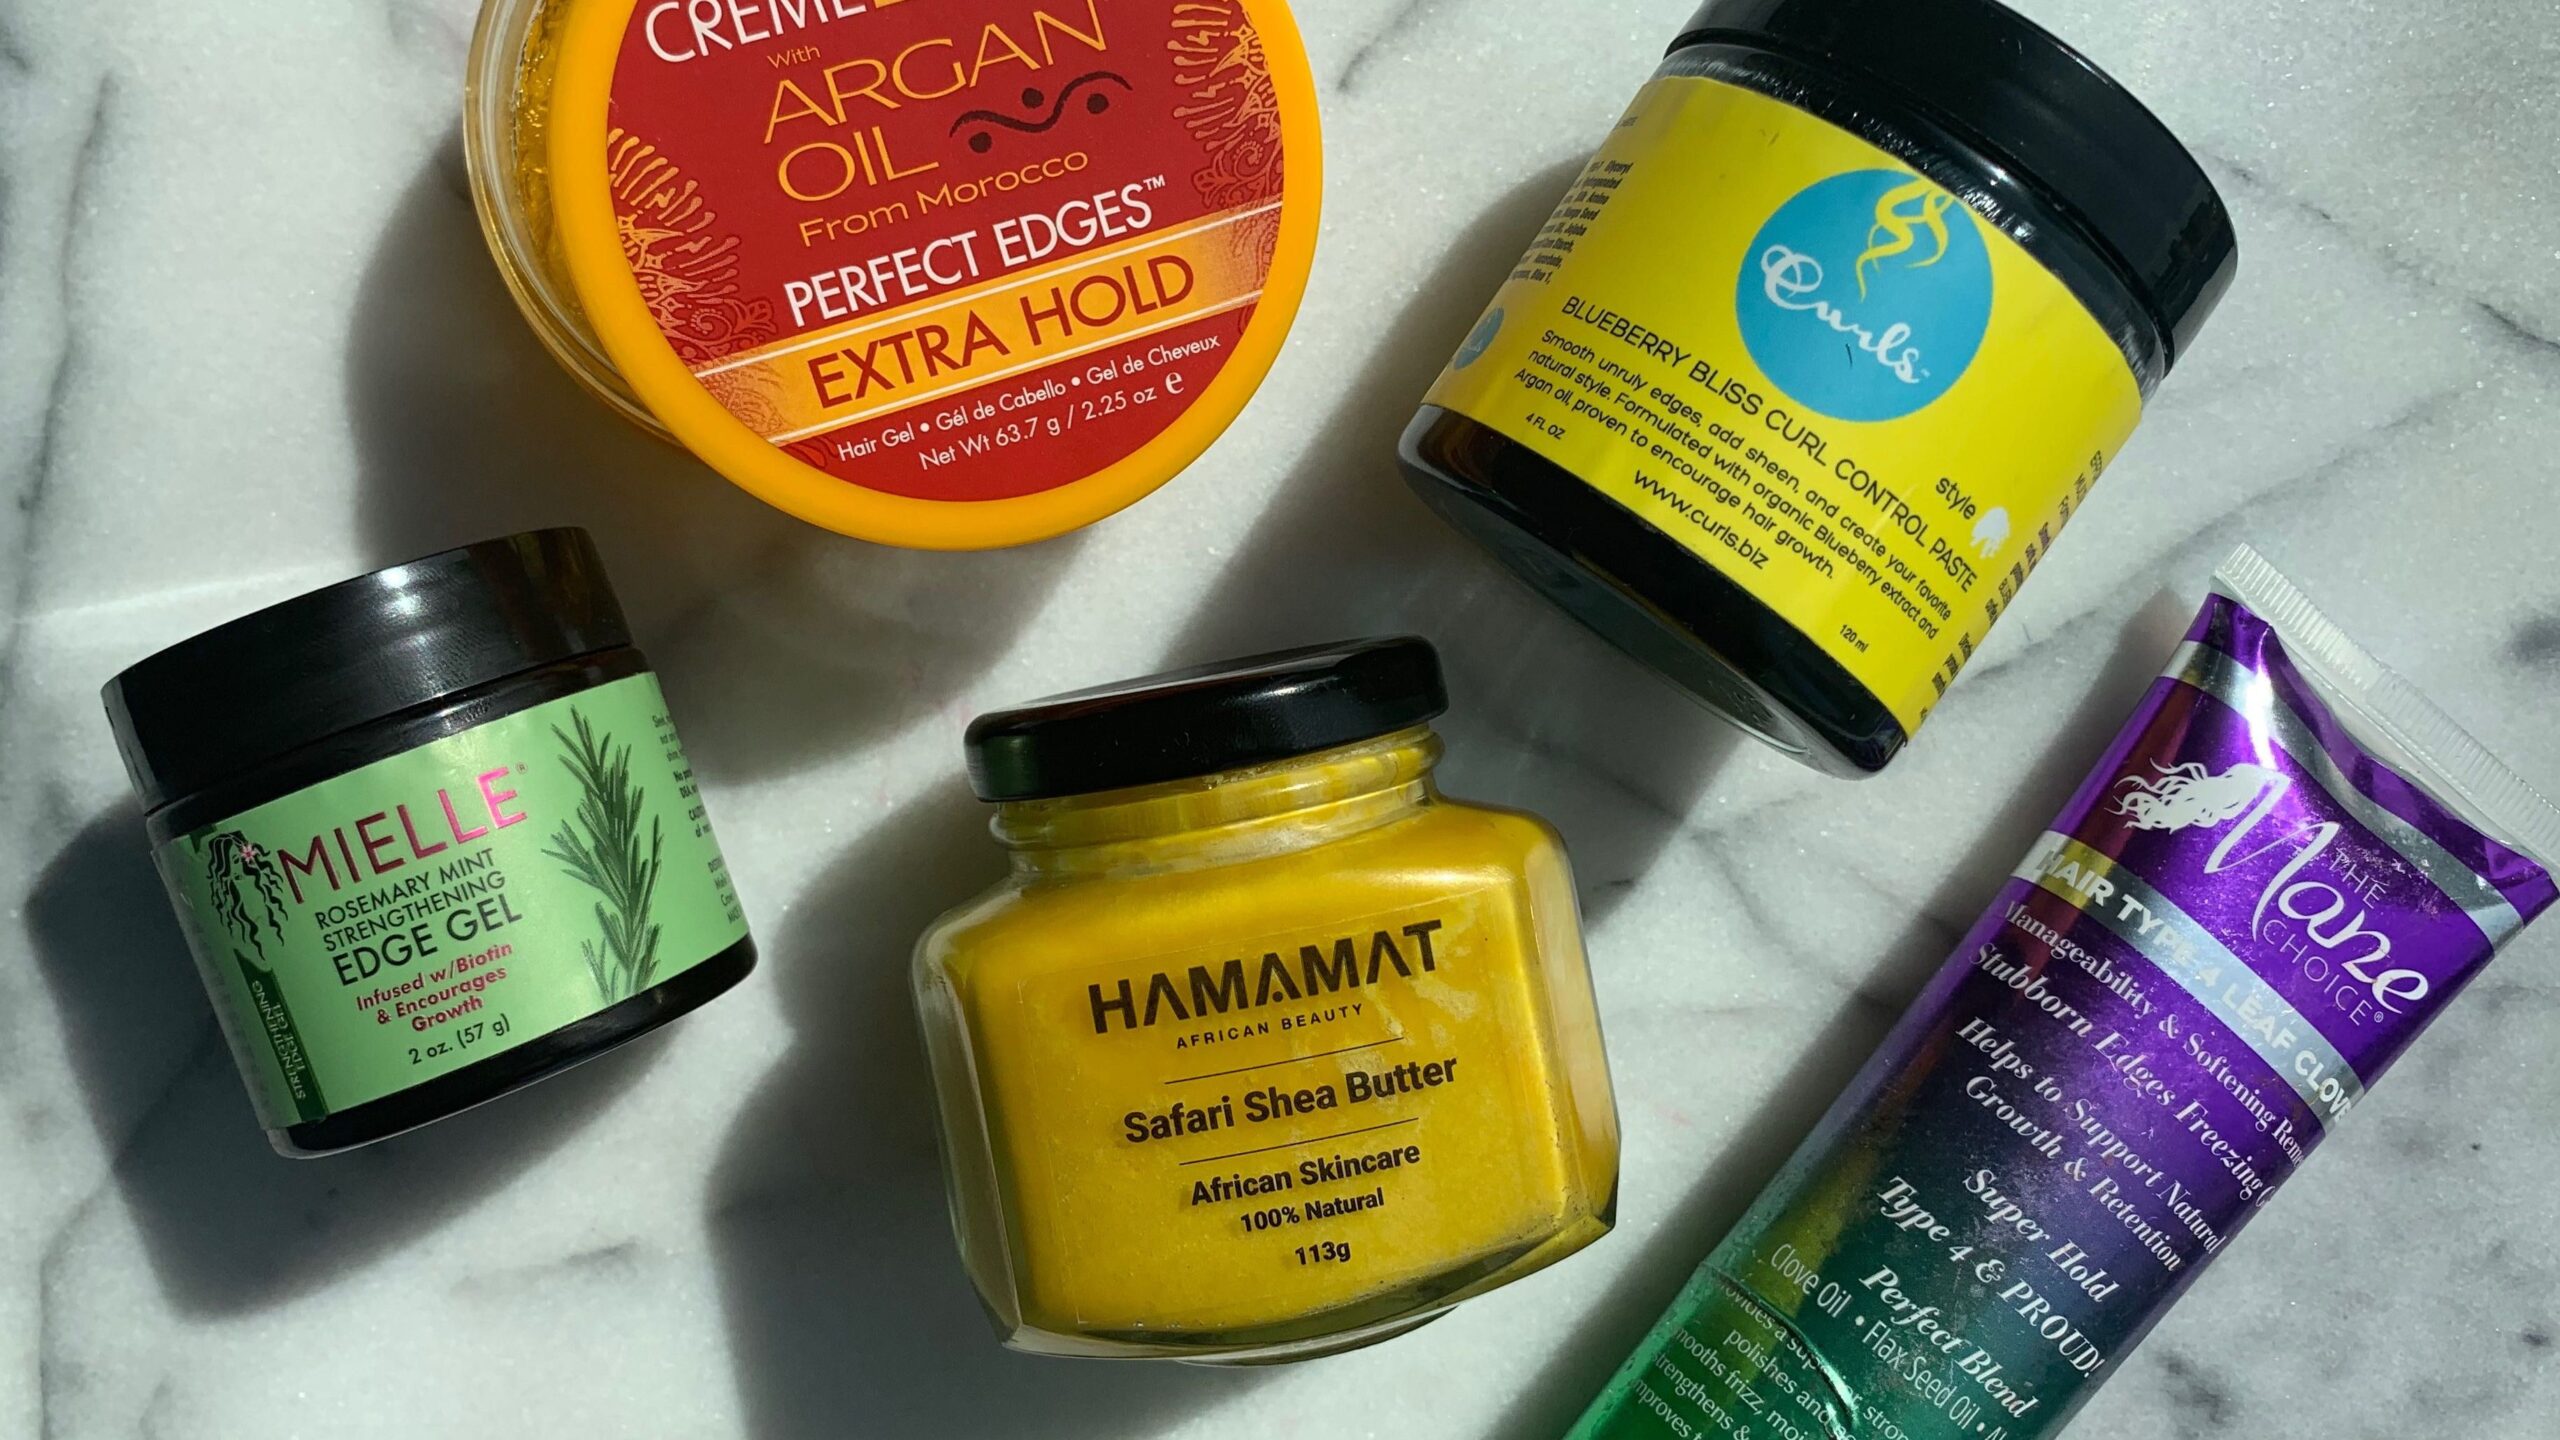
Best for Fine or Thin Edges: Creme of Nature Perfect Edges
If your edges are fine, thin, or recovering from damage, Creme of Nature Perfect Edges offers a light-to-medium hold that does not weigh down delicate hairs. Enriched with argan oil, it provides a smooth finish without pulling or stressing fragile strands. This is the edge control for women who need to baby their hairline while still achieving a polished look.
Best Edge Control by Hair Type
For 3A to 3C Hair

Looser curl patterns typically need a lighter hold because the hair texture is naturally smoother and easier to lay flat. A gel-based edge control with light-to-medium hold works best, providing definition without excess product. Cream-based edge controls also work beautifully on these textures, creating a natural-looking smooth finish that does not look overly styled. Avoid extreme-hold products on looser textures, as they can look and feel heavy.
For 4A Hair
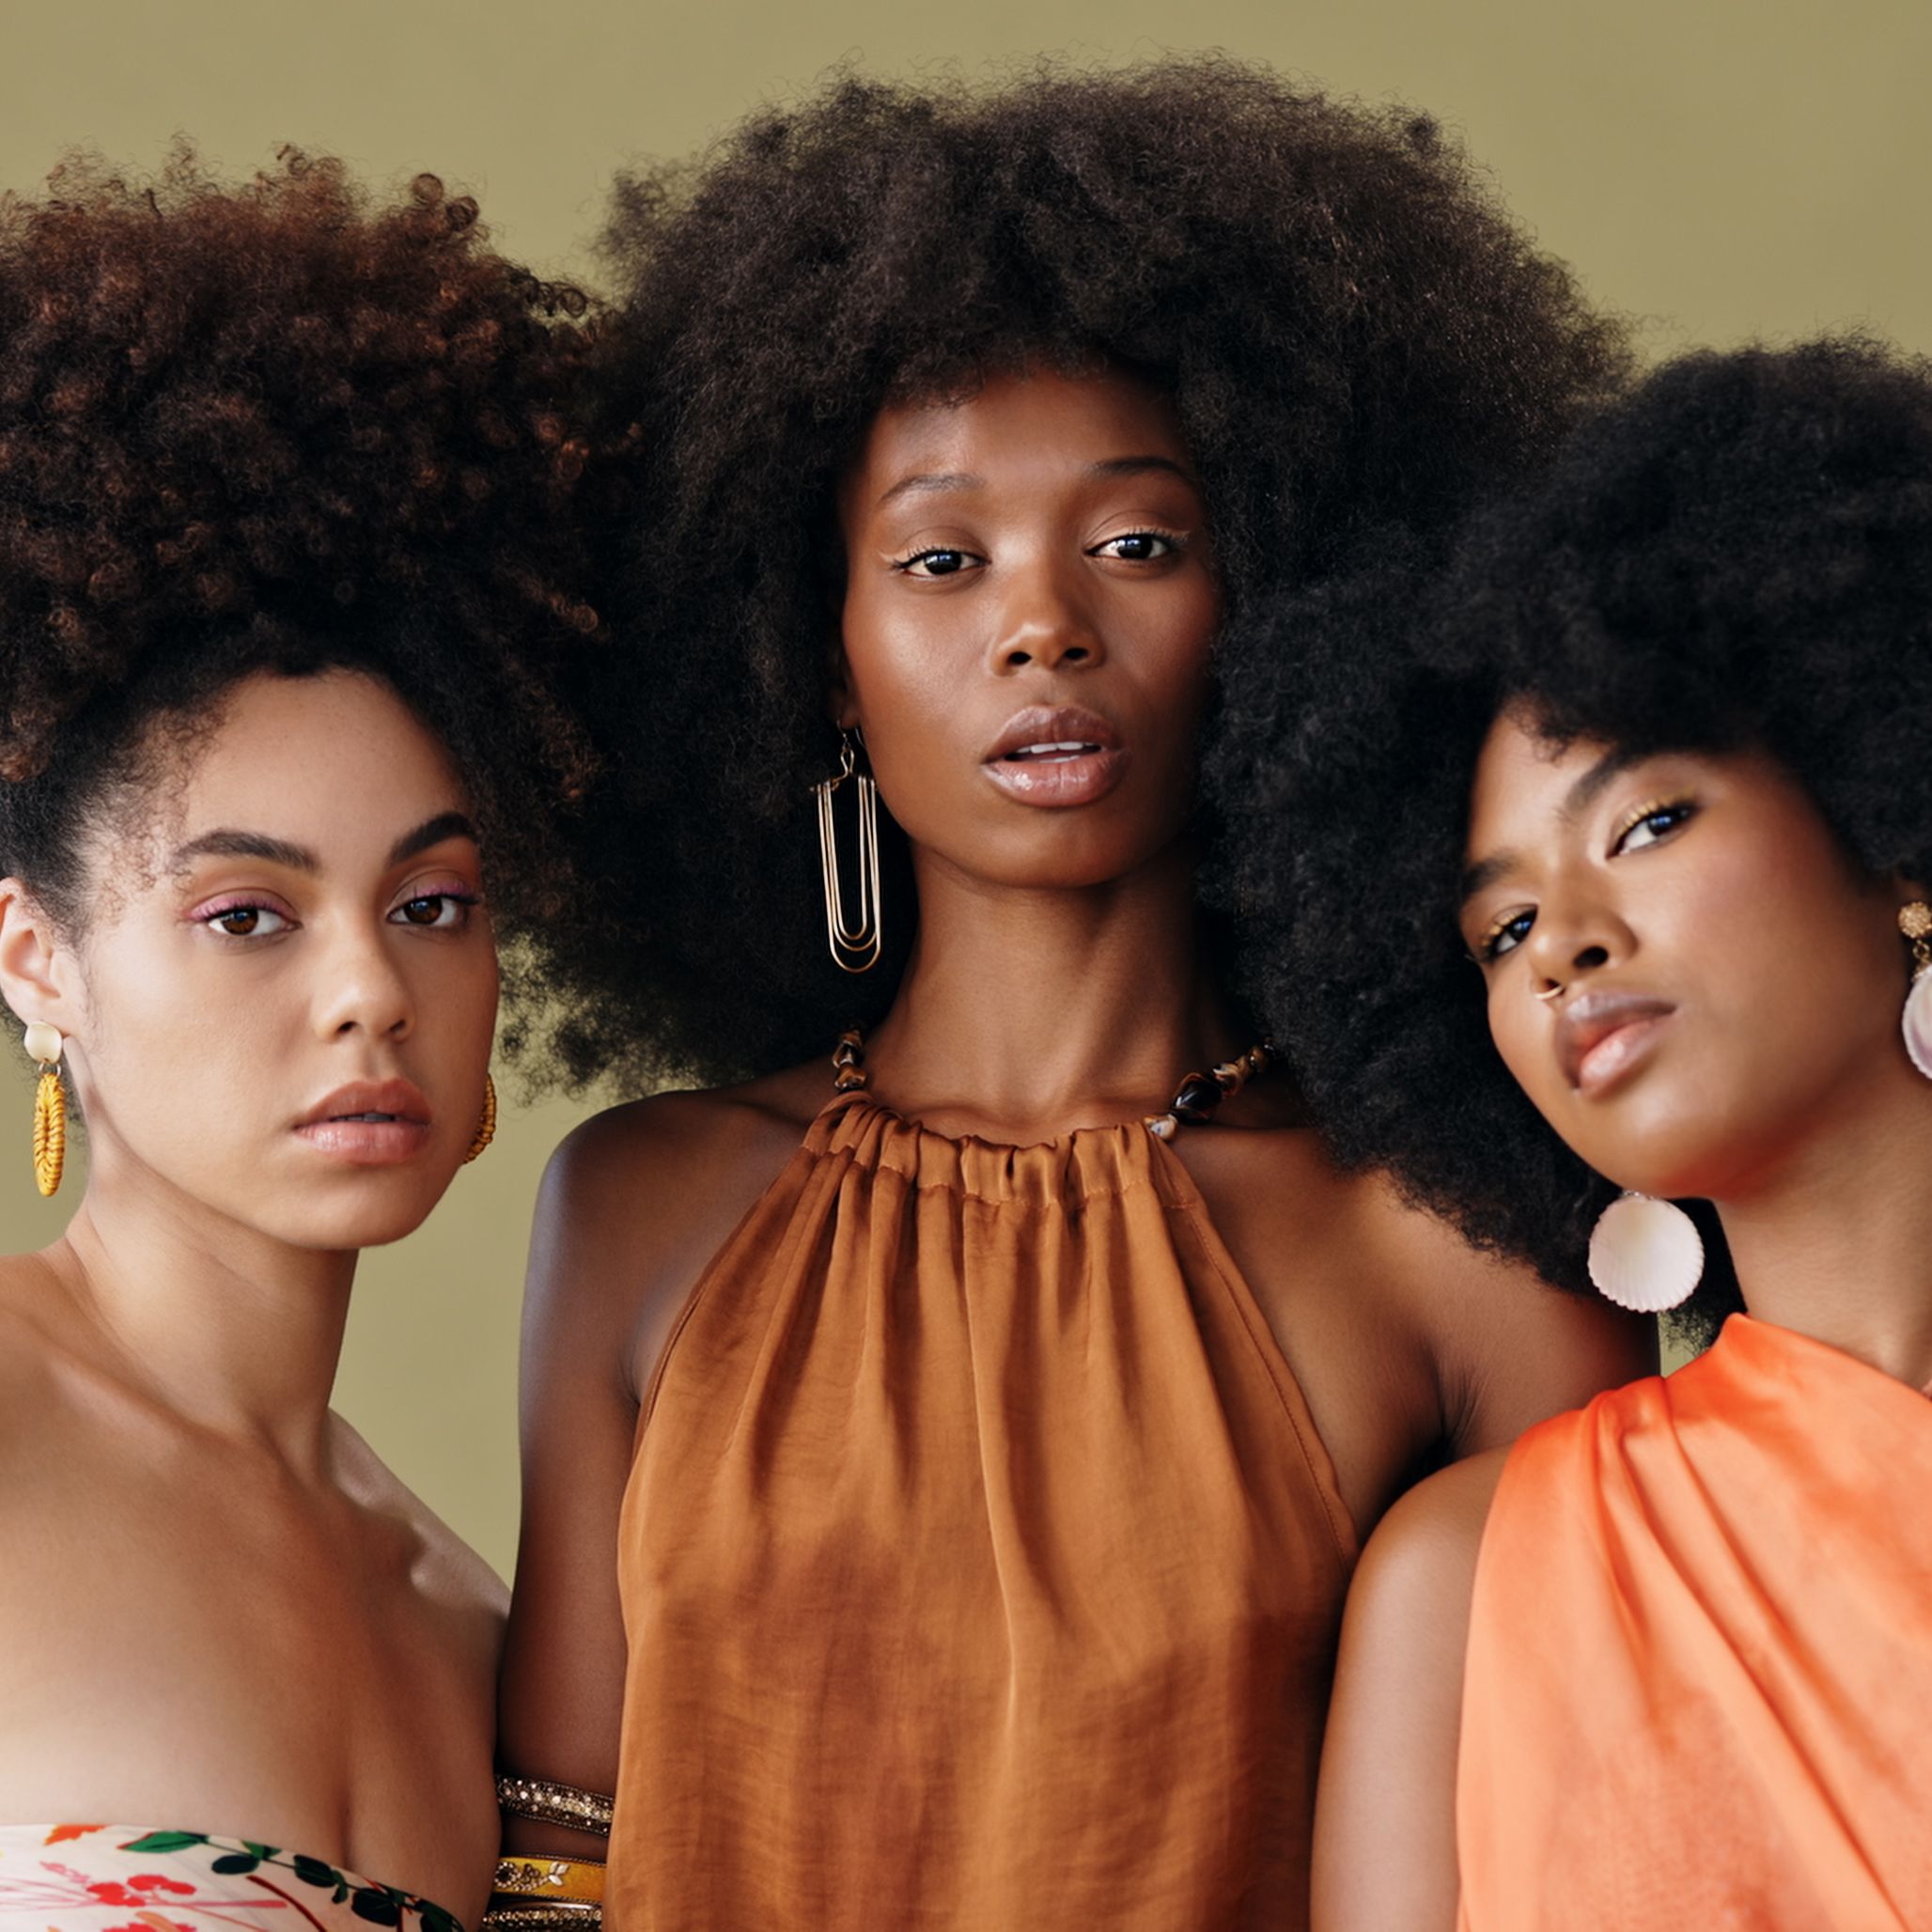
Type 4A hair has a defined, tightly coiled pattern that responds well to medium-to-firm hold edge controls. The coils lay down smoothly with the right product, and a gel-based formula provides enough grip to keep them in place through the day. Look for edge controls with added moisture to keep 4A hair from drying out and reverting.
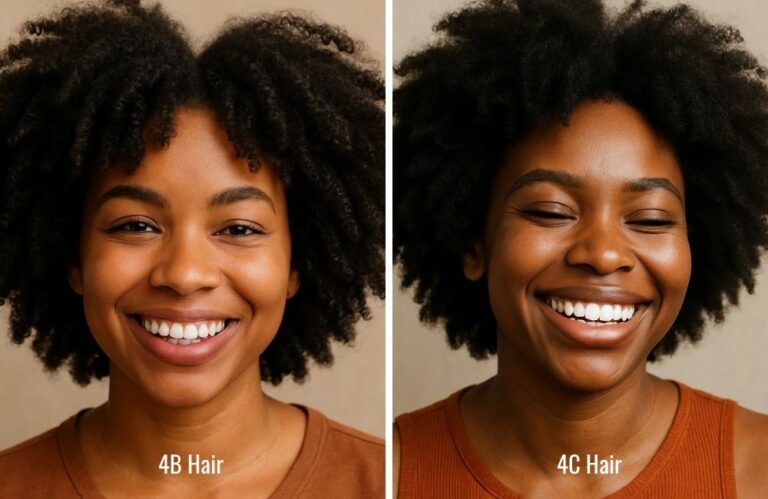
For 4B Hair

The Z-shaped pattern of 4B hair makes it more challenging to lay edges flat, requiring a firm hold edge control with some wax-based structure. Products that combine gel and wax properties work best on this texture, providing the grip needed to flatten the kink while maintaining a smooth, non-flaky finish. Applying to damp hair rather than dry hair helps 4B edges lay more smoothly.
For 4C Hair

The tightest coil pattern demands the strongest hold. For 4C edges, look for extreme-hold formulas that specifically mention 4C hair on their packaging. Layering a light cream or oil on your edges before applying the edge control helps prevent dryness and breakage from the strong-hold formula. She Is Bomb and EBIN Extra Mega Hold are particularly effective on 4C edges.
How to Apply Edge Control Like a Pro
Prep Your Edges

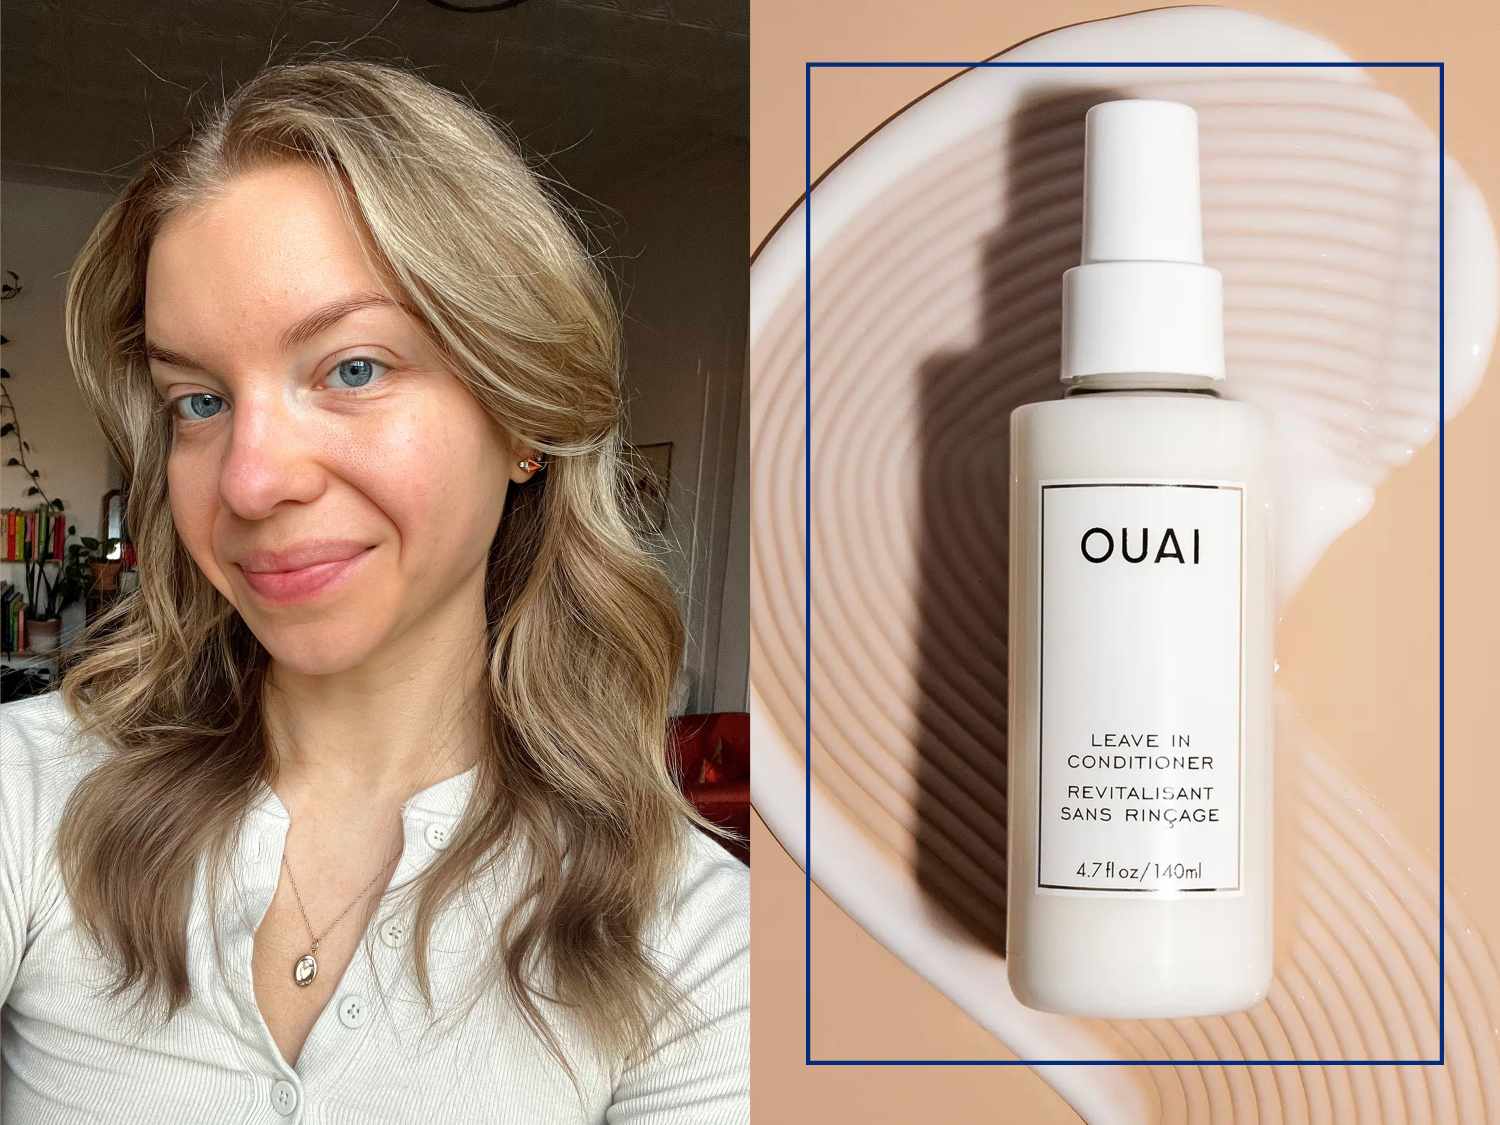
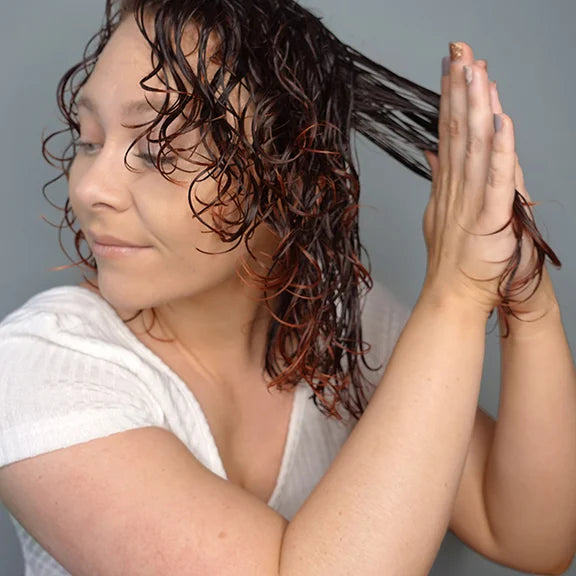
Start with clean, slightly damp edges. If your hair is dry, mist your edges lightly with water or a leave-in conditioner spray. Applying edge control to slightly damp hair helps the product distribute evenly and provides better hold than applying to completely dry hair. For the smoothest results, gently brush your edges in the direction you want them to lay before applying product.
Apply in Small Amounts

The biggest mistake people make with edge control is using too much product. Start with a small amount, roughly the size of a pea for your entire hairline. You can always add more, but too much product leads to buildup, flaking, and stiff, unnatural-looking edges. Use your fingertip or a small brush to pick up a thin layer of product and distribute it along your hairline in sections.
Use the Right Tool

An edge brush, specifically a soft-bristle brush with a pointed handle, is the essential tool for laying edges. The soft bristles smooth hairs into place without pulling, while the pointed handle helps create defined patterns and swirls. A clean toothbrush works in a pinch, but a dedicated edge brush gives you more control and a smoother finish.
Style and Set

Once you have applied the product and brushed your edges into place, wrap them with a satin or silk scarf for ten to fifteen minutes. This setting step is what creates the sleek, molded finish that lasts all day. The scarf presses the hairs flat against your skin while the product dries, resulting in a much smoother finish than air-drying alone. When you remove the scarf, your edges should be perfectly laid and set.
Essential Tools for Perfect Edges

Edge Brushes
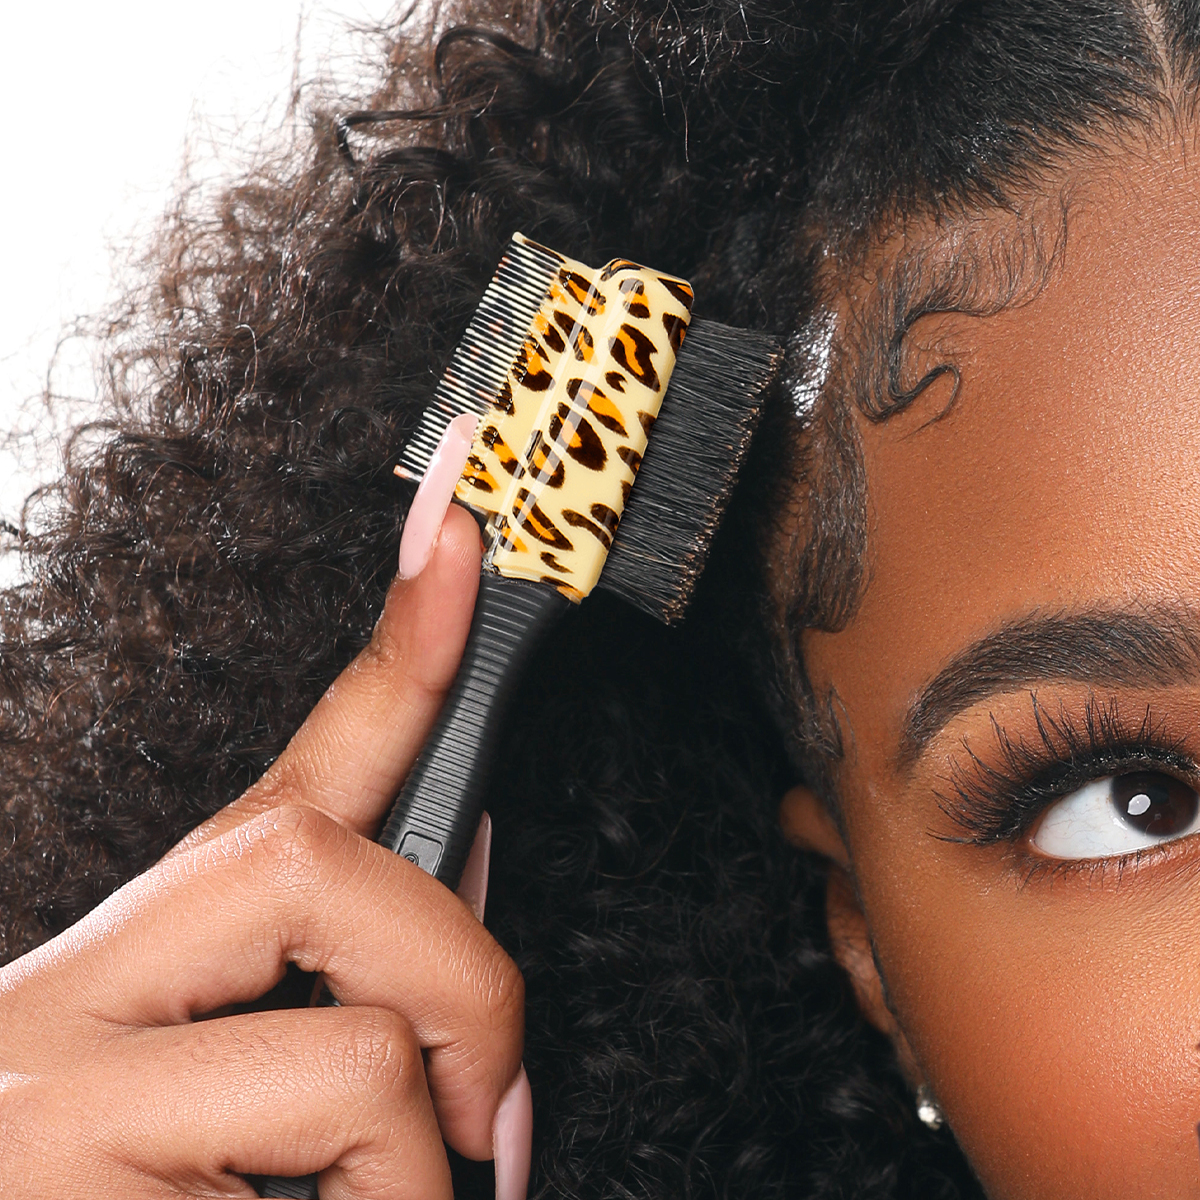
A quality edge brush with soft bristles is non-negotiable. Look for one with a comfortable grip and bristles that are firm enough to smooth but soft enough to avoid pulling. Many edge brushes come with a dual-ended design featuring a brush on one end and a comb or pointed tip on the other, which gives you versatility for different styling techniques.
Edge Scarves and Wraps
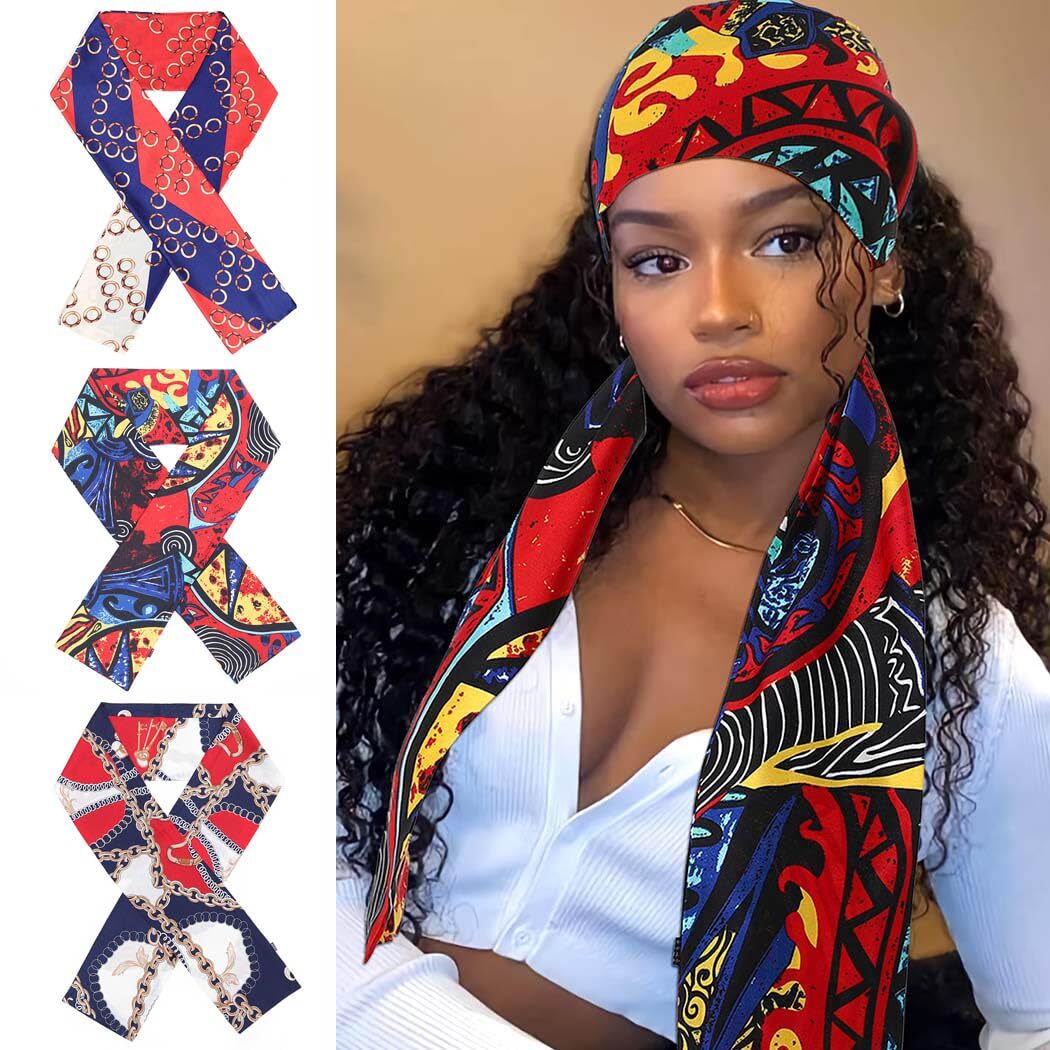
A satin or silk edge scarf, sometimes called an edge band or edge wrap, is a narrow strip of fabric designed specifically to set your edges after styling. Unlike a full head scarf, an edge scarf targets just the hairline area, making it convenient to wear while you finish the rest of your styling routine or go about your morning tasks.
Rat Tail Comb
The pointed end of a rat tail comb helps you create precise parts and detailed edge patterns. It is particularly useful for creating swirl designs and for separating individual baby hairs that you want to style in specific directions.
Spray Bottle

A small spray bottle filled with water or a water-based leave-in conditioner helps you dampen your edges before applying product. The fine mist provides just enough moisture for product application without soaking your hair or disrupting the rest of your style.
Protecting Your Edges From Damage
All the edge control in the world means nothing if your edges are thinning or receding. Here is how to keep your hairline healthy while still enjoying styled edges.
Give Your Edges a Break
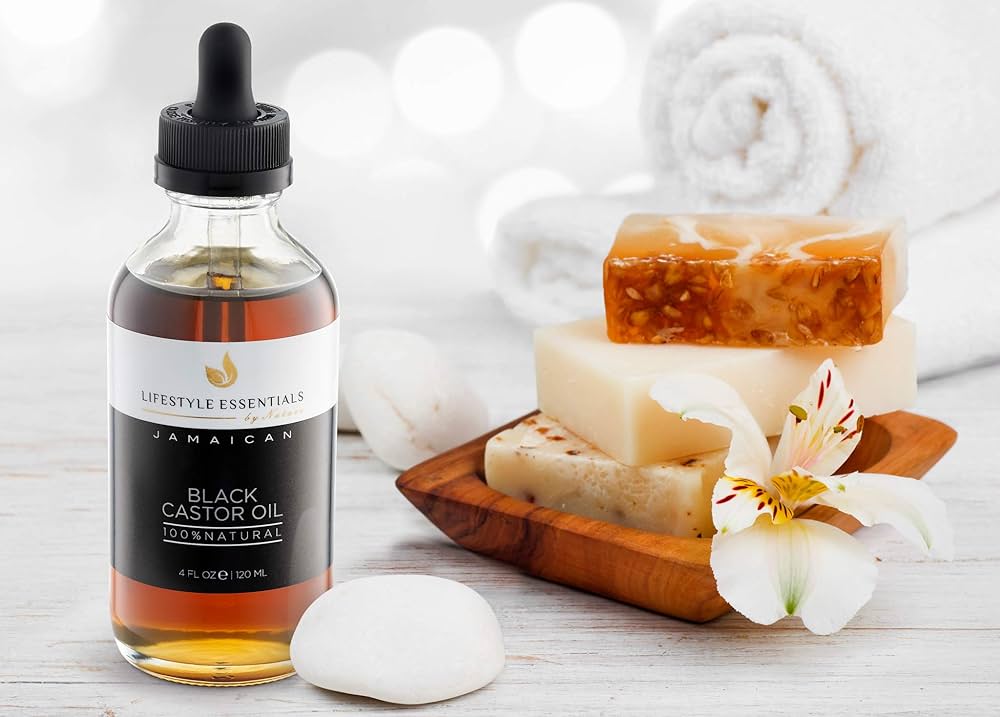
Do not style your edges every single day. Give your hairline at least two to three days per week without any edge control product. On these rest days, apply a nourishing oil like Jamaican Black Castor Oil to your hairline to promote strength and growth. This recovery time allows your follicles to rest and reduces the cumulative stress of daily product application and manipulation.
Be Gentle During Removal

Never yank or pull at styled edges to remove them. Instead, dampen your edges with water or a gentle cleanser and allow the product to soften before gently brushing or combing it out. Using warm water helps dissolve most edge control formulas more quickly. Forcing removal of dried product is one of the fastest ways to damage your hairline.
Avoid Excessive Tension

Styles that pull tightly on your edges, combined with strong-hold edge control, create a recipe for traction alopecia. If you wear protective styles like braids or ponytails, ensure they are not pulling at your hairline. Your edges should be styled, not stressed. If you notice soreness, bumps, or thinning along your hairline, ease up on both the tension of your styles and the frequency of your edge control use.
Keep Your Hairline Moisturized
Dry edges break more easily than moisturized ones. Incorporate a lightweight oil or serum into your nightly routine, gently massaging it along your hairline. This nightly moisture treatment keeps your edges flexible and resilient, making them easier to style and less likely to snap during manipulation.
Popular Edge Styles to Try

The Classic Swoop

The most popular edge style is the simple swoop, where baby hairs are brushed in a gentle curve across the forehead or along the temples. This style works on every face shape and hair texture and creates a polished, classic look that never goes out of fashion.
The S-Wave

For a more decorative look, create S-shaped waves with your baby hairs along your hairline. This style requires a bit more product and precision but creates an eye-catching detail that elevates any updo or pulled-back style. Use the pointed end of your rat tail comb to guide the waves into shape.
The Natural Brush-Back
For a softer, more natural look, simply smooth your edges back in the direction of your hairstyle without creating any specific pattern. This style works well for everyday wear and requires the least amount of product and time.
The Temple Tamer

Focus your edge styling just on the temples and sideburn area, leaving the front hairline natural. This targeted approach creates a clean, polished look at the sides while keeping the front soft and natural. It is a great option for women with thinner edges at the temples who want to create the appearance of fullness.
Key Takeaways
- Pattern Beauty and She Is Bomb lead the edge control market in 2026 for hold, flexibility, and no-flake performance.
- Choose your edge control based on your hair type: lighter holds for type 3 hair, extreme holds for 4C hair.
- Apply edge control to slightly damp hair in small amounts and set with a satin scarf for the sleekest results.
- Protect your hairline by giving your edges rest days, being gentle during product removal, and moisturizing nightly.
- Avoid edge controls with drying alcohols, heavy mineral oils, and excessive fragrance that can damage delicate edges.
- Look for nourishing ingredients like castor oil, biotin, and shea butter that strengthen your hairline while providing hold.
- Invest in a quality edge brush and satin edge scarf as essential tools for professional-looking results at home.
Frequently Asked Questions
Why does my edge control flake?
Flaking happens for several reasons. You may be using too much product, which dries into visible white residue. The formula may not be compatible with other products in your hair, creating a reaction that causes flaking. Applying to completely dry hair rather than slightly damp hair can also cause flaking because the product does not distribute evenly. Try using less product, applying to damp edges, and ensuring your other hair products do not conflict with your edge control formula.
How often should I apply edge control?
For hair health, aim for no more than four to five days per week of edge control use, giving your hairline at least two rest days. On the days you use it, one application in the morning should last the entire day if you are using the right product for your hair type. Avoid reapplying throughout the day, as layering product on top of dried product leads to buildup and flaking.
Can edge control cause hair loss?
The edge control product itself is unlikely to cause hair loss when used correctly. However, the combination of strong-hold products with tight hairstyles and aggressive brushing can contribute to traction alopecia, which is hair loss caused by repeated tension on the hair follicles. Use gentle techniques, avoid excessive tension, and give your edges regular rest to prevent this. If you notice thinning, reduce your edge control use and consult a dermatologist or trichologist.
What is the best edge control for humid weather?
In humid conditions, you need an edge control with a strong hold and humidity-resistant formula. She Is Bomb and EBIN Extra Mega Hold perform well in humidity because their formulas resist moisture absorption that causes edges to revert. Layering a light gel over your edge control after setting with a scarf can add an extra layer of humidity protection. Avoid cream-based edge controls in humid weather, as they tend to lose hold faster.