Why the Gym Is Not the Only Path to Fitness
If you are a curvy woman who hates the gym, you are not lazy, unmotivated, or making excuses. You are simply someone who has not found the right form of movement yet. The fitness industry has spent decades telling everyone that real exercise happens inside a gym, surrounded by mirrors, machines, and judgment. That message has kept millions of women from discovering forms of movement that they would actually enjoy and sustain.
Low impact workouts are perfect for curvy women for several important reasons. They are easier on your joints, which matters when your body carries more weight. They reduce the risk of injury that comes with high-impact movements like jumping and running. They can be done at home, outdoors, or in community spaces that feel more welcoming than a traditional gym. And they are effective – research consistently shows that low impact exercise produces significant improvements in cardiovascular health, strength, flexibility, and weight management when done consistently.
The key word there is consistently. The best workout in the world does nothing if you hate it so much that you stop doing it after two weeks. Finding a form of movement you genuinely enjoy is not a luxury – it is the single most important factor in long-term fitness success. A woman who happily swims three times a week for years will always be healthier and stronger than a woman who suffers through intense gym sessions for a month before quitting.
This guide covers 10 low impact workouts that are accessible, effective, and genuinely enjoyable for plus-size women. Each section explains what the workout is, why it works for curvy bodies, what you need to get started, and how to modify it for your comfort level. At least one of these is going to make you think – I could actually do that. And that thought is where everything changes.
Swimming and Water Aerobics
Why It Works for Curvy Bodies
Water is the great equalizer. The moment you step into a pool, the buoyancy of the water supports up to 90 percent of your body weight, instantly reducing stress on your joints, back, and feet. Movements that feel heavy and difficult on land feel weightless and fluid in water. At the same time, water provides 12 times more resistance than air, meaning every movement builds strength and burns calories without the pounding impact of land-based exercise.
For plus-size women specifically, water exercise eliminates most of the physical barriers that make other forms of exercise uncomfortable. Knee pain, foot pain, back strain, overheating, and excessive sweating are all dramatically reduced or eliminated in the water. You can move through a full range of motion without gravity working against you, which means you can exercise longer, more comfortably, and with better form than you might on land.
What to Try
Lap swimming is a full-body cardiovascular workout that builds endurance and strength simultaneously. If you do not know how to swim or are not comfortable with your swimming ability, water aerobics classes provide structured workouts in shallow water where you can always touch the bottom. Many community pools and recreation centers offer plus-size-friendly water aerobics classes. Water walking – simply walking back and forth in chest-deep water – is another excellent option that requires no swimming skill and burns roughly 500 calories per hour for a 200-pound woman.
What You Need
A swimsuit you feel comfortable in is the most important piece of equipment. The plus-size athletic swim sets on Amazon offer full coverage with a sporty look that feels more like workout wear than a bathing suit, which many women prefer for pool workouts. Swim leggings paired with a rash guard top are another option that provides full coverage and UV protection. Water shoes protect your feet on pool decks and in outdoor swimming areas. Goggles are helpful if you plan to swim laps.
Getting Started
Call your local community pool or recreation center and ask about water aerobics classes, open swim hours, and any size-inclusive programs. Many pools offer reduced rates, punch cards, or monthly passes that make regular swimming affordable. If you are self-conscious about being in a swimsuit around others, look for early morning or late evening open swim times when pools tend to be less crowded, or seek out facilities with private or semi-private pool areas.
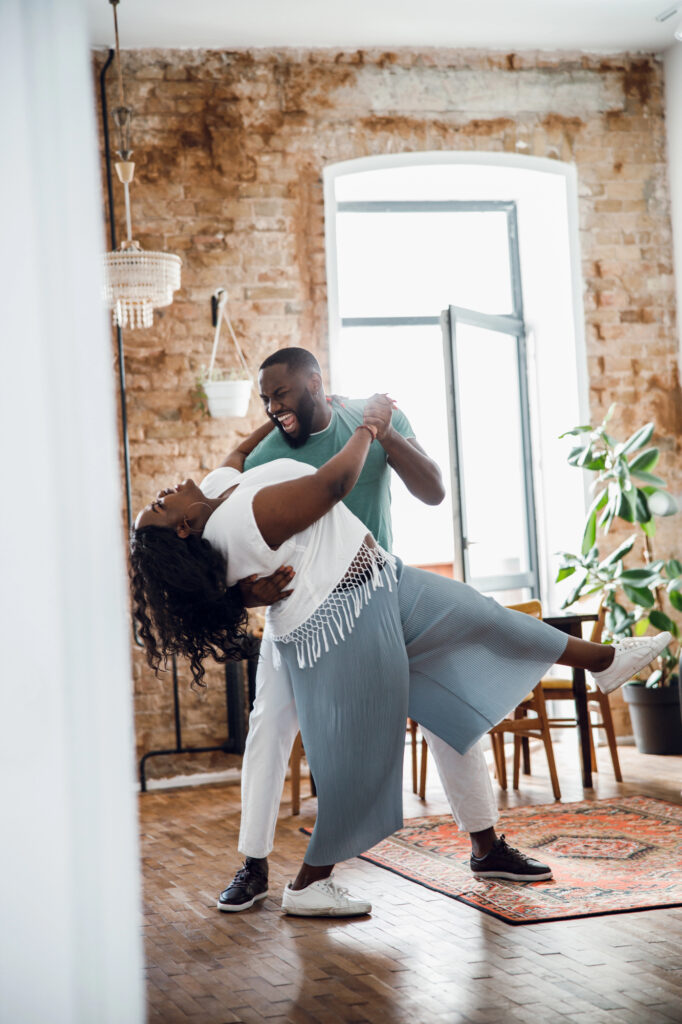
Dance Workouts
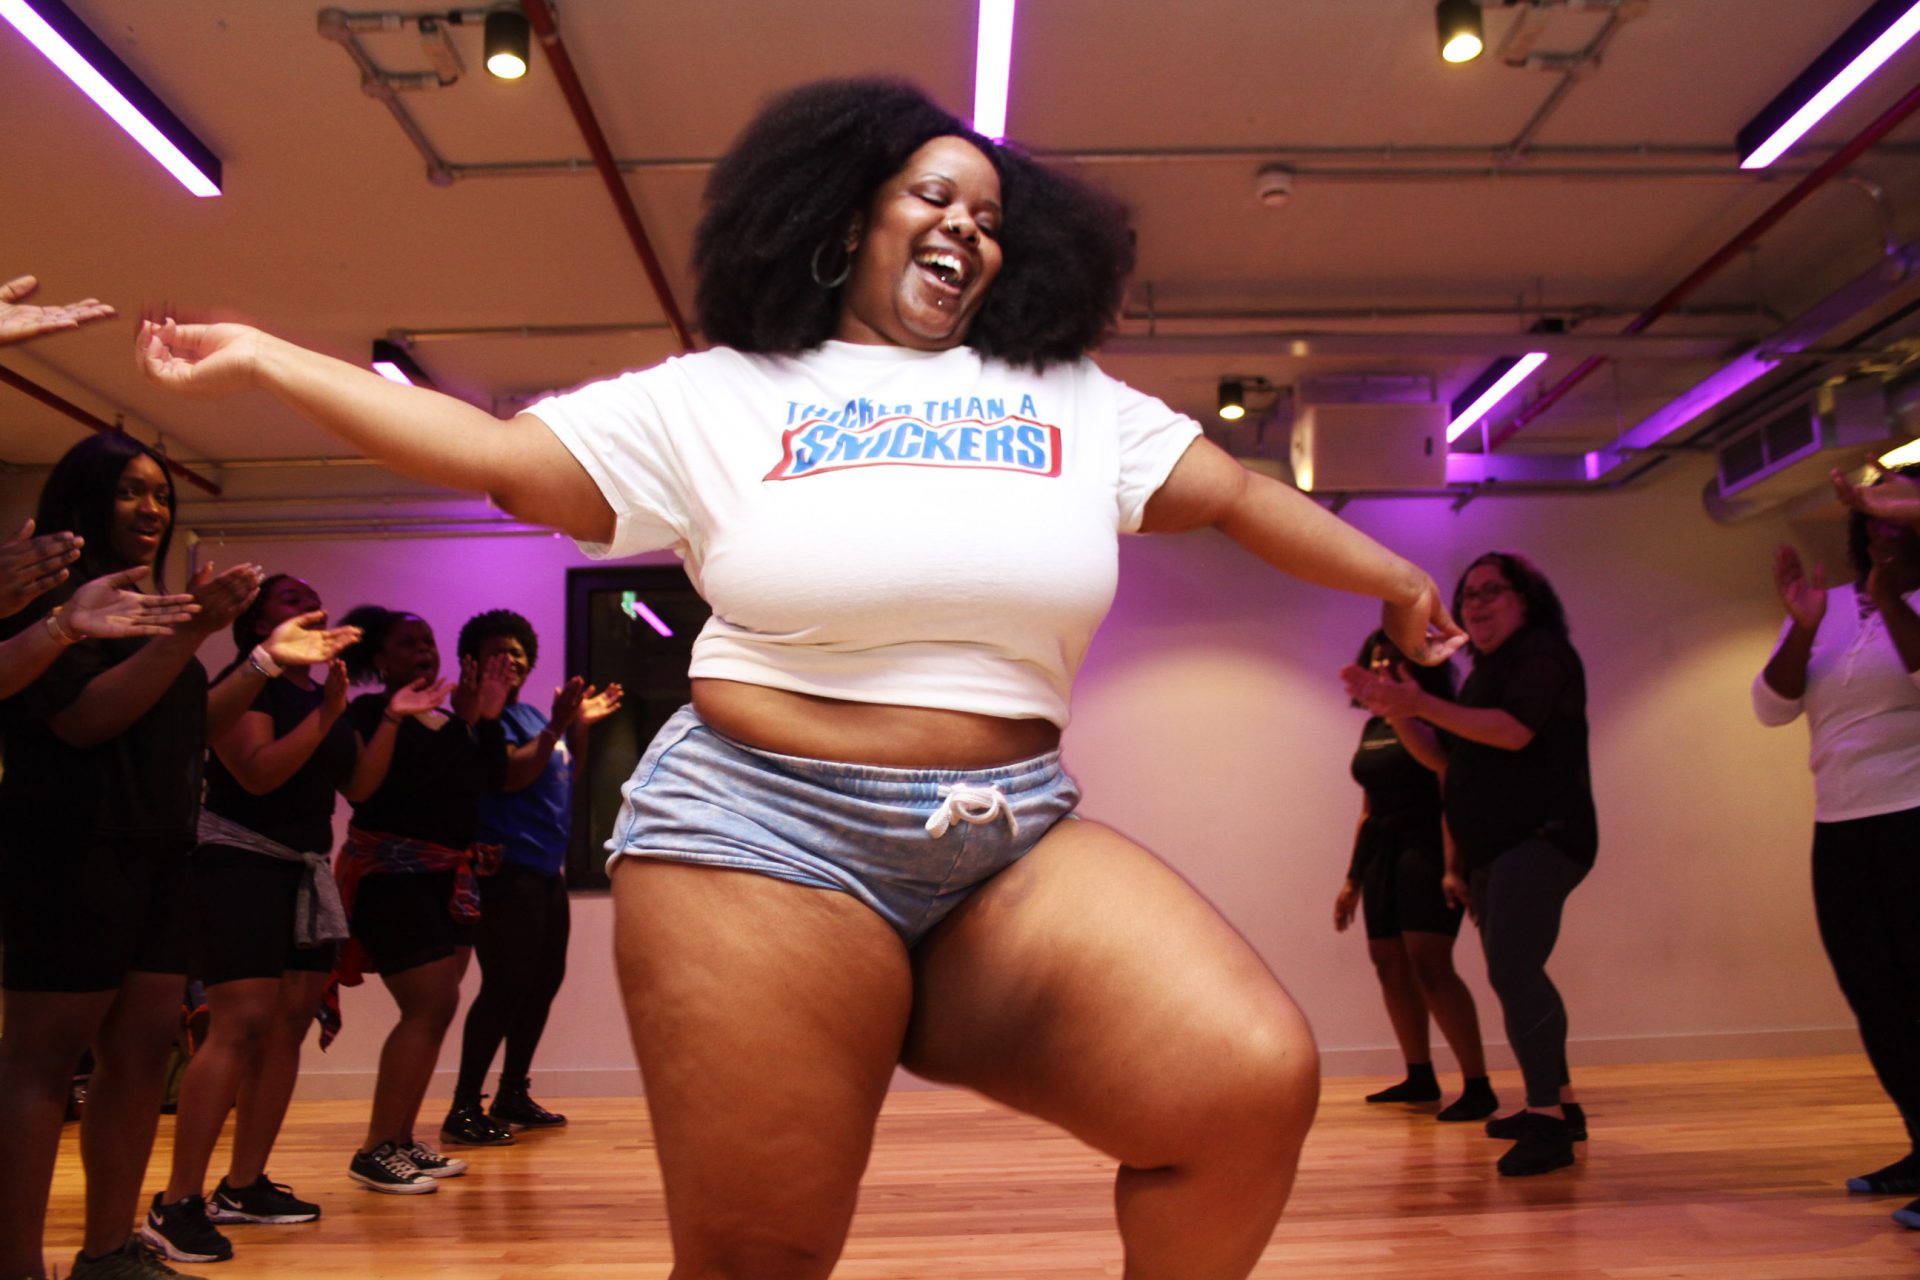
Why It Works for Curvy Bodies
Dancing is exercise disguised as fun. When you are following choreography, vibing to a beat, or just freestyle moving to your favorite playlist, your brain is focused on the music and the movement – not on calories, reps, or how much longer you have to endure. This mental shift is powerful because it means you exercise longer and more intensely than you would if you were counting down the minutes on a treadmill.
Dance workouts also celebrate curves rather than trying to minimize them. Hip rolls, body waves, shimmies, and sways are movements that look and feel incredible on curvy bodies. Many plus-size women discover a new relationship with their bodies through dance – one based on what their body can do and how good it feels to move, rather than how it looks in a mirror.
What to Try
Zumba is the most popular dance fitness format and is available as in-person classes and online videos. Many instructors offer low-impact modifications for every move. Body Groove is a dance workout platform created specifically to be size-inclusive, with instructors of all sizes and an emphasis on moving in whatever way feels good to your body. YouTube has thousands of free plus-size dance workout videos ranging from 10-minute quickies to 60-minute full sessions. Belly dancing, salsa, line dancing, and even pole fitness are all forms of dance that build strength, flexibility, and cardiovascular fitness while being genuinely enjoyable.
What You Need
Supportive shoes with good lateral (side-to-side) support – cross-trainers work well. Comfortable clothing that lets you move freely without riding up or falling down. A clear space of about six feet by six feet in your home if you are following online videos. That is it. Dance workouts have the lowest barrier to entry of almost any form of exercise.
Getting Started
Search YouTube for “plus-size dance workout beginner” and try a few different styles and instructors until you find one that clicks. The Nike Renew In-Season TR cross-trainers are available in wide widths and provide the lateral support you need for dance movements without being heavy or stiff. Start with 15 to 20-minute videos and work up to longer sessions as your endurance builds.
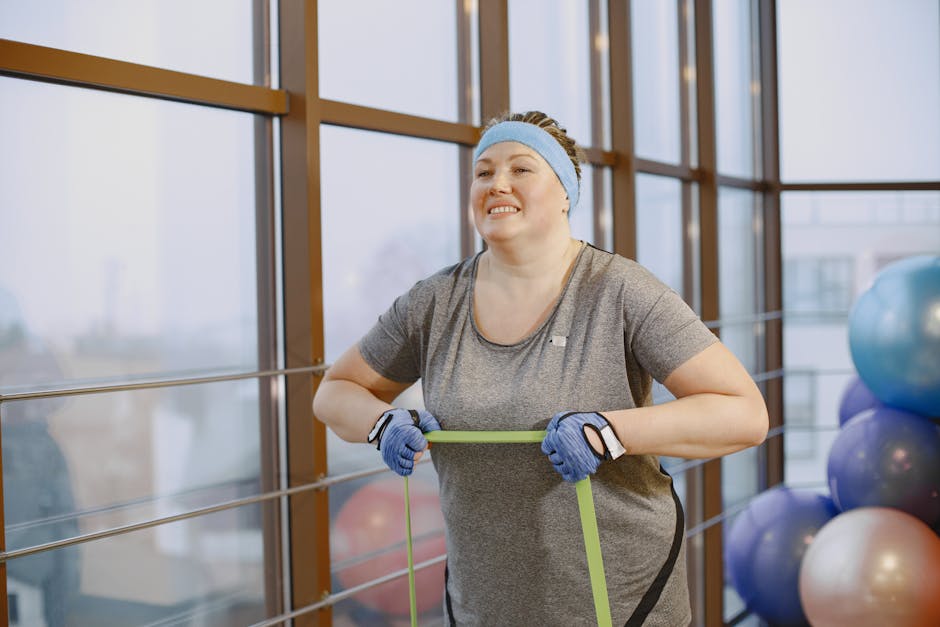
Resistance Band Training
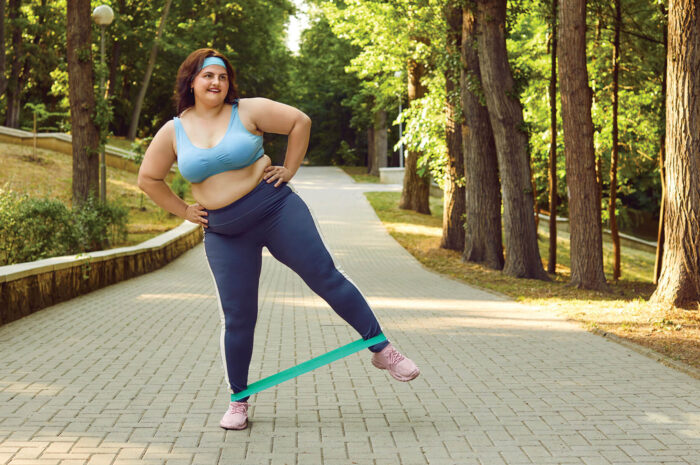
Why It Works for Curvy Bodies
Resistance bands provide progressive strength training without the intimidation factor of a weight room full of barbells and machines you do not know how to use. They are lightweight, portable, inexpensive, and infinitely adjustable – you control the resistance by choosing a lighter or heavier band or by adjusting how much slack you leave in the band. This makes them perfect for beginners and experienced exercisers alike.
For plus-size women, resistance bands offer several unique advantages. They allow you to build strength in a controlled range of motion, which reduces the risk of injury. They do not require getting down on the floor for most exercises, which can be challenging for larger bodies. They work every muscle group including areas that are particularly important for curvy women – the core, glutes, back, and shoulders. And they provide constant tension throughout the movement, which builds lean muscle more effectively than body weight alone.
What to Try
A full-body resistance band workout can be done in 20 to 30 minutes and hits every major muscle group. Key exercises include band squats (stand on the band with feet hip-width apart, hold the handles at shoulder height, and squat), seated rows (sit on the floor with legs extended, loop the band around your feet, and pull the handles toward your ribs), overhead presses (stand on the band and press the handles overhead), lateral walks (place a loop band around your ankles and step side to side), and bicep curls (stand on the band and curl the handles toward your shoulders).
What You Need
A set of resistance bands with multiple resistance levels gives you the most versatility. The resistance band sets with door anchors on Amazon come with five to seven bands of increasing resistance, handles, ankle straps, and a door anchor that expands your exercise options dramatically. Look for sets that include bands rated up to at least 50 pounds of resistance, as lighter bands will feel too easy for lower-body exercises very quickly.
Getting Started
Start with the lightest band in your set and focus on learning proper form for each exercise before adding resistance. Two to three resistance band sessions per week, with at least one rest day between sessions, is enough to build noticeable strength within a month. YouTube has excellent free resistance band workout videos specifically designed for plus-size bodies and beginners.
Cycling and Stationary Biking
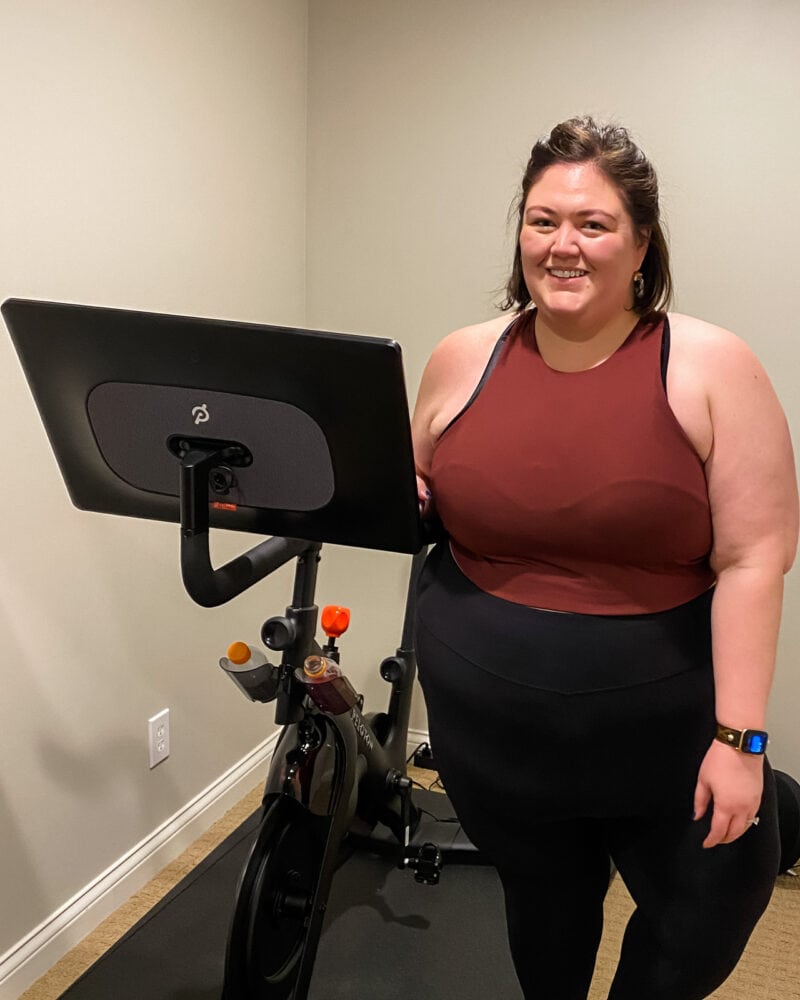
Why It Works for Curvy Bodies
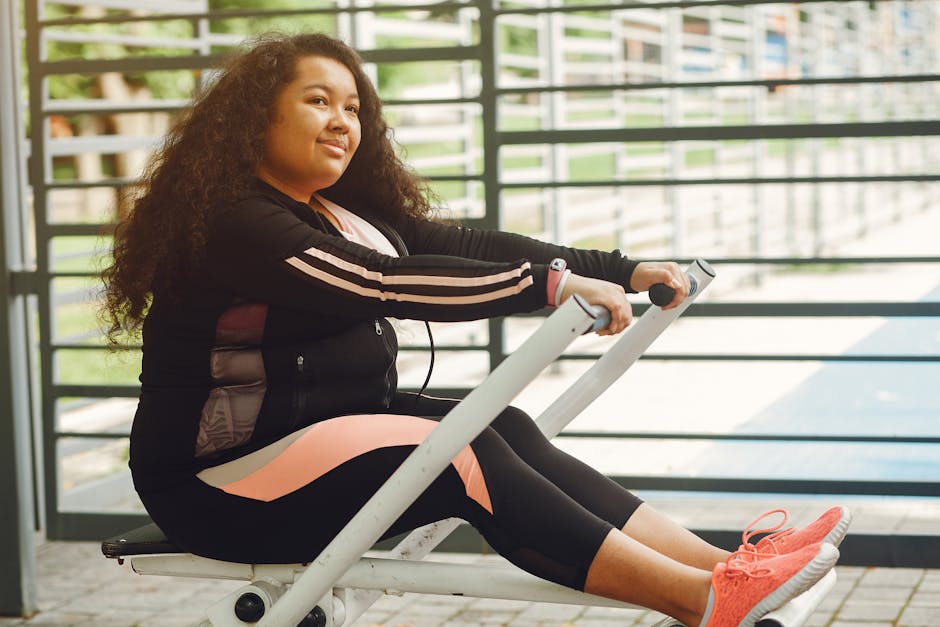
Cycling removes your body weight from the equation almost entirely. The bike seat supports you, so your knees, ankles, and feet experience minimal impact. This makes cycling accessible for plus-size women who find walking or running painful due to joint issues. It is also an excellent cardiovascular workout – a moderate cycling session burns 400 to 600 calories per hour depending on your weight and intensity.
Stationary bikes are especially appealing because they are private, weather-proof, and allow you to exercise while watching TV, listening to podcasts, or scrolling your phone. There is no balance requirement, no traffic to navigate, and no one watching you. For women who feel self-conscious exercising in public, a stationary bike at home removes that barrier entirely.
What to Try
A stationary recumbent bike (the kind with a backrest and the pedals in front of you rather than below you) is often the most comfortable option for plus-size women because it supports your back, has a wider seat, and puts less pressure on your wrists and shoulders. Upright stationary bikes work well too but may require a wider, more cushioned seat replacement. Outdoor cycling on a comfort or cruiser-style bike is wonderful exercise and doubles as transportation and exploration.
What You Need
For home use, a stationary recumbent bike with a high weight capacity (300 pounds or more) and an adjustable seat is the best investment. Padded cycling shorts or a gel seat cover dramatically improves comfort for longer rides. For outdoor cycling, a comfort bike with a step-through frame (no high bar to swing your leg over), wide tires for stability, and an upright riding position is ideal for plus-size riders. Make sure any bike you purchase has a weight capacity that accommodates you comfortably.
Getting Started
Begin with 15 to 20 minutes of cycling at a comfortable resistance level and gradually increase both duration and resistance over time. If using a stationary bike, start with minimal resistance and increase it as your leg strength builds. If cycling outdoors, start on flat terrain and add hills gradually. Aim for three cycling sessions per week to build cardiovascular fitness and leg strength.
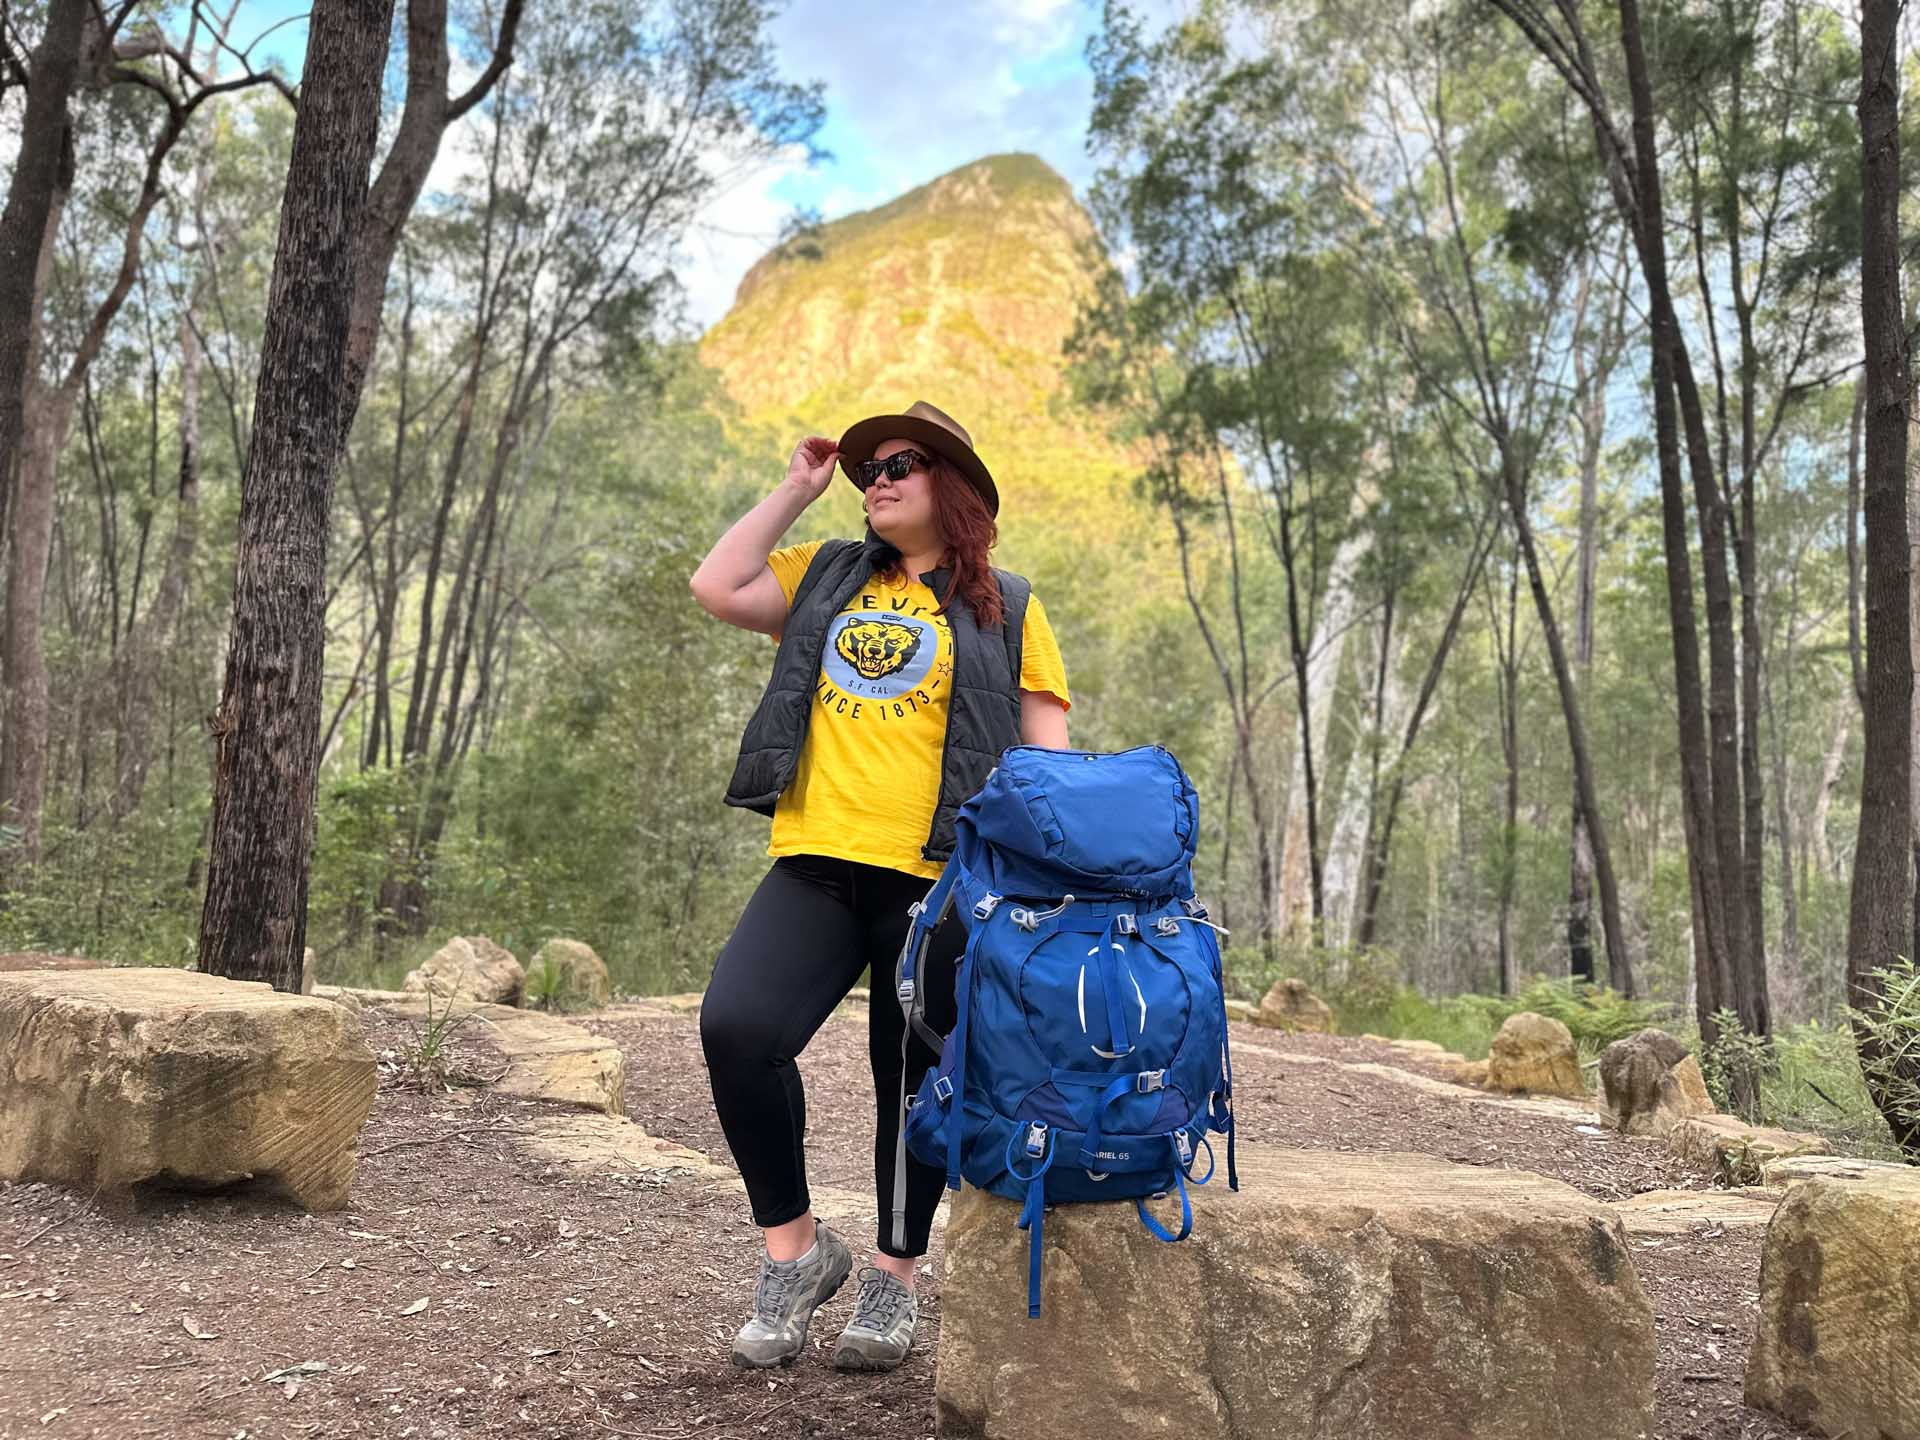
Hiking and Nature Walks
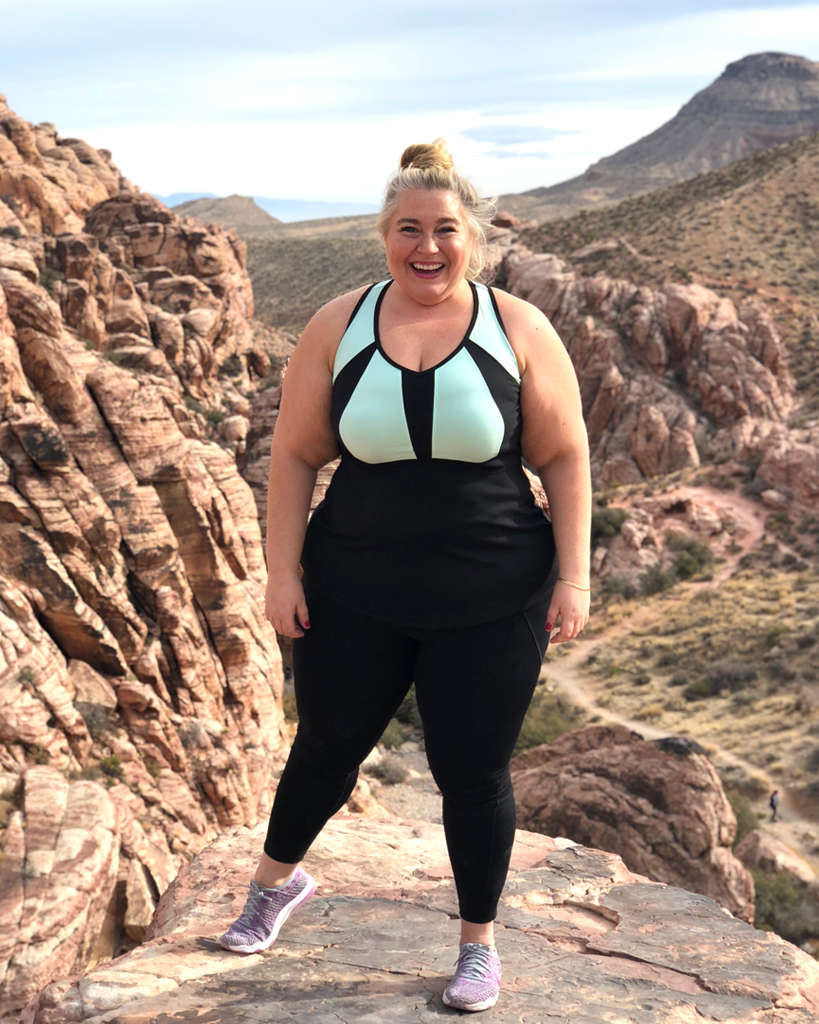
Why It Works for Curvy Bodies
Hiking combines physical exercise with mental health benefits that no gym can replicate. Research published in the Proceedings of the National Academy of Sciences found that people who walked in nature for 90 minutes showed decreased activity in the brain region associated with depression compared to those who walked in urban settings. For plus-size women who may carry stress, anxiety, or negative body image, the mental health benefits of hiking are as valuable as the physical ones.
Hiking also burns significantly more calories than flat walking because of uneven terrain, inclines, and the engagement of stabilizing muscles that flat surfaces do not require. A 200-pound woman hiking moderate terrain burns approximately 450 to 550 calories per hour – comparable to many high-intensity gym workouts but with fresh air, beautiful scenery, and birdsong instead of fluorescent lights and thumping music.
What to Try
Start with easy, well-maintained trails that are rated as beginner-friendly. National parks, state parks, and local nature preserves typically have trail maps that rate difficulty. Look for trails under two miles with minimal elevation gain for your first few hikes. As your fitness improves, gradually tackle longer trails with more elevation. Hiking with a friend or group adds a social element and provides safety on more remote trails.
What You Need
Sturdy hiking shoes or boots with ankle support and good traction are essential. The Columbia Newton Ridge Plus hiking boots come in wide widths and offer waterproof protection with excellent ankle support at a reasonable price. A daypack with water, snacks, sunscreen, and a basic first aid kit rounds out your essentials. Trekking poles are extremely helpful for plus-size hikers because they reduce knee strain on descents by up to 25 percent and provide stability on uneven terrain.
Getting Started
Search AllTrails or a similar app for beginner trails within 30 minutes of your home. Start with one hike per week on a weekend morning when trails are less crowded and temperatures are cooler. Bring more water than you think you need – a general rule is a half liter per hour of hiking, more in heat. Tell someone where you are going and when you expect to be back, even on easy trails.
Pilates
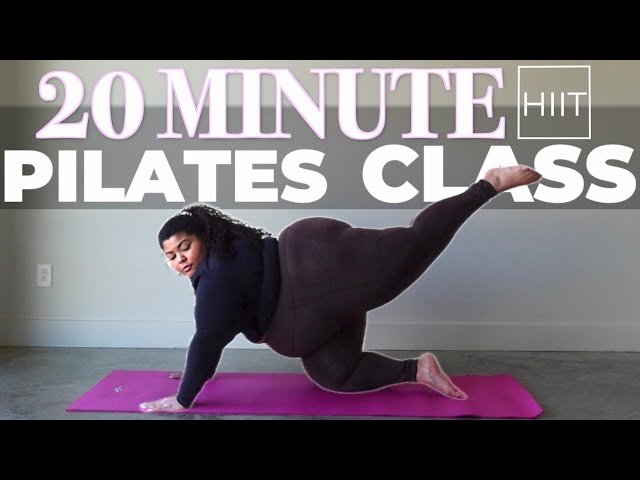
Why It Works for Curvy Bodies
Pilates builds core strength, improves posture, increases flexibility, and tones muscles through controlled, precise movements. Unlike many forms of exercise that rely on speed or impact, Pilates emphasizes slow, intentional movement with proper alignment. This makes it accessible for people of all fitness levels and sizes because you can always modify the speed, range, and intensity of each movement.
For plus-size women, Pilates is particularly valuable because it strengthens the deep core muscles that support your back and improve your posture. Strong core muscles reduce back pain (which is common in larger bodies), improve balance, and create a visible difference in how you carry yourself. Many plus-size women report that Pilates gives them a feeling of being “held together” – a sense of core engagement and postural alignment that carries into everyday life.
What to Try
Mat Pilates requires only a mat and your body weight and can be done at home following online videos. Reformer Pilates uses a sliding bed with springs for resistance and is typically done in a studio setting. Both are effective, but mat Pilates is more accessible for beginners and requires no investment beyond a mat. Many Pilates exercises can be modified for larger bodies by adjusting the range of motion, using props for support, or performing exercises in a seated or standing position rather than lying on the floor.
What You Need
A thick exercise mat (at least 10mm for cushioning), a Pilates ring for added resistance, and a small inflatable ball for core exercises. If you find getting up and down from the floor difficult, many Pilates exercises can be done standing or seated in a chair. Search YouTube for “standing Pilates” or “chair Pilates” for routines that avoid floor work entirely.
Getting Started
Start with beginner mat Pilates videos that focus on fundamentals – breathing, core engagement, and basic movement patterns. Sessions of 20 to 30 minutes, three times per week, are enough to feel significant improvements in core strength and posture within four to six weeks. If you try a studio class, look for one that specifically welcomes beginners and has instructors experienced in modifying for different body sizes.
Rowing
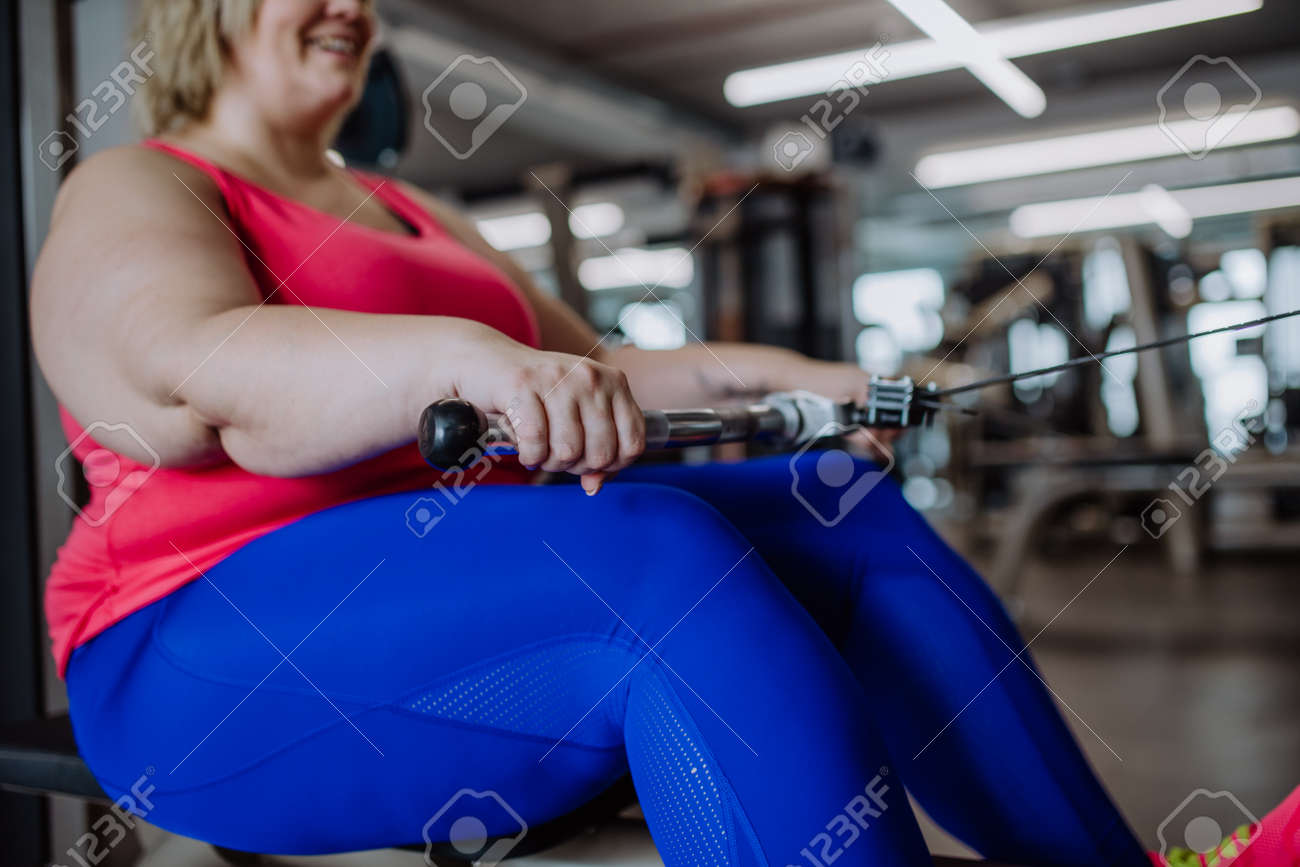
Why It Works for Curvy Bodies
Rowing is one of the most efficient full-body exercises available. A single rowing stroke engages 86 percent of your muscles – legs, core, back, arms, and shoulders all work together in a smooth, continuous motion. It is completely non-impact (no pounding on joints), and the sliding seat means your body weight is always supported. For plus-size women, rowing provides an intense cardiovascular workout without the joint stress that makes many cardio exercises uncomfortable.
Rowing also burns a remarkable number of calories. A 200-pound woman rowing at a moderate intensity burns approximately 500 to 600 calories per hour. Even short 15 to 20-minute rowing sessions burn significant calories and build both strength and endurance simultaneously, making it one of the most time-efficient workouts available.
What to Try
A rowing machine (also called an ergometer or erg) at home or in a gym is the most accessible way to start rowing. Water rowing machines provide the most natural feel and a soothing sound, while air resistance machines are popular in gyms and fitness studios. If you have access to a river or lake, on-water rowing through a community rowing club is an extraordinary experience, though it typically requires some instruction to learn proper technique.
What You Need
If purchasing a home rowing machine, look for one with a weight capacity of at least 300 pounds, a comfortable and adjustable seat, and a smooth, quiet operation. The seat rail length matters for taller rowers. Rowing requires no special clothing beyond comfortable, moisture-wicking workout wear and supportive shoes or grippy socks.
Getting Started
Proper rowing form is essential to prevent back strain. The sequence is legs-back-arms on the pull and arms-back-legs on the return. Many beginners make the mistake of pulling with their arms first, which puts excessive strain on the back and shoulders. Watch a proper rowing form video before your first session. Start with 10-minute sessions and increase by two to three minutes per week. Aim for a steady, rhythmic pace rather than pulling as hard and fast as possible.
Tai Chi
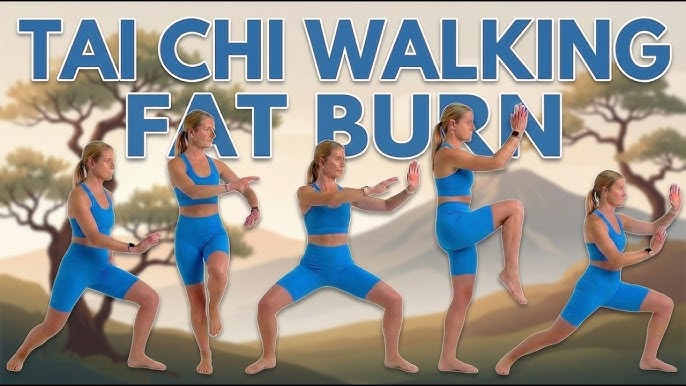
Why It Works for Curvy Bodies
Tai chi is a centuries-old Chinese martial art that involves slow, flowing movements performed in a continuous sequence. It looks like meditation in motion, and that is essentially what it is. Tai chi improves balance, flexibility, coordination, and lower body strength through gentle, weight-bearing movements that never involve jumping, pounding, or sudden impacts.
For plus-size women, tai chi offers benefits that go far beyond physical fitness. Research published in the British Journal of Sports Medicine found that tai chi reduces stress, anxiety, and depression as effectively as conventional exercise. It also significantly improves balance and reduces fall risk, which is important for larger-bodied individuals who may feel unsteady during other forms of exercise. And because tai chi is performed standing with slow, controlled movements, it is accessible regardless of your current fitness level.
What to Try
Yang-style tai chi is the most common and the most beginner-friendly form. It features large, slow, graceful movements that are easy to learn and gentle on the body. A basic Yang-style form contains 24 movements that flow together in a sequence that takes about six to eight minutes to perform once learned. Most beginners take four to eight weeks to learn the full basic form, and the learning process itself is the exercise – you do not need to master the form before you benefit from practicing it.
What You Need
Flat, comfortable shoes with flexible soles (or bare feet on a soft surface), loose comfortable clothing, and enough space to take two steps in any direction. That is genuinely all you need. Tai chi has the lowest equipment requirement of any exercise form. Classes are available at community centers, parks (many offer free outdoor tai chi), YMCAs, and online through YouTube and dedicated tai chi apps.
Getting Started
Search YouTube for “tai chi for beginners” and try a 15 to 20-minute introductory session. Focus on following the movements without worrying about perfection. Tai chi is a practice, not a performance. Many women find that the meditative quality of tai chi reduces their stress levels, improves their sleep, and gives them a sense of calm that carries through the rest of their day. Practice three to four times per week for best results.
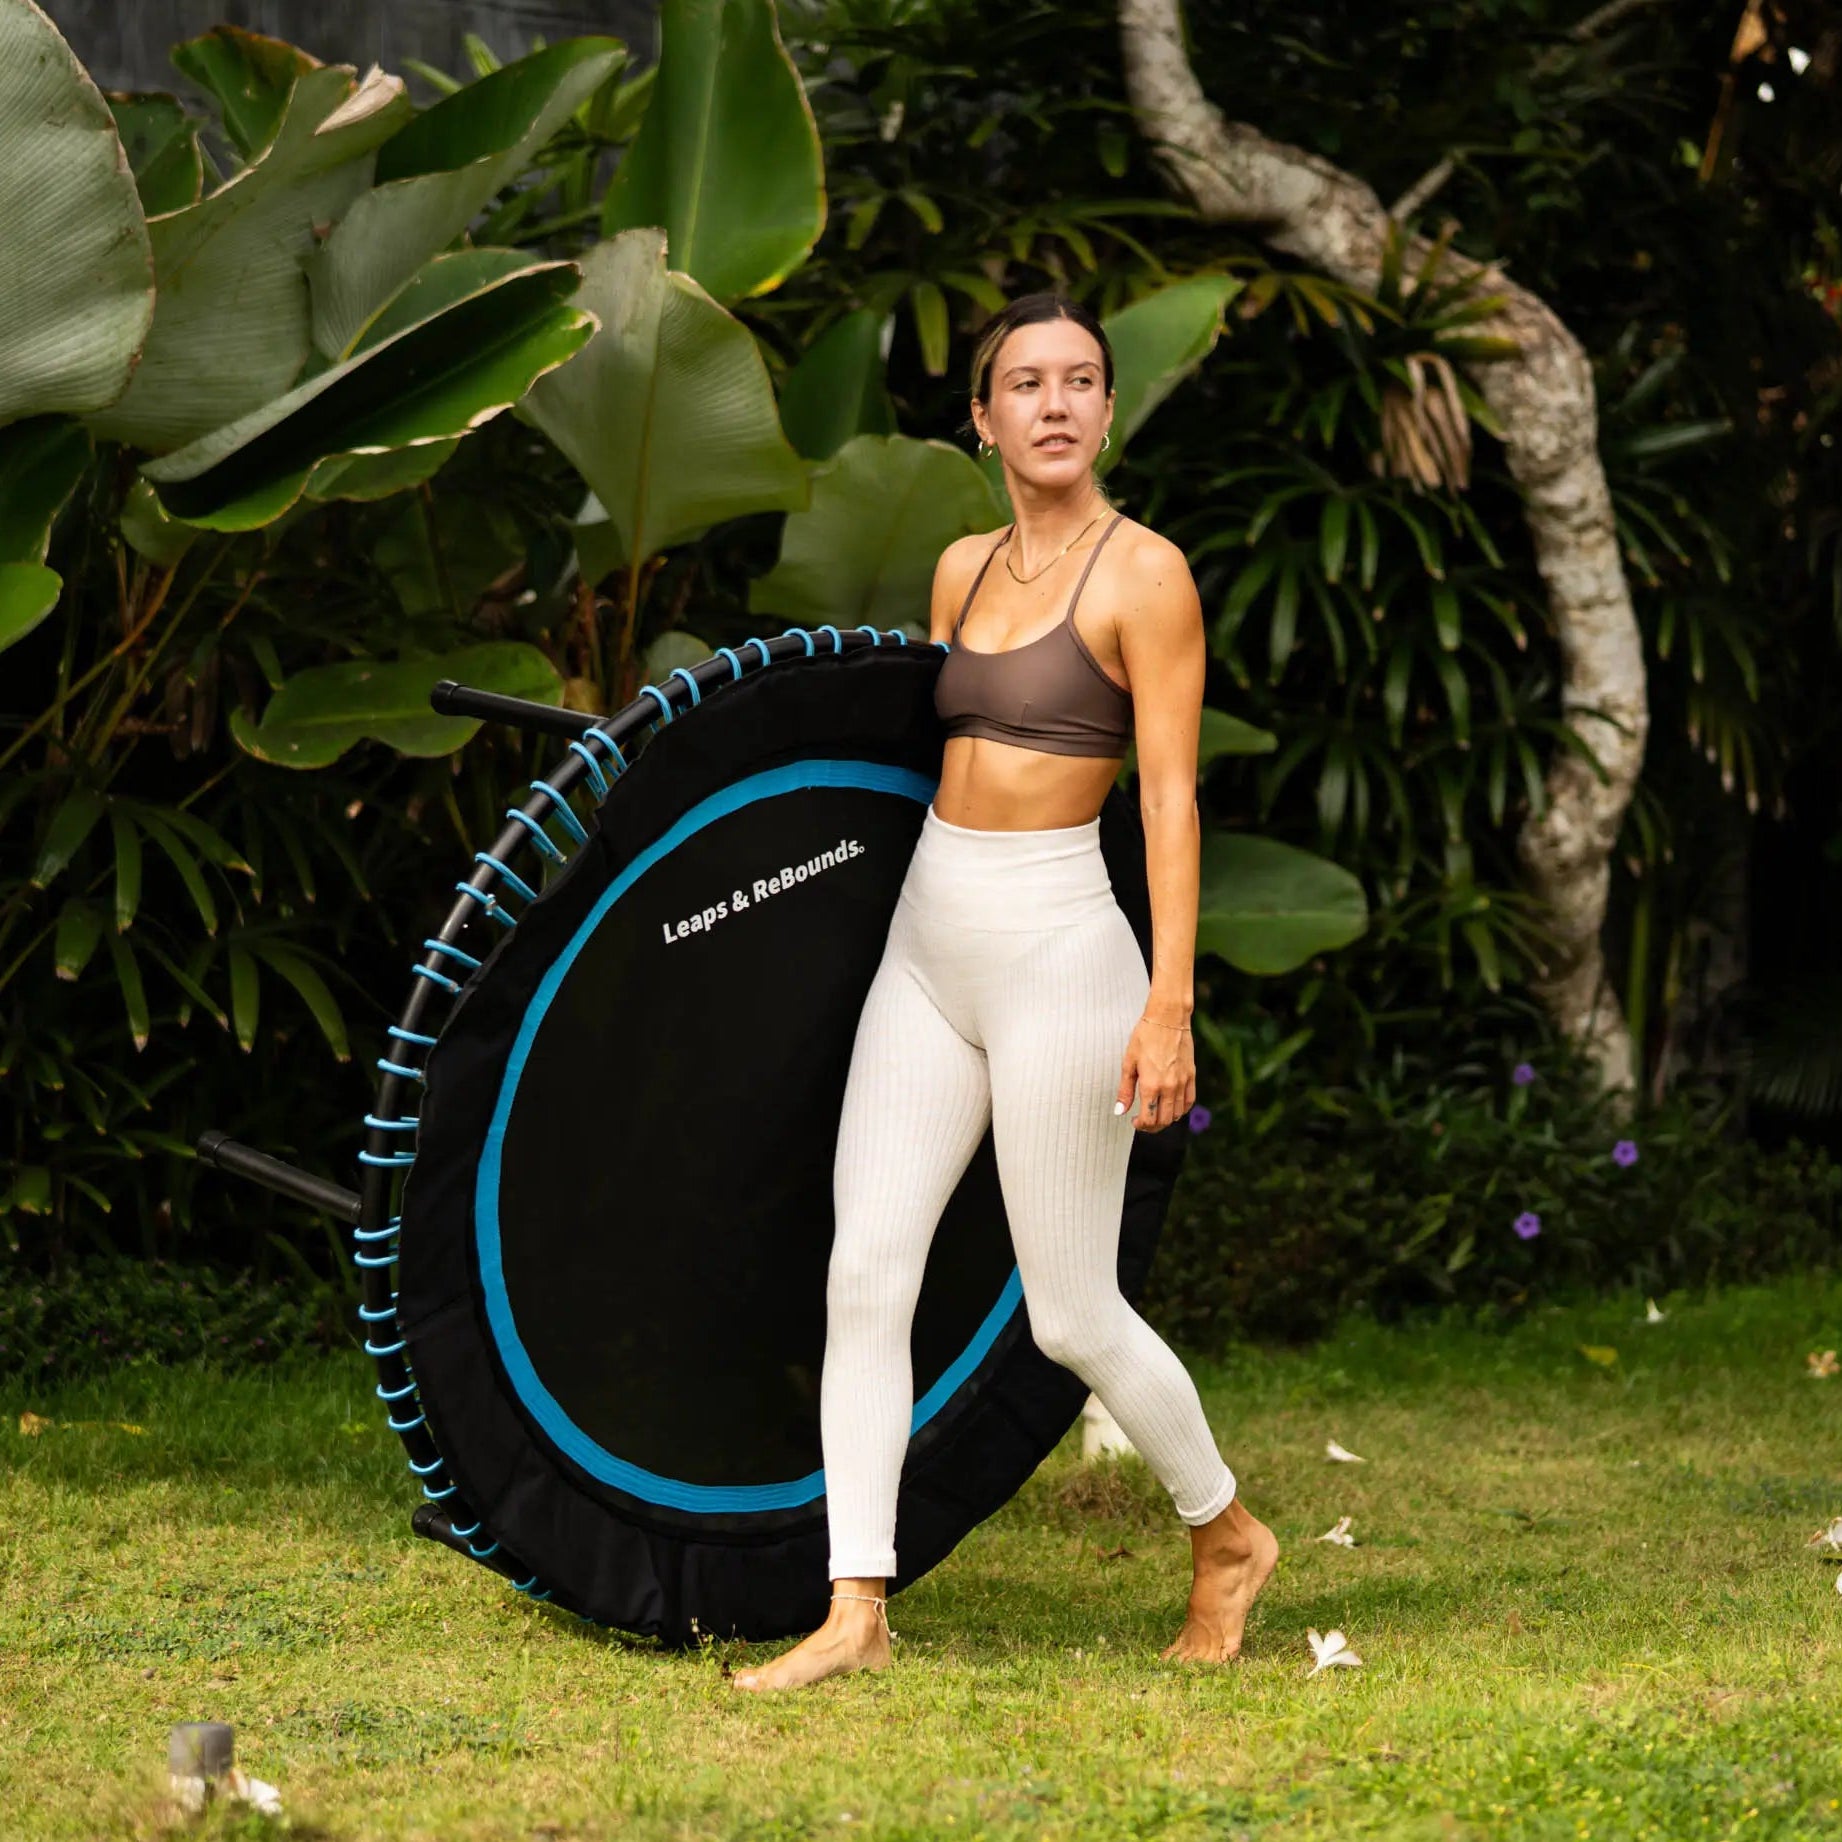
Rebounding (Mini Trampoline)
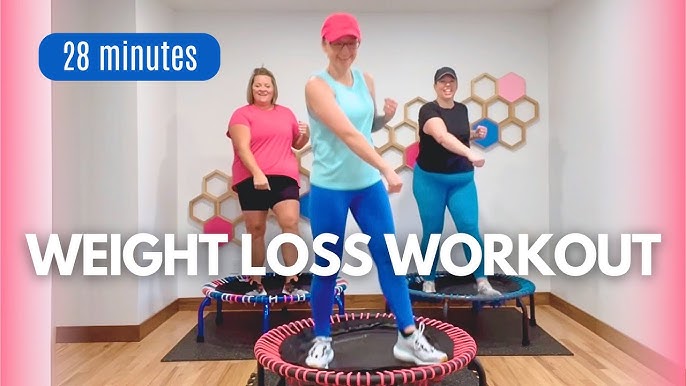
Why It Works for Curvy Bodies
A mini trampoline, also called a rebounder, absorbs up to 80 percent of the impact from each bounce, making it dramatically gentler on your joints than jumping on a hard surface. Despite being low impact, rebounding is surprisingly effective for cardiovascular fitness and calorie burn. NASA research found that rebounding is 68 percent more efficient than running at the same effort level, meaning you get more workout in less time with less stress on your body.
Rebounding also stimulates the lymphatic system, which helps reduce swelling and water retention – a common concern for plus-size women. The gentle bouncing motion moves lymphatic fluid through your body more effectively than almost any other form of exercise. Many women notice reduced bloating and improved skin appearance within weeks of starting a regular rebounding practice.
What to Try
A basic rebounding workout involves bouncing gently on the trampoline (your feet can stay on the mat – you do not need to jump high), marching in place, doing side-to-side steps, and adding arm movements for a full-body workout. As you get comfortable, you can add higher bounces, twists, and dance-style movements. YouTube has hundreds of free rebounding workout videos from 10 to 45 minutes in length.
What You Need
A rebounder with a high weight capacity is essential. Look for models rated for at least 300 pounds with a stability bar (a handlebar attached to the trampoline that you can hold for balance). The stability bar is particularly important for plus-size beginners because it provides confidence and safety while you develop your balance. Budget models start around 60 to 80 dollars, while higher-quality rebounders with better springs and higher weight capacities cost 150 to 300 dollars.
Getting Started
Start by simply standing on the rebounder and doing gentle bounces where your feet barely leave the mat. Get comfortable with the balance and the sensation before adding any other movements. Use the stability bar at first and gradually use it less as your balance improves. Start with 10-minute sessions and build to 20 to 30 minutes over a few weeks. Rebounding in front of the TV makes the time fly and turns screen time into active time.
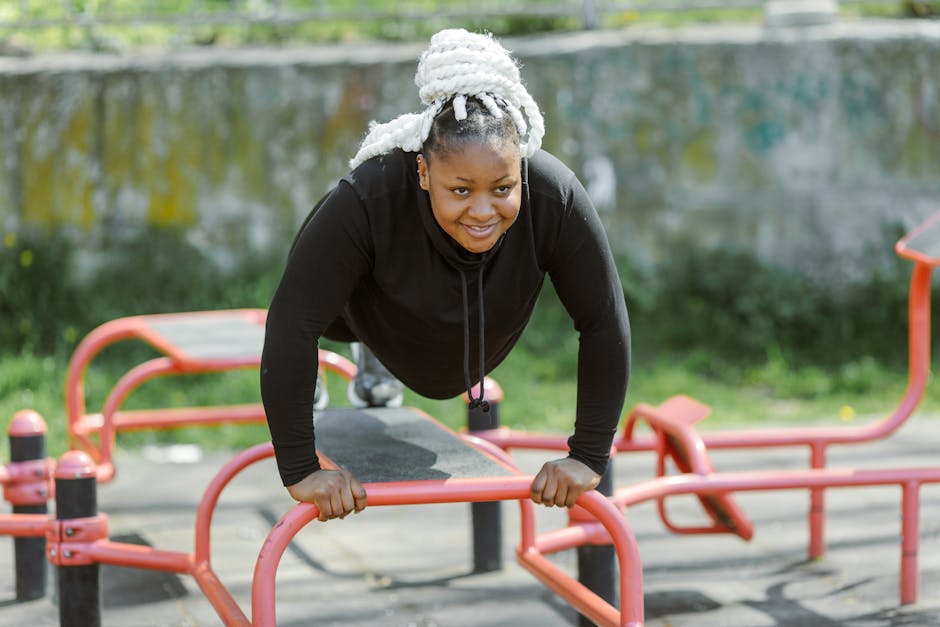
Seated and Chair Workouts
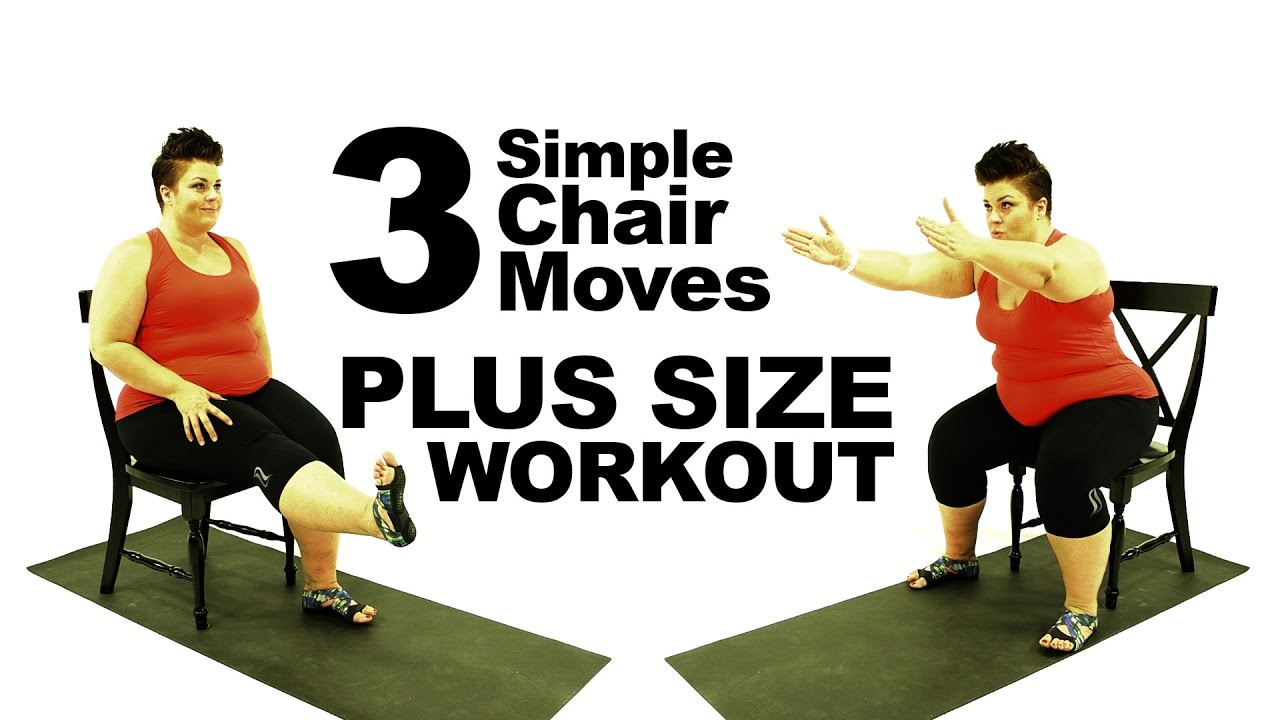
Why It Works for Curvy Bodies
Chair workouts eliminate the biggest physical barriers to exercise for many plus-size women – getting down to and up from the floor, standing for extended periods, and balancing during movements. A sturdy chair provides support, stability, and a fixed point of reference that makes exercise accessible regardless of mobility limitations, joint issues, or fitness level.
Do not mistake accessible for easy. A well-designed chair workout can elevate your heart rate, build significant strength, and burn meaningful calories. Seated exercises engage your core, arms, shoulders, and upper back effectively, and many leg exercises can be performed from a seated position as well. Chair workouts are also excellent for office workers who want to incorporate movement into their workday without changing clothes or leaving their desk.
What to Try
A complete chair workout includes seated marches (lift alternating knees toward your chest), seated jacks (open and close your arms and legs simultaneously), chair squats (stand up from the chair and sit back down with control), seated leg extensions (straighten one leg at a time from a seated position), chair push-ups (place hands on the armrests or seat and push your body up), and seated twists (rotate your torso side to side while engaging your core). A 20 to 30-minute chair workout combining these movements with 30-second rest periods between exercises provides a solid full-body workout.
What You Need

A sturdy chair without wheels, arms optional. The chair should not move when you push against it or shift your weight. A standard dining chair or folding chair works perfectly. Add a set of light dumbbells (3 to 8 pounds) or a resistance band to increase the challenge for upper body exercises. The neoprene dumbbell sets with rack on Amazon come in multiple weight options and have a comfortable, non-slip grip.
Getting Started
YouTube has an extensive library of free chair workout videos for every fitness level. Search “chair workout for beginners” or “seated workout plus size” for options tailored to larger bodies. Start with 15-minute sessions and build to 30 minutes as your strength and endurance improve. Chair workouts can be done daily since they tend to be lower intensity, or you can alternate them with other forms of exercise on your weekly schedule.
How to Build a Routine Without the Gym
Choose Two to Three Activities
You do not need to do all ten of these workouts. Pick two to three that genuinely appeal to you – not the ones you think you should do, but the ones that make you think “that sounds fun” or “I could try that.” Variety prevents boredom and works different muscle groups, but too many options creates decision fatigue that leads to doing nothing. Two to three activities that you rotate throughout the week is the sweet spot.
Set a Realistic Weekly Schedule
Three to four workout sessions per week is enough to see significant improvements in cardiovascular fitness, strength, and body composition. If you are starting from zero, begin with three 20-minute sessions per week and gradually increase the frequency or duration as your fitness improves. A sample beginner week might look like this: Monday – 20-minute dance workout, Wednesday – 25-minute resistance band session, Saturday – 30-minute nature walk. Rest days in between allow recovery and prevent burnout.
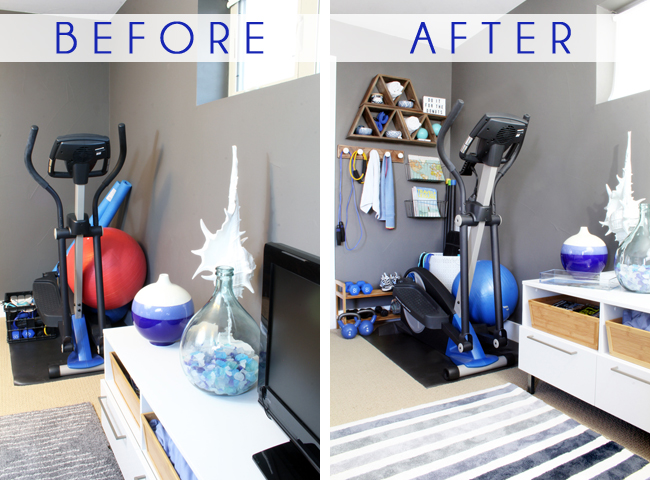
Create a Dedicated Space
Having a specific spot in your home where you exercise makes the habit easier to maintain. It does not need to be a full home gym. A clear area of about six feet by six feet in your living room, bedroom, or garage is enough for most of these workouts. Keep your equipment – bands, mat, weights, water bottle – in or near this space so everything is ready when you are. Removing setup friction is one of the most effective strategies for maintaining an exercise habit.
Track Progress Beyond the Scale
The scale is one measure of progress, but it is not the most important one and it is often the most misleading. Track your progress by recording how long you can exercise before needing a break, how many reps or sets you can complete, how your clothes fit, how your energy levels feel throughout the day, how well you sleep, how your mood and stress levels compare to before you started, and any physical milestones like walking farther, lifting more, or touching your toes for the first time. These non-scale victories are more meaningful and more motivating than any number on a scale.
Invest in Good Gear Gradually
You do not need to buy everything at once. Start with whatever you have. As you discover which activities you enjoy most, invest in quality gear for those specific activities. Good shoes are worth the investment for any activity that involves your feet. A quality pair of plus-size leggings from Girlfriend Collective that stay in place during any workout is a worthwhile purchase. The All in Motion sports bras at Target provide excellent support at a price that allows you to buy multiples for frequent washing.
Be Patient and Kind to Yourself
Fitness is a lifelong practice, not a 30-day transformation. Some weeks you will exercise four times and feel amazing. Other weeks, life will intervene and you will manage once. Neither week defines you. What matters is that you keep coming back. The woman who exercises inconsistently for years is infinitely healthier than the woman who never starts. Give yourself grace, celebrate your effort, and remember that every single time you move your body – regardless of how long, how hard, or how “perfectly” – you are doing something powerful for your health and your life.
Key Takeaways
- The gym is not the only path to fitness – low impact workouts performed at home, outdoors, or in community spaces are just as effective for weight loss, strength building, and cardiovascular health.
- Swimming and water aerobics eliminate up to 90 percent of your body weight from the equation, making them ideal for plus-size women with joint concerns.
- Dance workouts disguise exercise as fun, and movements like hip rolls and body waves celebrate curvy bodies rather than trying to minimize them.
- Resistance bands provide progressive strength training without gym intimidation, and most exercises can be done standing without getting on the floor.
- The best workout is the one you enjoy enough to do consistently – finding a form of movement you genuinely like is the most important factor in long-term fitness success.
- Pick two to three activities you enjoy, schedule three to four sessions per week, and track progress beyond the scale using energy levels, endurance, strength, and how your clothes fit.
- Start where you are with what you have, invest in quality gear gradually as you discover your preferences, and give yourself grace on the weeks when life gets in the way.
Frequently Asked Questions
Are low impact workouts effective enough for weight loss?
Absolutely. Low impact does not mean low calorie burn. Swimming burns 400 to 700 calories per hour depending on intensity. Cycling burns 400 to 600 calories per hour. Even gentle activities like tai chi burn 200 to 300 calories per hour while building strength and flexibility. The key factor in weight loss is consistency over time, and low impact workouts are easier to sustain long-term because they do not cause the pain, injury, and burnout that drive people away from high-impact exercise. A study published in Obesity Reviews found that exercise adherence – not exercise intensity – was the strongest predictor of long-term weight loss success. Low impact workouts you do consistently will always outperform high-intensity workouts you quit after a month.
How many times per week should I work out?
For general health and weight management, aim for three to five sessions per week, each lasting 20 to 45 minutes. The American Heart Association recommends 150 minutes of moderate-intensity activity per week, which works out to about 30 minutes five days a week or 50 minutes three days a week. If you are just starting, three 20-minute sessions per week is a perfect beginning point. Increase gradually as your fitness improves. Rest days between workout days are important for recovery, especially when you are building new fitness habits. Doing too much too quickly leads to burnout and injury, which defeats the purpose entirely.
What if I have mobility issues or chronic pain?
Several workouts on this list are specifically well-suited for people with mobility limitations. Chair workouts can be done entirely from a seated position. Swimming and water aerobics support your body weight and reduce joint stress to near zero. Tai chi involves slow, controlled movements that can be modified for limited range of motion. Resistance band exercises can be done seated and adjusted to any strength level. Always consult your doctor or physical therapist before starting a new exercise program if you have chronic pain or mobility issues. They can help you identify which activities are safest for your specific condition and suggest modifications that keep you comfortable while building strength.
Do I need to buy expensive equipment?
No. Many of these workouts require little to no equipment. Dance workouts need only a clear space and music. Tai chi needs nothing but comfortable clothes. Hiking requires only appropriate shoes. Walking costs nothing. A set of resistance bands (under 30 dollars) and a yoga mat (under 25 dollars) open up dozens of workout options. The most important investment is a good pair of supportive shoes appropriate for your chosen activity – this is the one area where spending a bit more pays off in comfort, injury prevention, and workout enjoyment. Everything else can be acquired gradually as your practice evolves.
How do I stay motivated when I am working out alone at home?
Home workouts require different motivation strategies than gym workouts. Schedule your workouts on your calendar and treat them as non-negotiable appointments. Follow along with video instructors so you feel guided rather than alone. Join online fitness communities where plus-size women share their workout experiences and encourage each other. Track your progress in a journal or app and celebrate milestones. Create a workout playlist that energizes you. Set out your workout clothes the night before so there is less friction in the morning. Find an accountability partner – a friend, family member, or online buddy who checks in with you about your workouts. And on days when you truly do not want to exercise, commit to just five minutes. Most of the time, once you start moving, the resistance fades and you finish the full workout.