Hair
The shoulder-grazing plateau is almost never about growth. It is about what is happening at the ends, on your pillow, and sometimes in your bloodwork. Here is the honest, science-backed breakdown.
By Brielle Carter · Hair
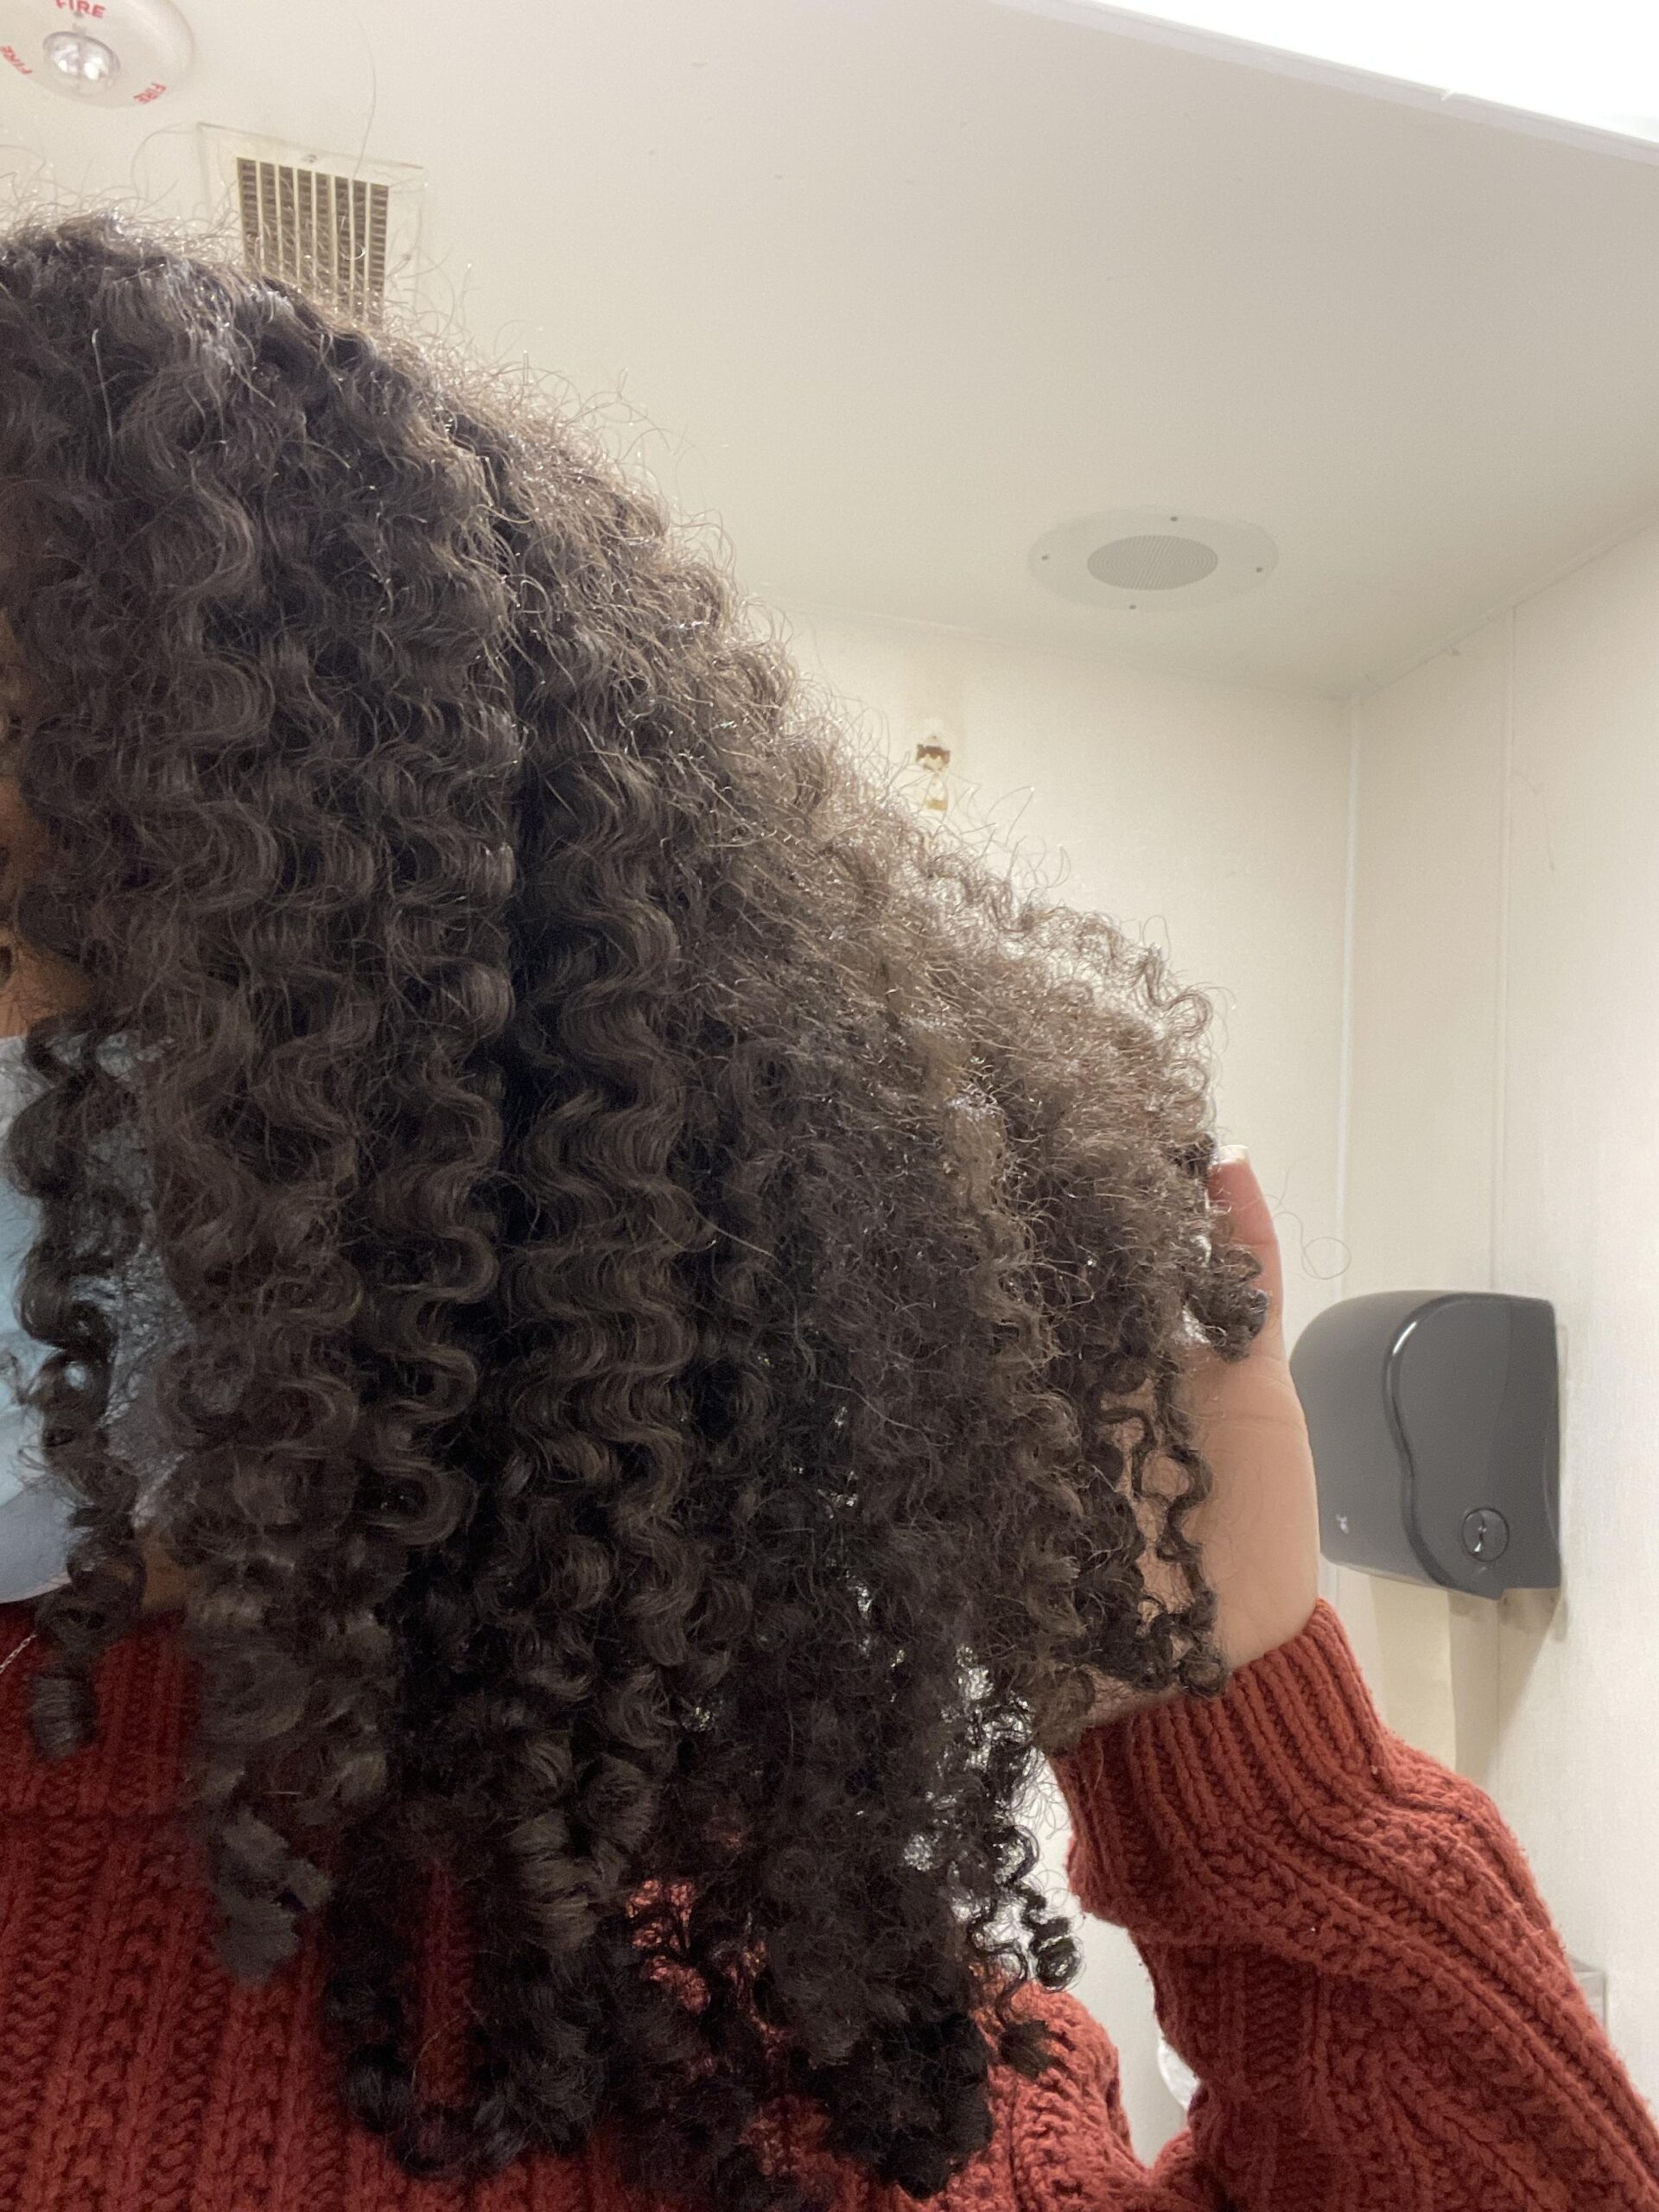
There is a Reddit comment that has been haunting my tabs for weeks. A woman wrote, in r/curlyhair, “I finally cut six inches off because I thought my hair just refused to grow past my collarbone for three years. After the cut, my hair started ‘growing’ again within four months.” Hundreds of replies underneath were some version of the same realization. The hair was always growing. The ends were just leaving the building at the same speed.
This is the single most important thing to understand about hair length, and almost nobody says it plainly: if your hair has been the same length for a year, you do not have a growth problem. You have a retention problem. The fix lives in a completely different aisle of the drugstore.
Hair grows on average about half an inch per month, according to the American Academy of Dermatology. That is six inches a year, give or take, depending on genetics, age, and health. If you have not gained six inches in a year, the strands grew and then snapped, split, or were trimmed off without you realizing how much was leaving. The follicle is doing its job. The shaft is failing in the field.
Bridgette Hill, the certified trichologist behind the Root Cause Scalp Analysis platform, has said in multiple interviews that the overwhelming majority of “my hair won’t grow” complaints are breakage stories the client can’t see happening in real time. Strand by strand, on the bathroom floor, in the shower drain, on the back of a sweater, the inches disappear.
So before you spend another sixty dollars on a growth serum, let us walk through the ten causes that actually explain the plateau. Some are styling. Some are medical. All are fixable once you know which one is yours.
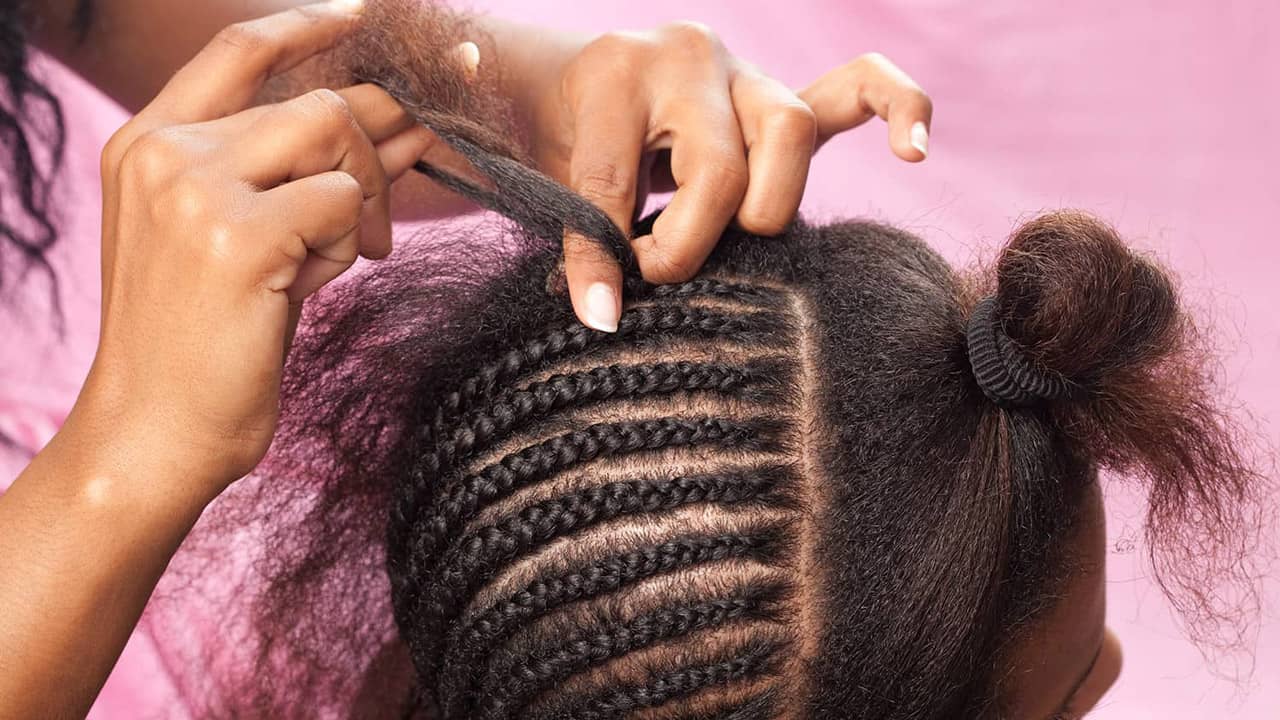
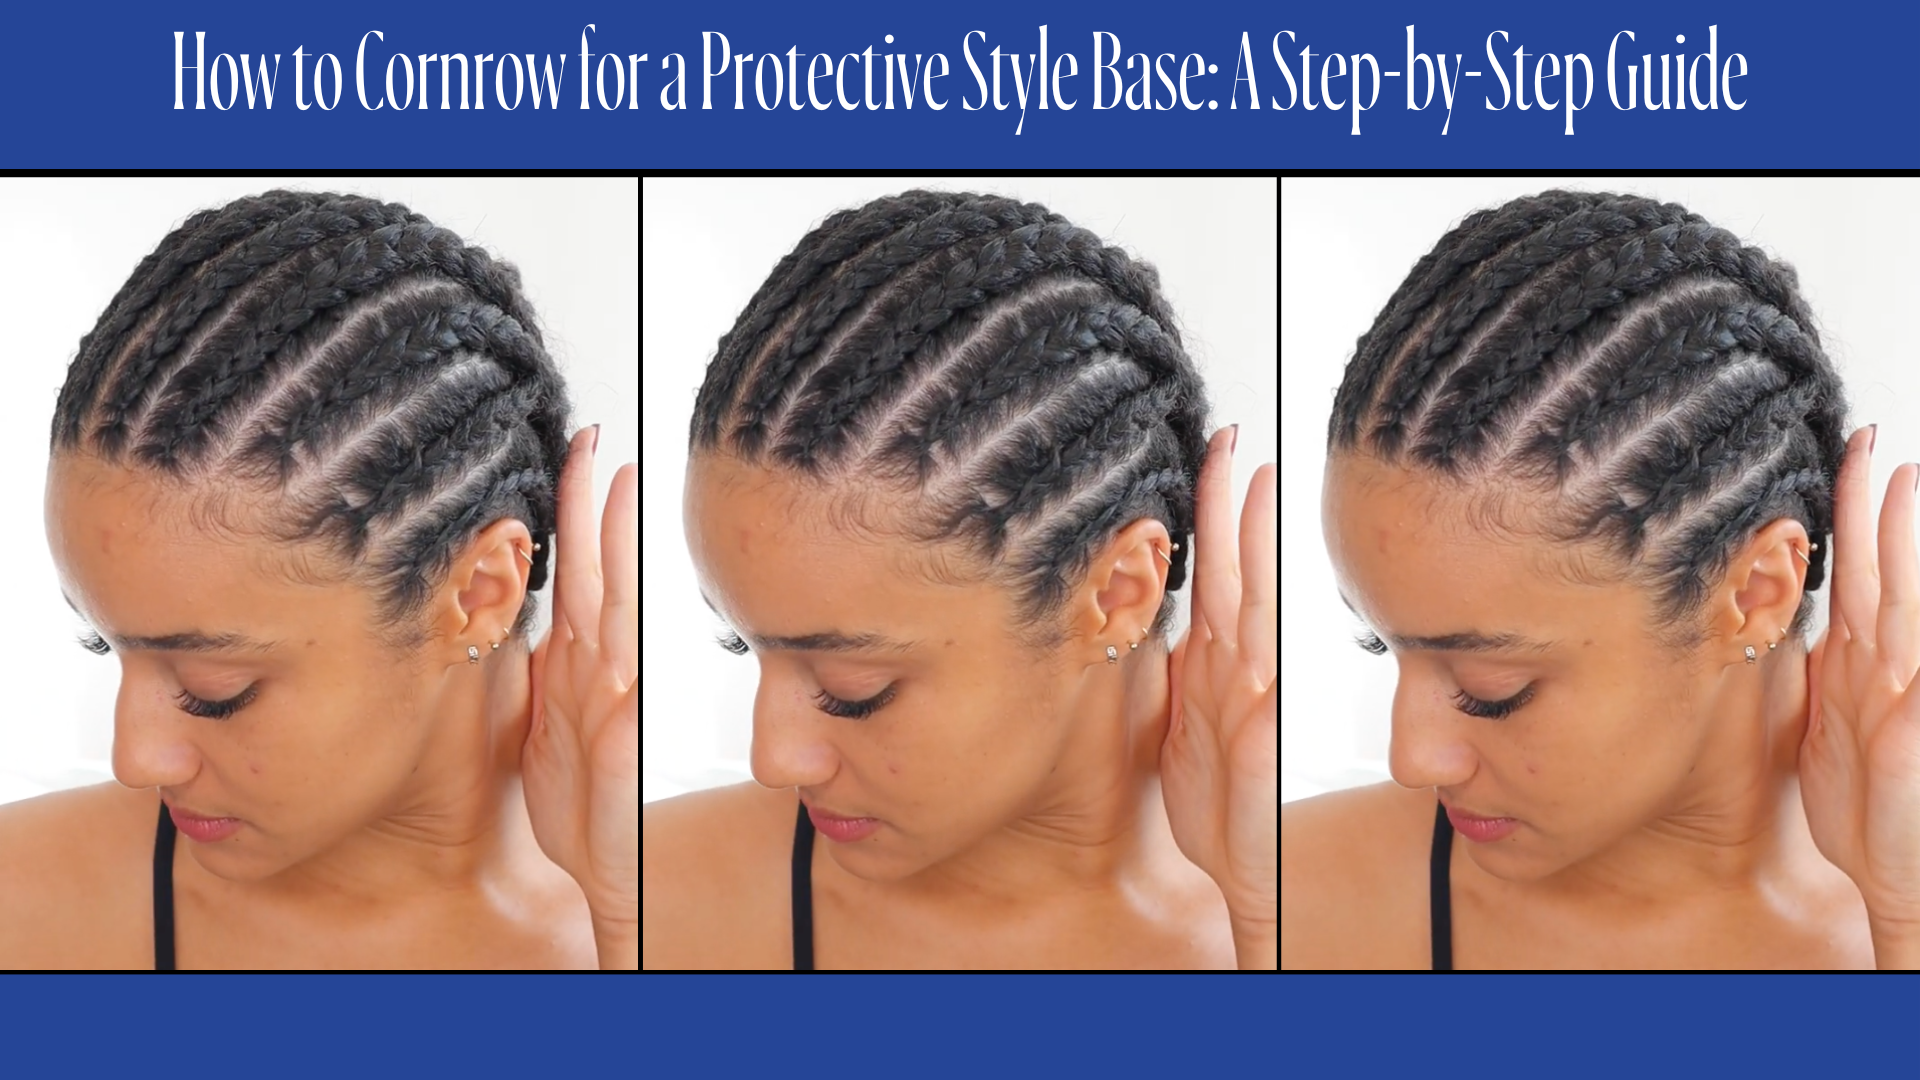
1. Traction: The Slow, Invisible Pull

Traction alopecia is the most common form of hair loss in Black women, and the data isn’t subtle. Dr. Crystal Aguh, the Johns Hopkins dermatologist who co-authored the textbook
Fundamentals of Ethnic Hair: The Dermatologist’s Perspective
, has been blunt in her published work: chronic tension from tight protective styles is the single biggest preventable cause of long-term thinning at the hairline and temples.
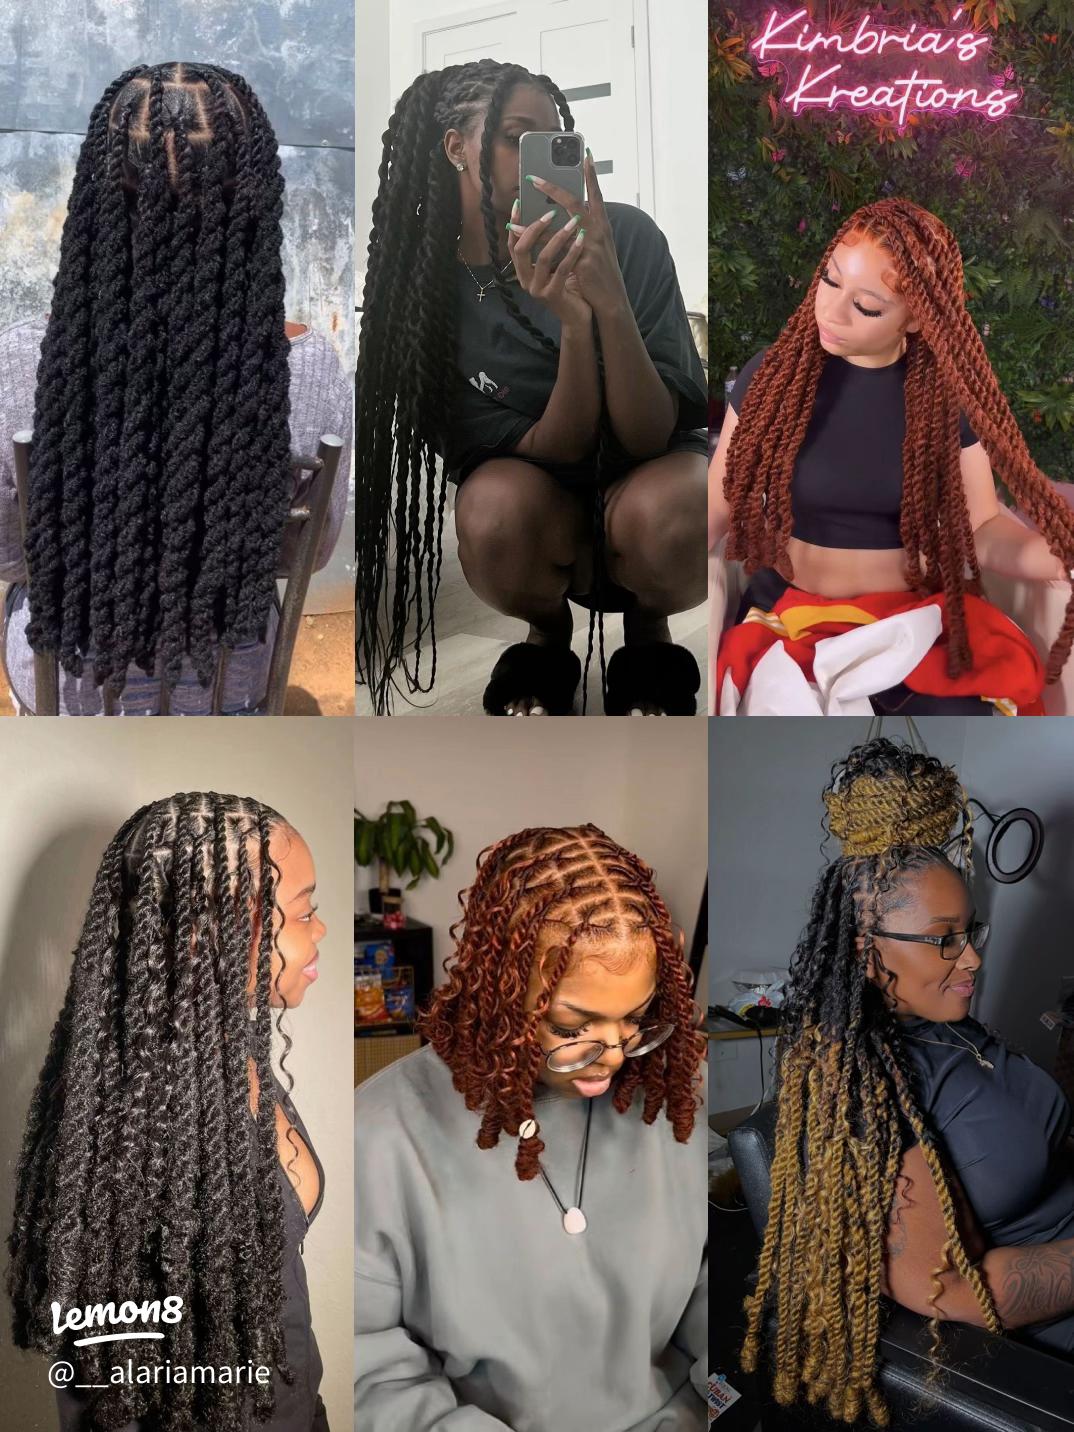
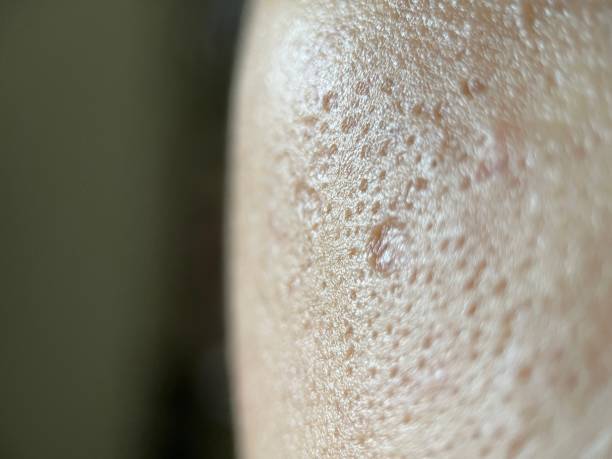
The styles themselves are not the villain. Box braids, sew-ins, ponytails, and twists are not inherently damaging. The tension is. If you have ever taken down a style and seen tiny white bulbs on the roots of the loose hairs, those are follicles that were pulled out before they were ready to shed. Do that for years and the follicle gives up.
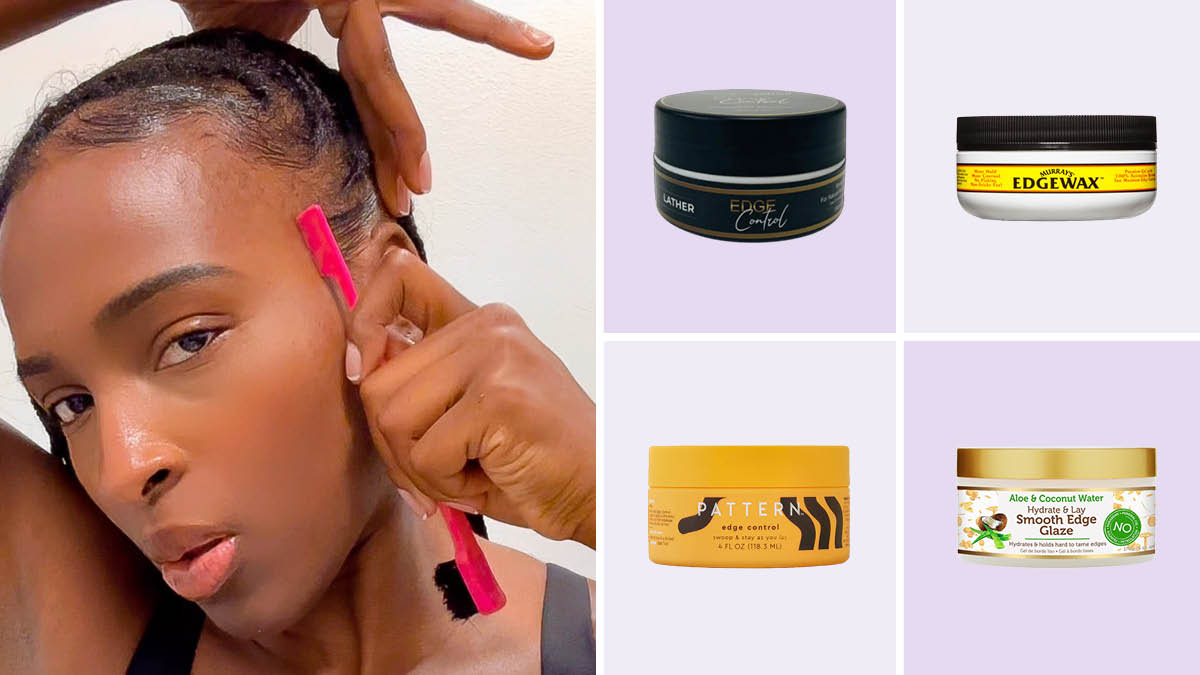
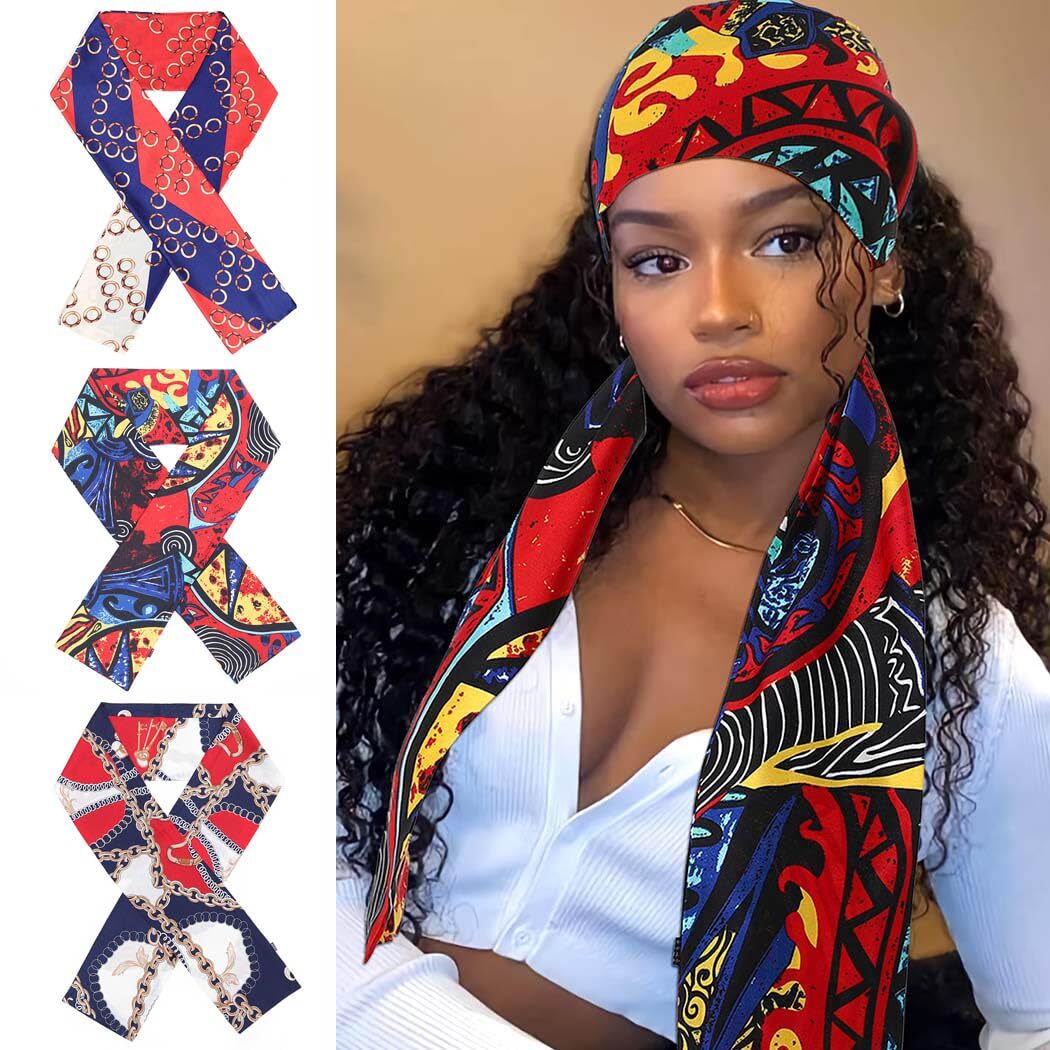
The fix is not “stop wearing protective styles.” The fix is to tell your stylist, out loud, “looser at the perimeter.” Refuse the style if your scalp burns or you cannot lift your eyebrows for two days. Take down styles at six to eight weeks, never longer. Alternate tension styles with low-tension styles like flat twists or buns. A wide silk edge scarf at night protects the perimeter while you sleep.
2. Heat Damage Is Not Always Visible Right Away
Heat damage is sneaky because it does not announce itself in the moment. You flat iron your hair, it looks beautiful, you go to bed, and three washes later the curl pattern in one section has gone limp and stringy in a way that no conditioner is fixing. That section is not bouncing back. That is structural change to the cortex.
Aeleise Jana, the curl educator and co-founder of Black Curl Magic, has been preaching this for years: heat isn’t the enemy, but unprotected, high-temperature, repeated heat is. Blow-dry on high every wash, flat iron weekly at 410 degrees, skip the heat protectant, and you’re slowly cooking the protein bonds that give your strand its shape.
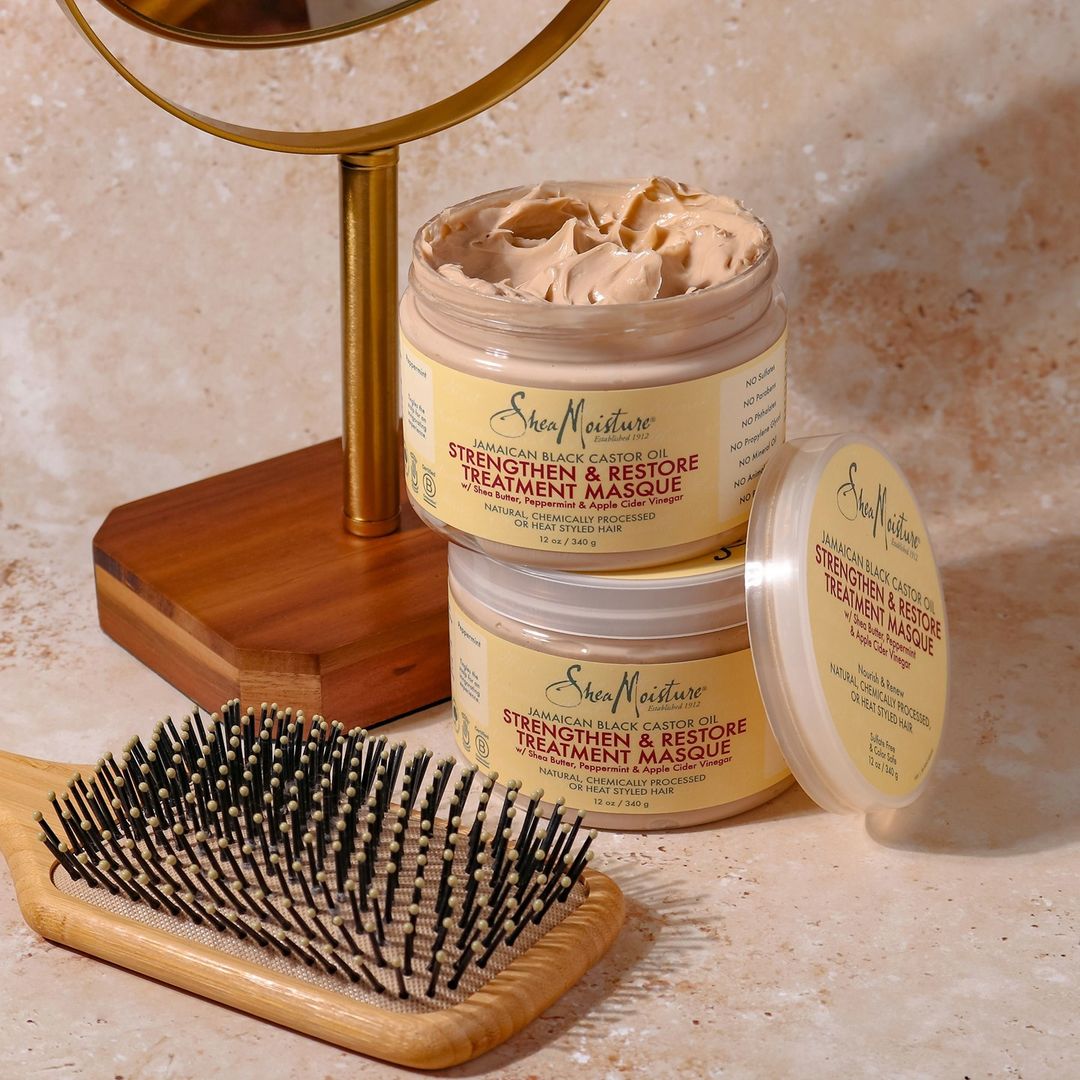
The retention move is to be ruthless about three things. Keep flat iron temperatures under 365 degrees for fine or color-treated hair, under 400 for coarser textures. Always use a heat protectant with a silicone or hydrolyzed protein base. Cap direct heat at twice a month. A reliable heat protectant spray is non-negotiable if you own a flat iron at all.
3. Chemical Damage: The Relaxer and Color Combo

If you relax and color, you are running two oxidative processes through the same strand, and the strand is keeping the receipts. Relaxers break disulfide bonds. Permanent color lifts the cuticle and deposits dye inside. Both processes are aggressive on their own. Stacked on the same hair, especially overlapping previously processed areas, the cortex thins out and the hair snaps mid-shaft long before it has a chance to reach the length you want.
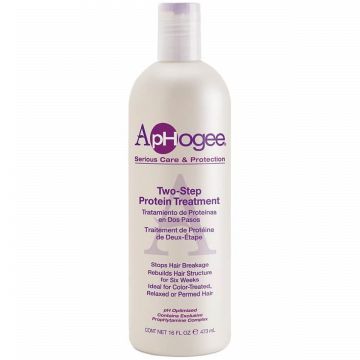
Dr. Aguh has talked at length about this stacking effect, and her recommendation is consistent: if you are committed to both, you need a minimum of two weeks between services, you need a deep bond-repair treatment in the routine, and you need to be honest with yourself about whether you are willing to do the maintenance. Color over relaxed hair is not a casual choice. It is a long-term commitment to protein treatments, regular trims, and gentler styling between appointments.
If your hair has been the same length for two years and you relax plus color, the answer is almost certainly here. Drop one of the two. Or commit to a bond-repair system like a professional bond-repair treatment in your weekly rotation. There is no third option that ends with longer hair.
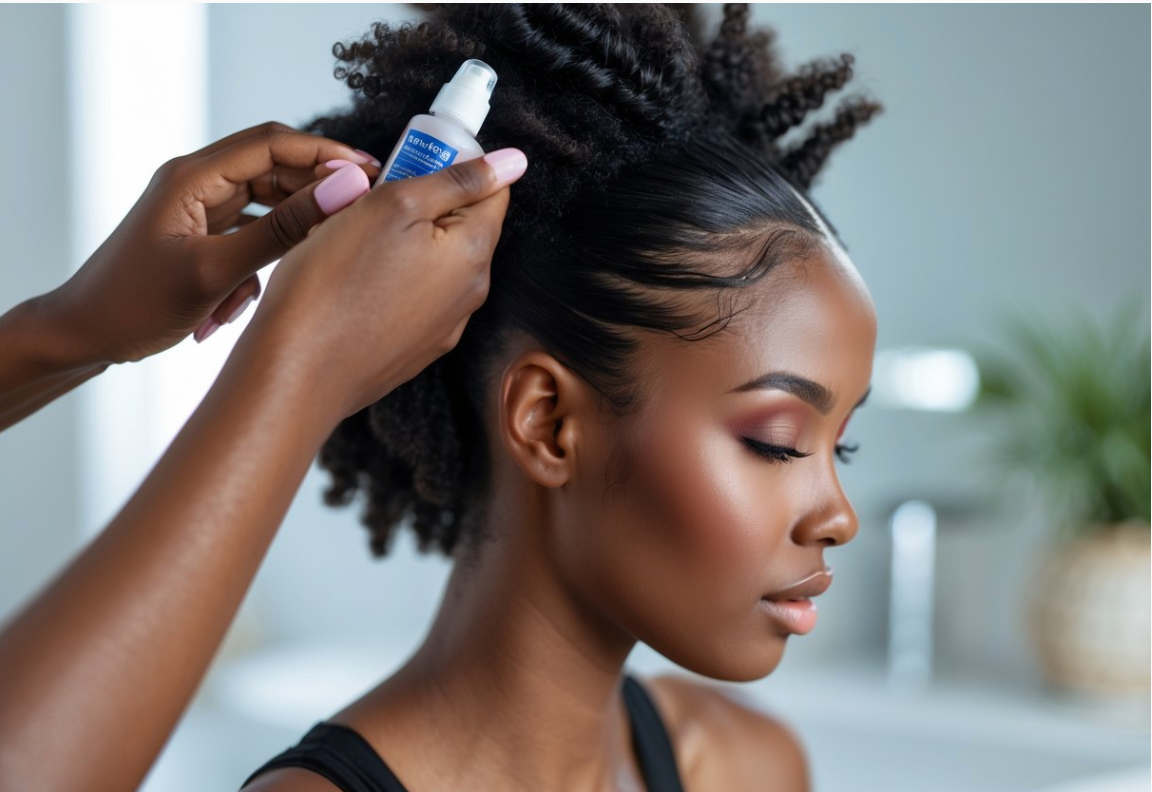
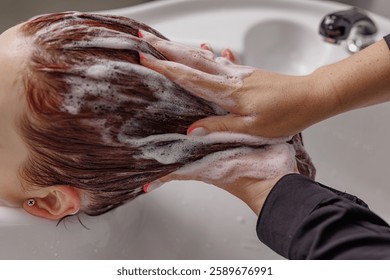
4. You Are Using the Wrong Products for Your Porosity

Porosity is one of those words that gets thrown around on TikTok by people who do not actually know what it means. Here is the simple version: porosity describes how easily your hair cuticle lets moisture in and how well it holds onto it. Low porosity hair has a tight cuticle that resists absorption. High porosity hair has a raised cuticle that lets moisture in fast but loses it just as fast.
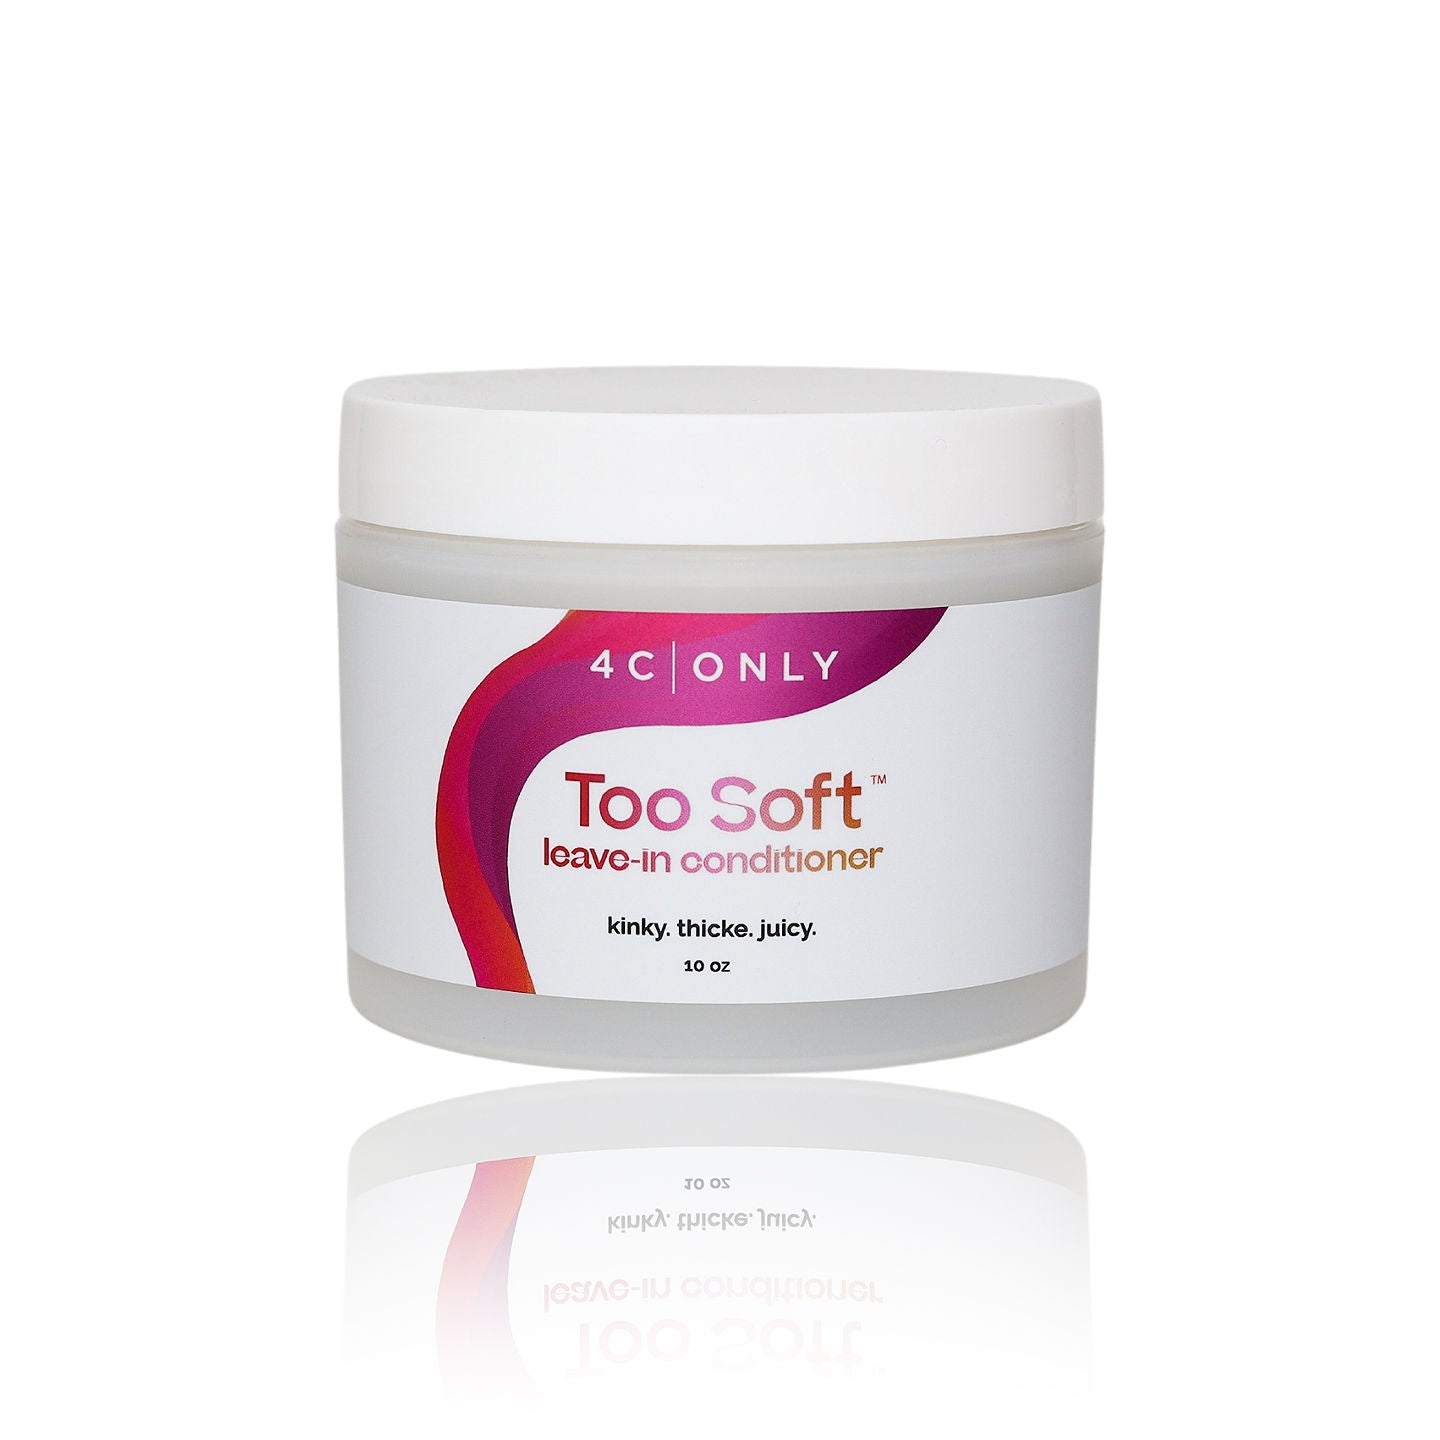
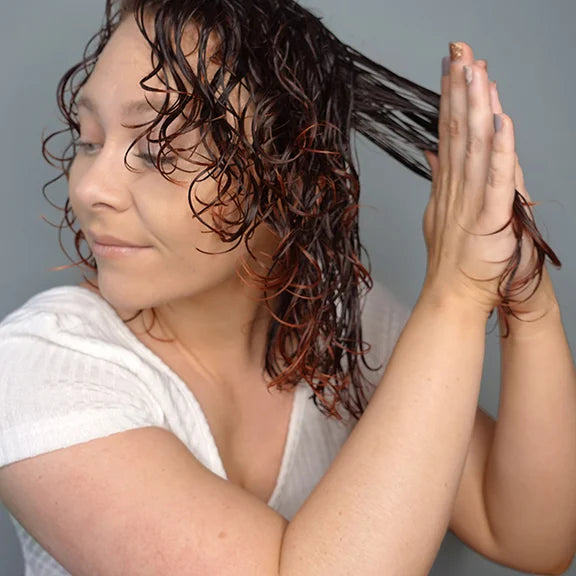
Why does this matter for length? Because if you are slathering heavy butters and oils on low porosity hair, the products are sitting on top of the strand, attracting lint, and leaving the inside of the hair dehydrated. Dehydrated hair breaks. If you are using lightweight humectants on high porosity hair without sealing them in, the moisture evaporates within hours and the cuticle is left raised and rough, which leads to tangles, which leads to breakage.
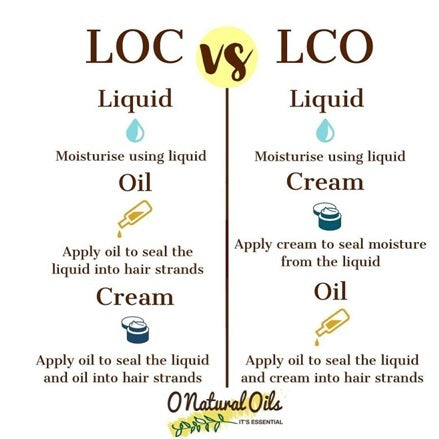
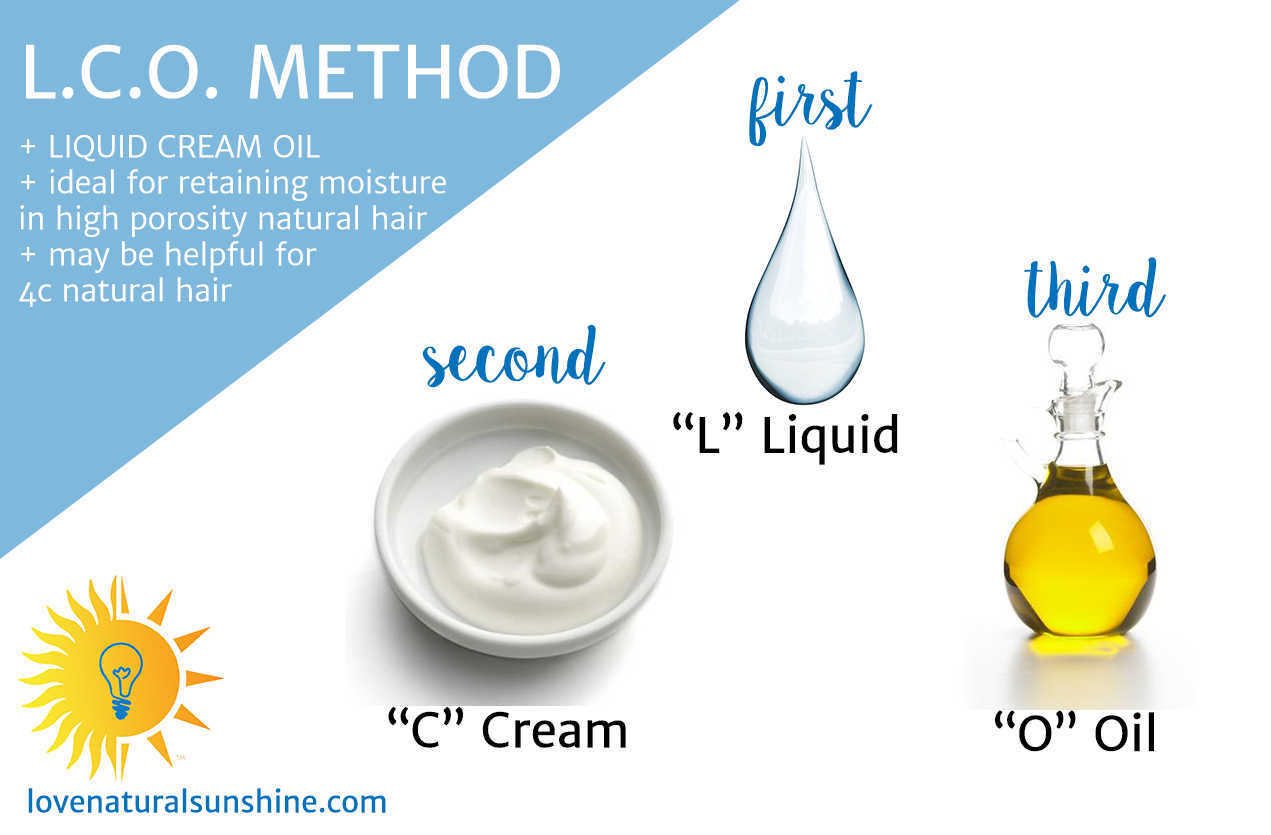
The float test is a decent home indicator, but a better one is paying attention. Does your hair feel coated and gunky a few days after wash day? Probably low porosity. Does it feel dry within hours of a deep condition no matter what you put on it? Probably high porosity. Match your products accordingly. Low porosity wants heat to open the cuticle during deep conditioning, plus lighter humectant-based leave-ins. High porosity wants protein, sealants, and the LCO method (liquid, cream, oil).
5. Protein and Moisture Are Not Optional, They Are a Balance
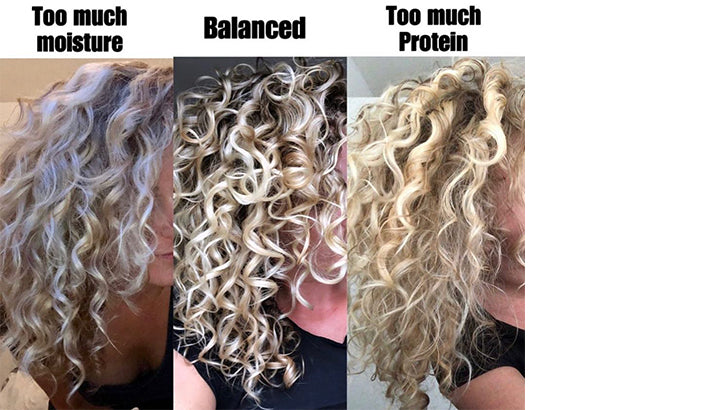
This is the diagnostic question I wish more people asked themselves before buying another product. Take a wet strand and stretch it gently. If it stretches and stretches and never bounces back, your hair needs protein. If it snaps almost immediately with no stretch, it needs moisture. If it stretches a little, bounces, and then breaks, you are roughly in balance.
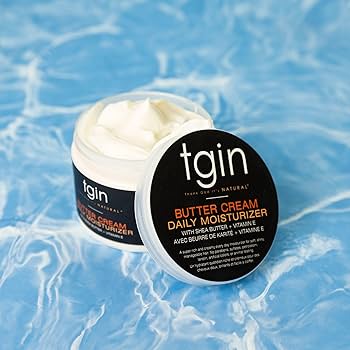
Most breakage at the shoulder mark comes from a chronic imbalance one way or the other. People who deep condition with rich, creamy products every week often end up over-moisturized and noodly. People who lean heavily on rice water and protein treatments without follow-up hydration end up brittle. Either extreme breaks. The midpoint holds.
A reasonable rhythm for most textures is one protein treatment every four to six weeks, alternated with weekly moisture-focused deep conditioning. If your hair is colored, relaxed, or heat-styled, push protein closer to every three weeks. If your hair is virgin and low porosity, protein once every two months might be plenty.
6. You Are Skipping Trims, Which Costs You Length
I know. Nobody wants to hear this one. But hear it anyway: skipping trims does not save length. It costs you length. A split end travels up the strand. If you let a split sit for six months, it does not stay where it started. It walks up the shaft, splitting further as it goes, until eventually the strand snaps somewhere above the original split and you lose three inches instead of the quarter inch you would have lost with a timely trim.
The trichologist consensus, which Bridgette Hill has echoed in multiple interviews, is dusting every eight to twelve weeks for most textures. Dusting means a millimeter or two off the very ends, not a full chop. You are not losing length. You are stopping the splits before they migrate. Done consistently, dusting is what lets people grow waist-length hair without the ends looking stringy and translucent.
If you cut your own ends, get a pair of proper hair shears and never, ever use kitchen scissors. Dull blades crush the strand instead of slicing it, which creates new split ends immediately. The shears are an investment of maybe twenty dollars and they last for years.
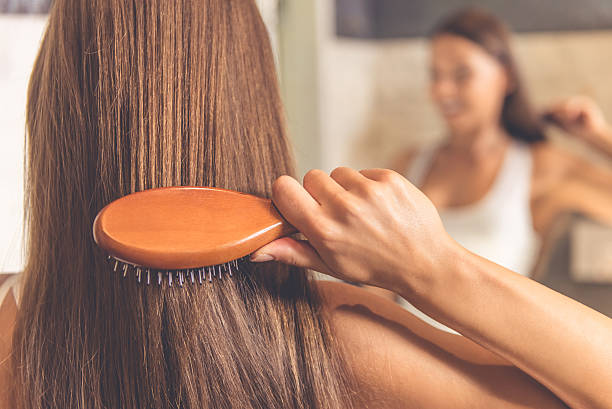
7. Your Pillowcase Is Sandpaper

This sounds small. It is not. Cotton pillowcases are abrasive, absorbent, and rough on the cuticle of your hair. You spend roughly a third of your life with your head pressed against one. Multiply seven hours a night by 365 nights by however many years, and the friction adds up to a measurable amount of mechanical damage to your strands.
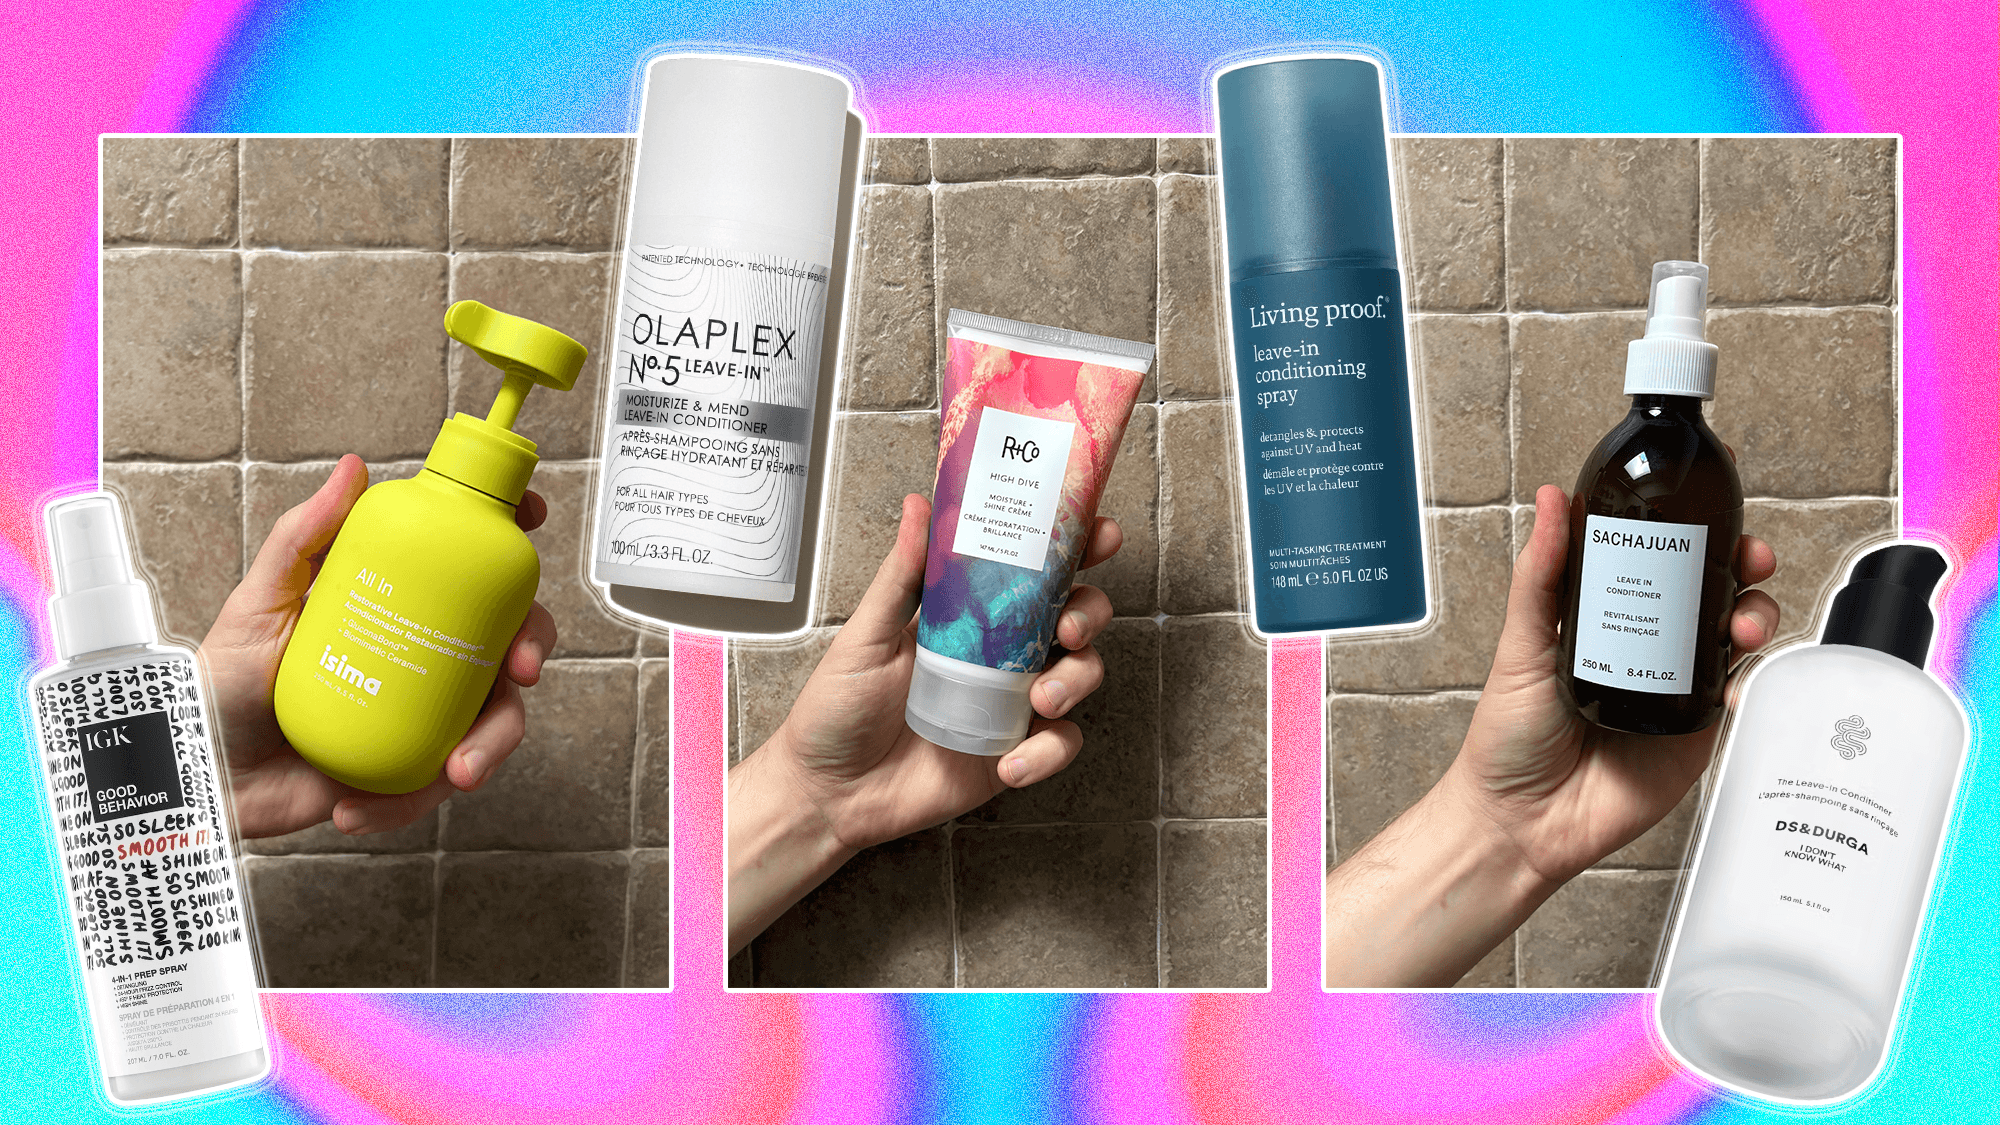
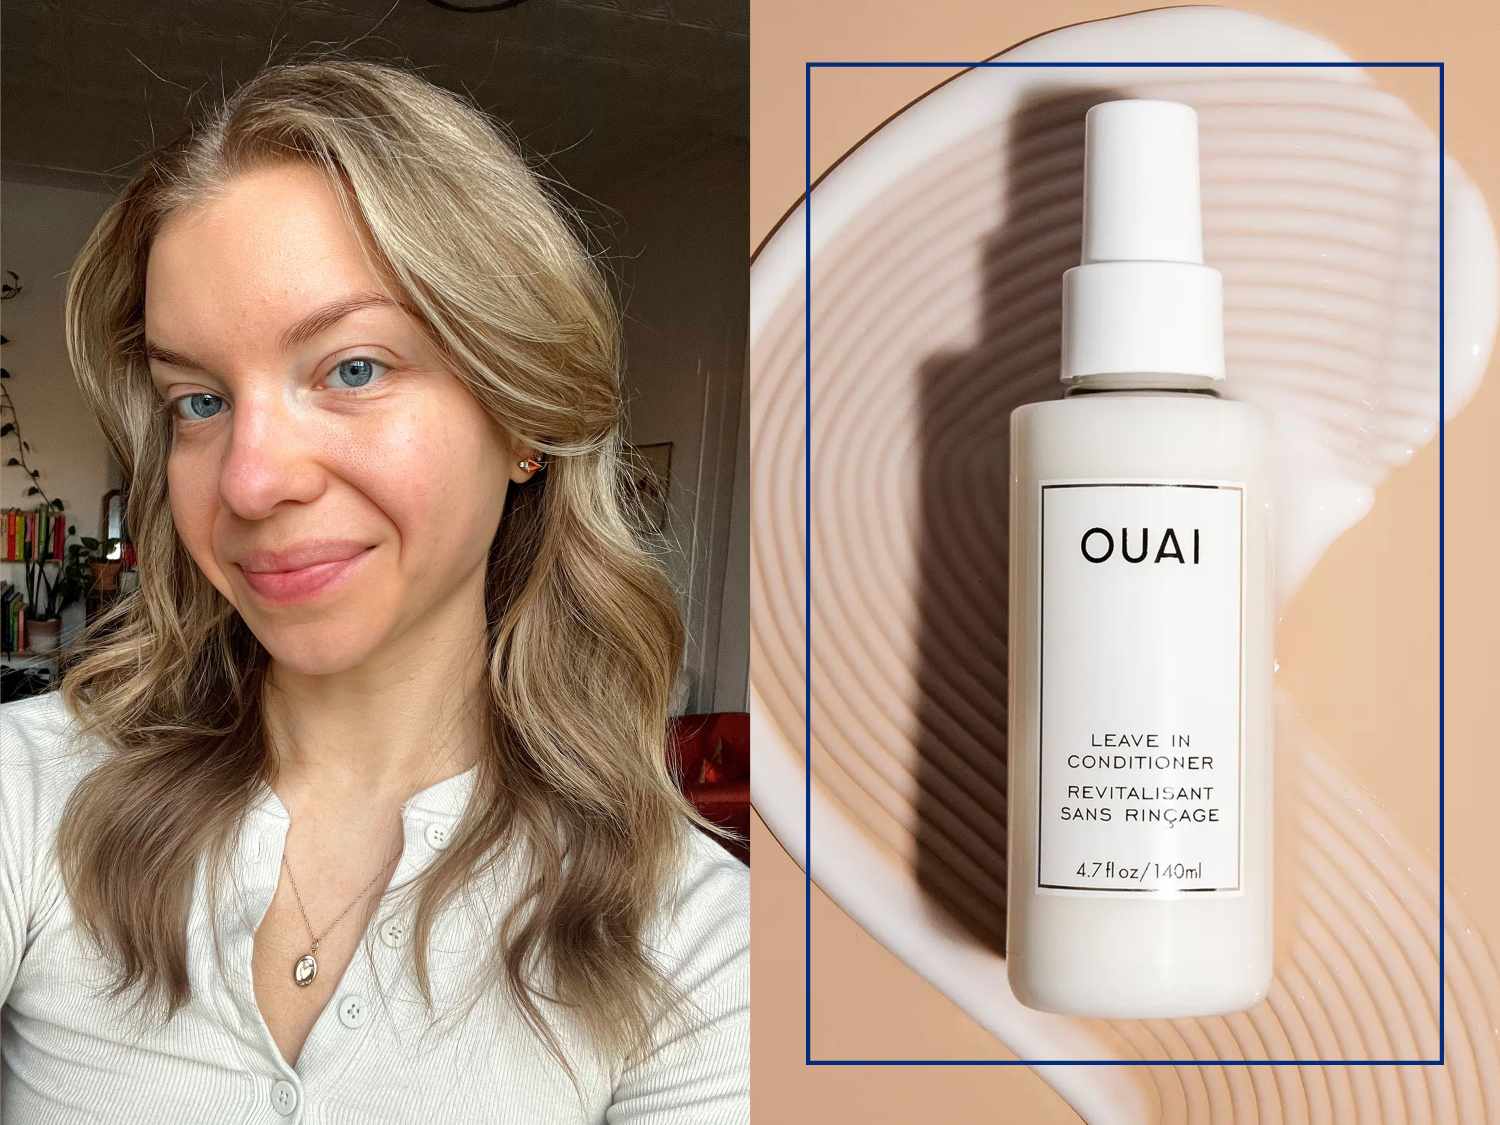
Silk or satin pillowcases reduce friction dramatically. They also do not wick moisture out of your hair the way cotton does, which means you wake up with the leave-in conditioner still doing its job instead of soaked into the pillow. If a full silk pillowcase is outside your budget, a satin bonnet does the same work for cheaper. Either one. Just not bare cotton, not for hair you are trying to keep on your head.
8. The Bloodwork Conversation Nobody Wants to Have

Now we get to the part that is not in your shower caddy. If you have addressed everything above and your hair is still shedding more than feels normal, or you have noticed thinning at the part line, or your ponytail is genuinely half the diameter it was two years ago, it is time for blood work. This is not a “buy a different shampoo” problem. This is a “ask your doctor for a full panel” problem.
The labs that matter for hair are ferritin, vitamin D, vitamin B12, thyroid stimulating hormone (TSH), free T4 and T3, and a complete blood count. Ferritin is the big one. It measures stored iron, and the threshold for hair retention is meaningfully higher than the threshold a lab will flag as deficient. Most dermatologists who specialize in hair want ferritin above 70 ng/mL for active hair growth, but standard lab reference ranges will not flag anything above 15 as low. You can be technically “normal” on paper and shedding heavily.
Vitamin D under 30 ng/mL has been associated with increased shedding in multiple studies. B12 deficiency, especially in vegetarians and people on long-term acid reducers, will absolutely show up in your hair before it shows up anywhere else. Push for the bloodwork. Push for the actual numbers, not just the “you are fine” phone call. Then advocate for supplementation if you are low.
9. Thyroid: The Quiet Saboteur

Hypothyroidism causes diffuse hair shedding. This is well-documented and not controversial. If your hair has thinned all over your head, your eyebrows are sparser at the outer edges, you are tired in a way coffee does not fix, your skin is dry, and you are cold when nobody else is, please get your thyroid checked. The full panel, not just TSH. Some people have antibodies (Hashimoto’s) that show up on TPO testing even when TSH looks borderline normal.
Treating thyroid does not regrow hair overnight. It takes three to six months after levels normalize before shedding noticeably slows. But it absolutely does slow, and the new growth comes in. I have watched friends and clients go from thinning ponytails to full ponytails within a year of thyroid treatment, and the missing piece had been on a lab form the whole time.
10. PCOS and the Androgen Question

Polycystic ovary syndrome affects an estimated one in ten women of reproductive age, and elevated androgens are part of the picture for many of them. Androgens drive a pattern of hair thinning at the crown and the part line that looks different from the diffuse shedding of thyroid or iron deficiency. If your part is widening, your ponytail feels thinner specifically at the top, and you have other PCOS signals like irregular cycles, cystic acne along the jawline, or unwanted hair on the chin or chest, this conversation belongs with your gynecologist.
The treatments here are medical. Spironolactone, oral contraceptives that lower androgens, and in some cases topical minoxidil, are the evidence-based options. This is not a supplement problem. This is a hormonal problem, and the people who can fix it have a prescription pad.
What an Actual Length Retention Routine Looks Like
Pulling this together into something you can actually do: keep tension styles looser and shorter, cap direct heat at twice a month with a real protectant, deep condition weekly, alternate protein and moisture, dust your ends every two to three months with proper shears, sleep on silk or under a satin bonnet, and get your full bloodwork run once a year minimum.
That is the routine. There is no magic serum and no eight-step regimen that will outwork the basics. The people with the longest, healthiest hair you know are doing some version of this list, often without thinking about it.
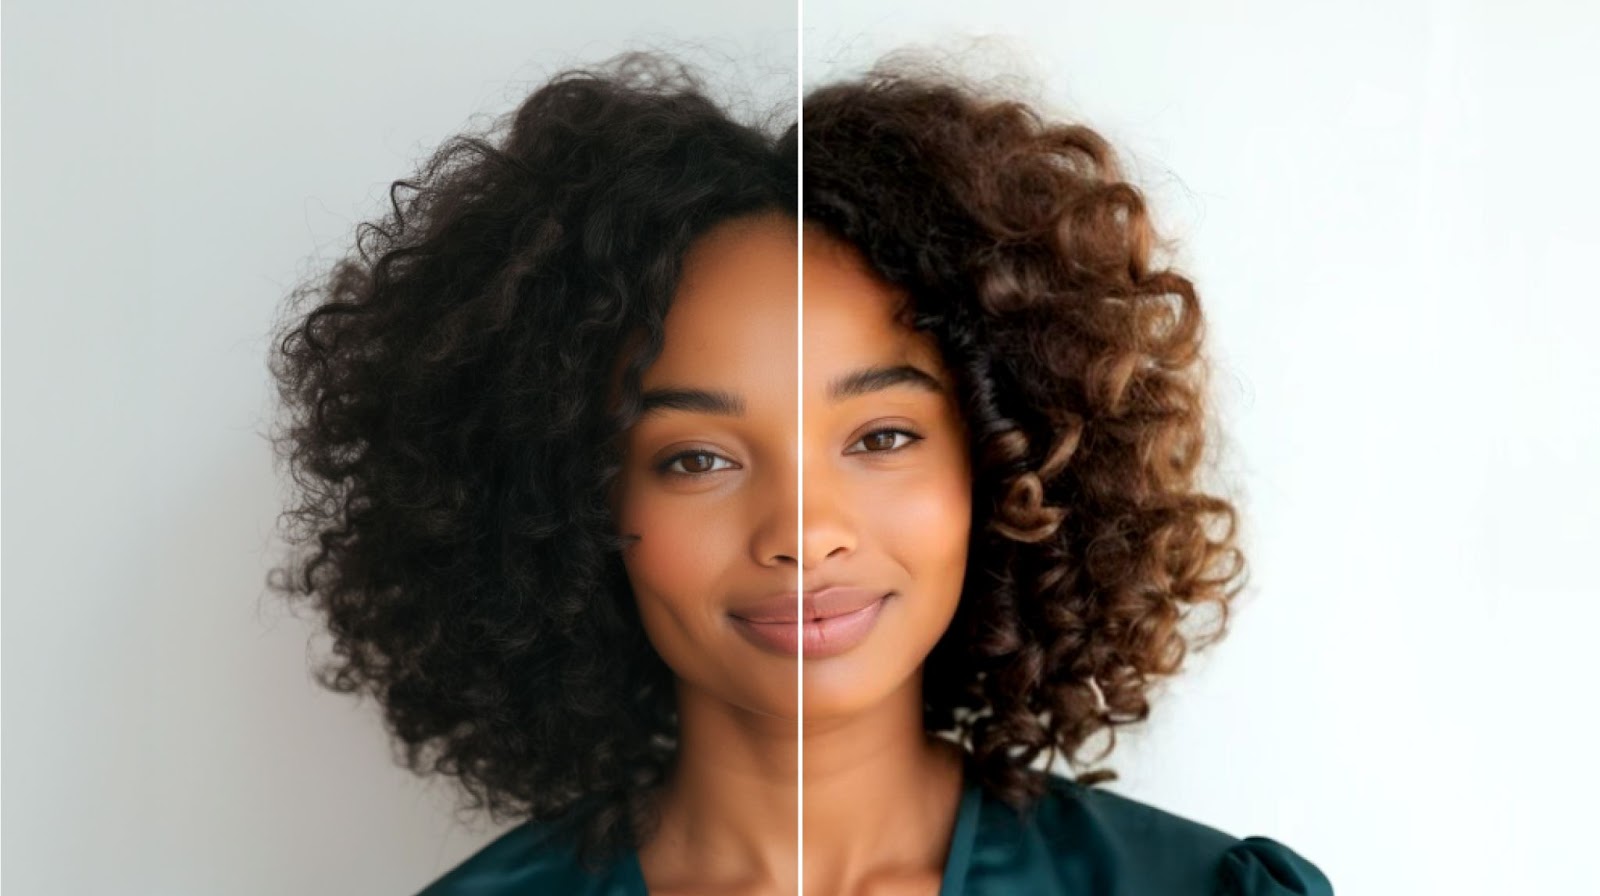
The honest truth is that hair growth is not the bottleneck. Your follicles are working overtime whether you are paying attention or not. The job is to let what grows actually stay on your head long enough to count. Once you flip the mental switch from “how do I grow my hair faster” to “how do I lose less of what I am already growing,” the problem reorganizes itself into something you can solve.
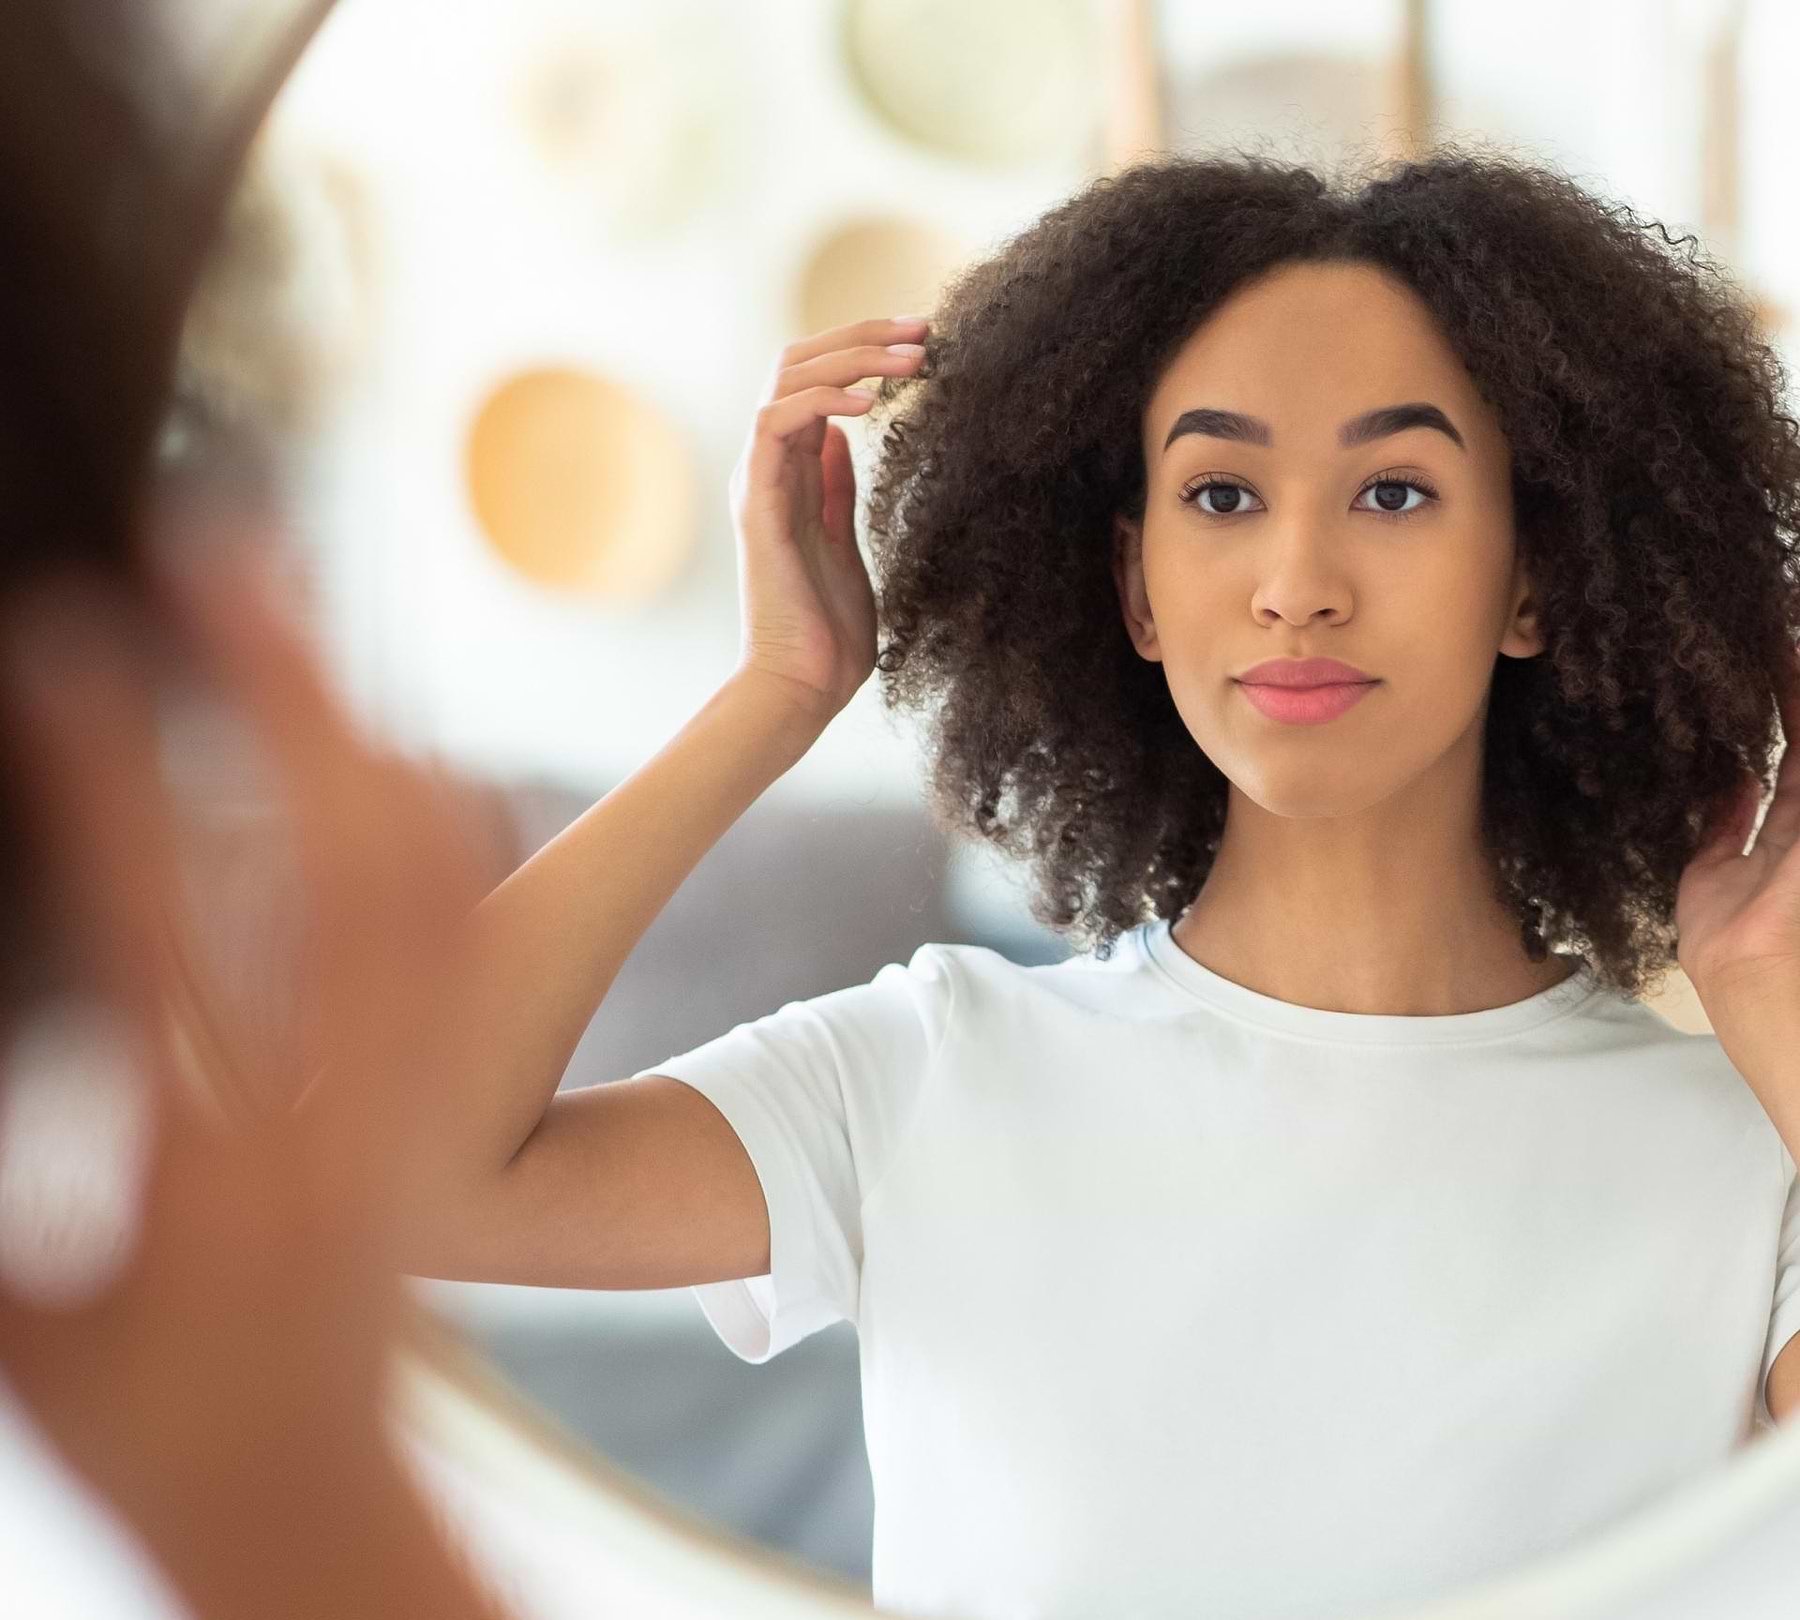
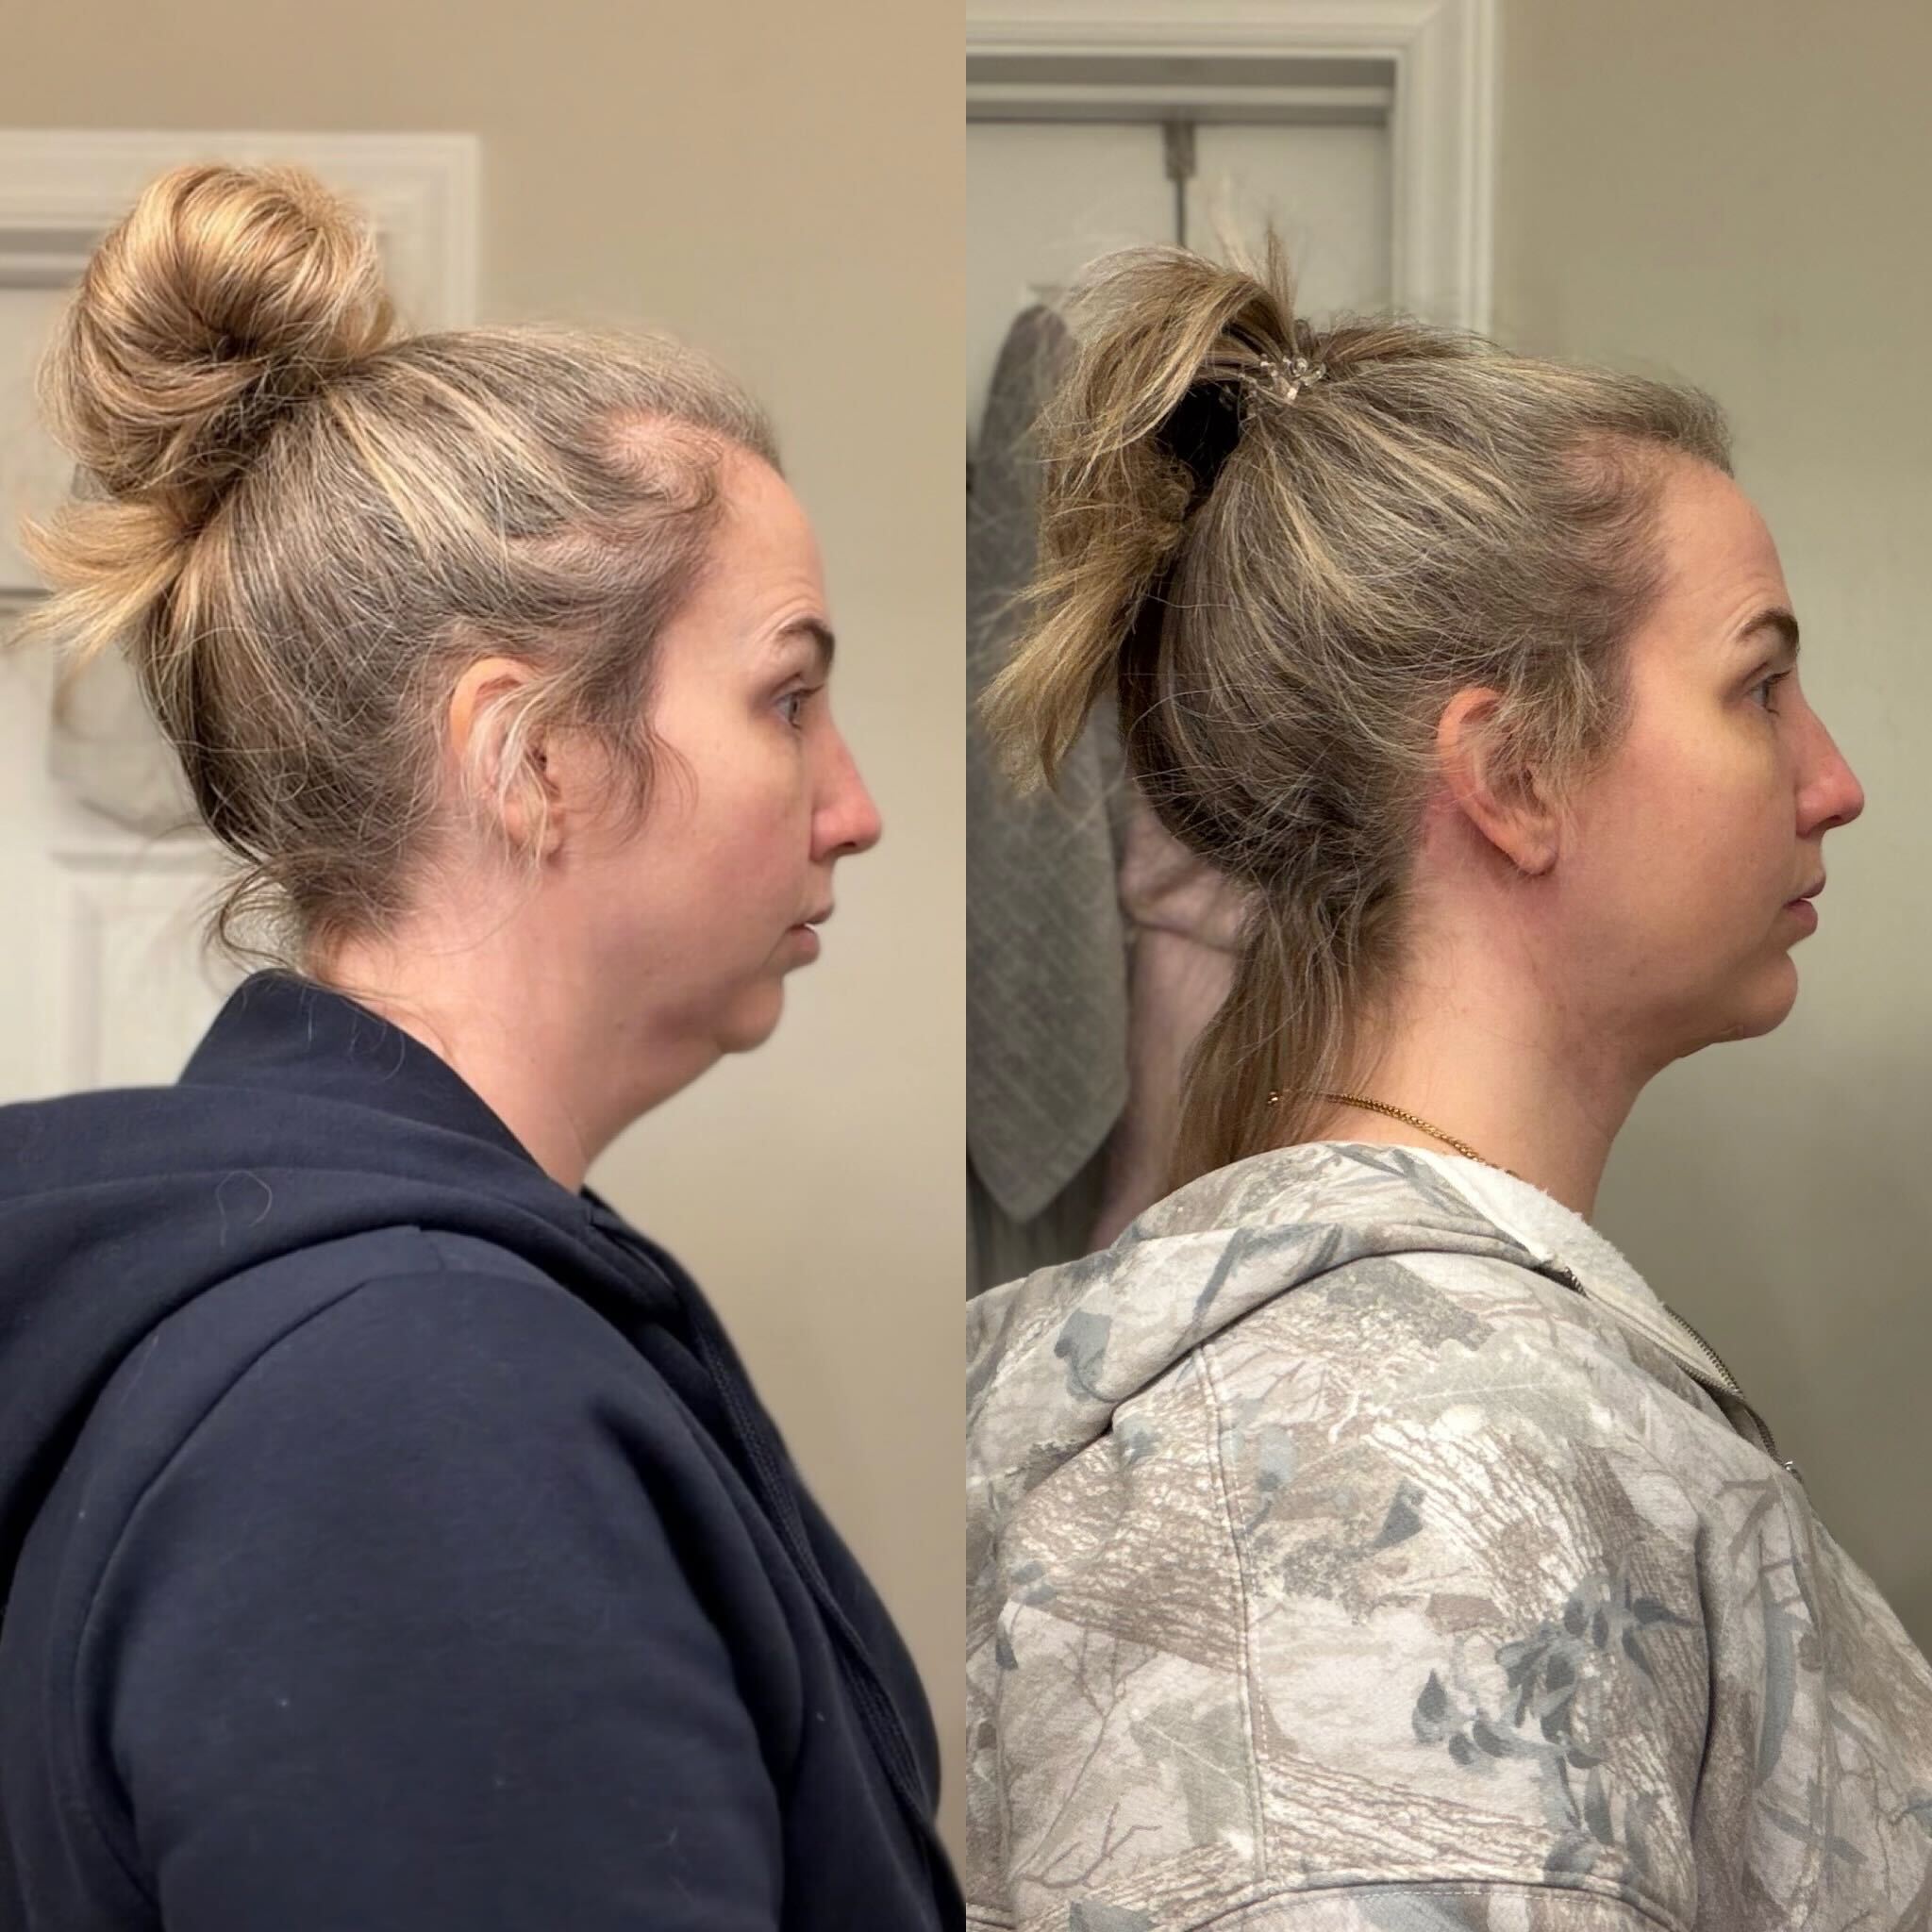
Take the one-year photo. Compare it next May. If you have addressed the items on this list honestly, you will see the difference in the ends, in the density, in the part line. And if you have done everything and still see no progress, that is your sign to push harder on the medical side. The hair is telling you something. Listen to it.