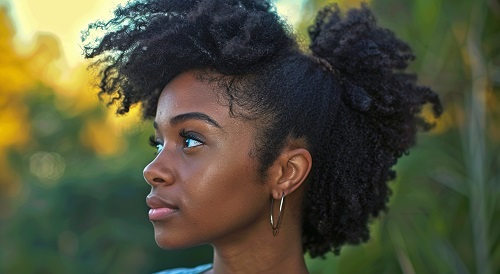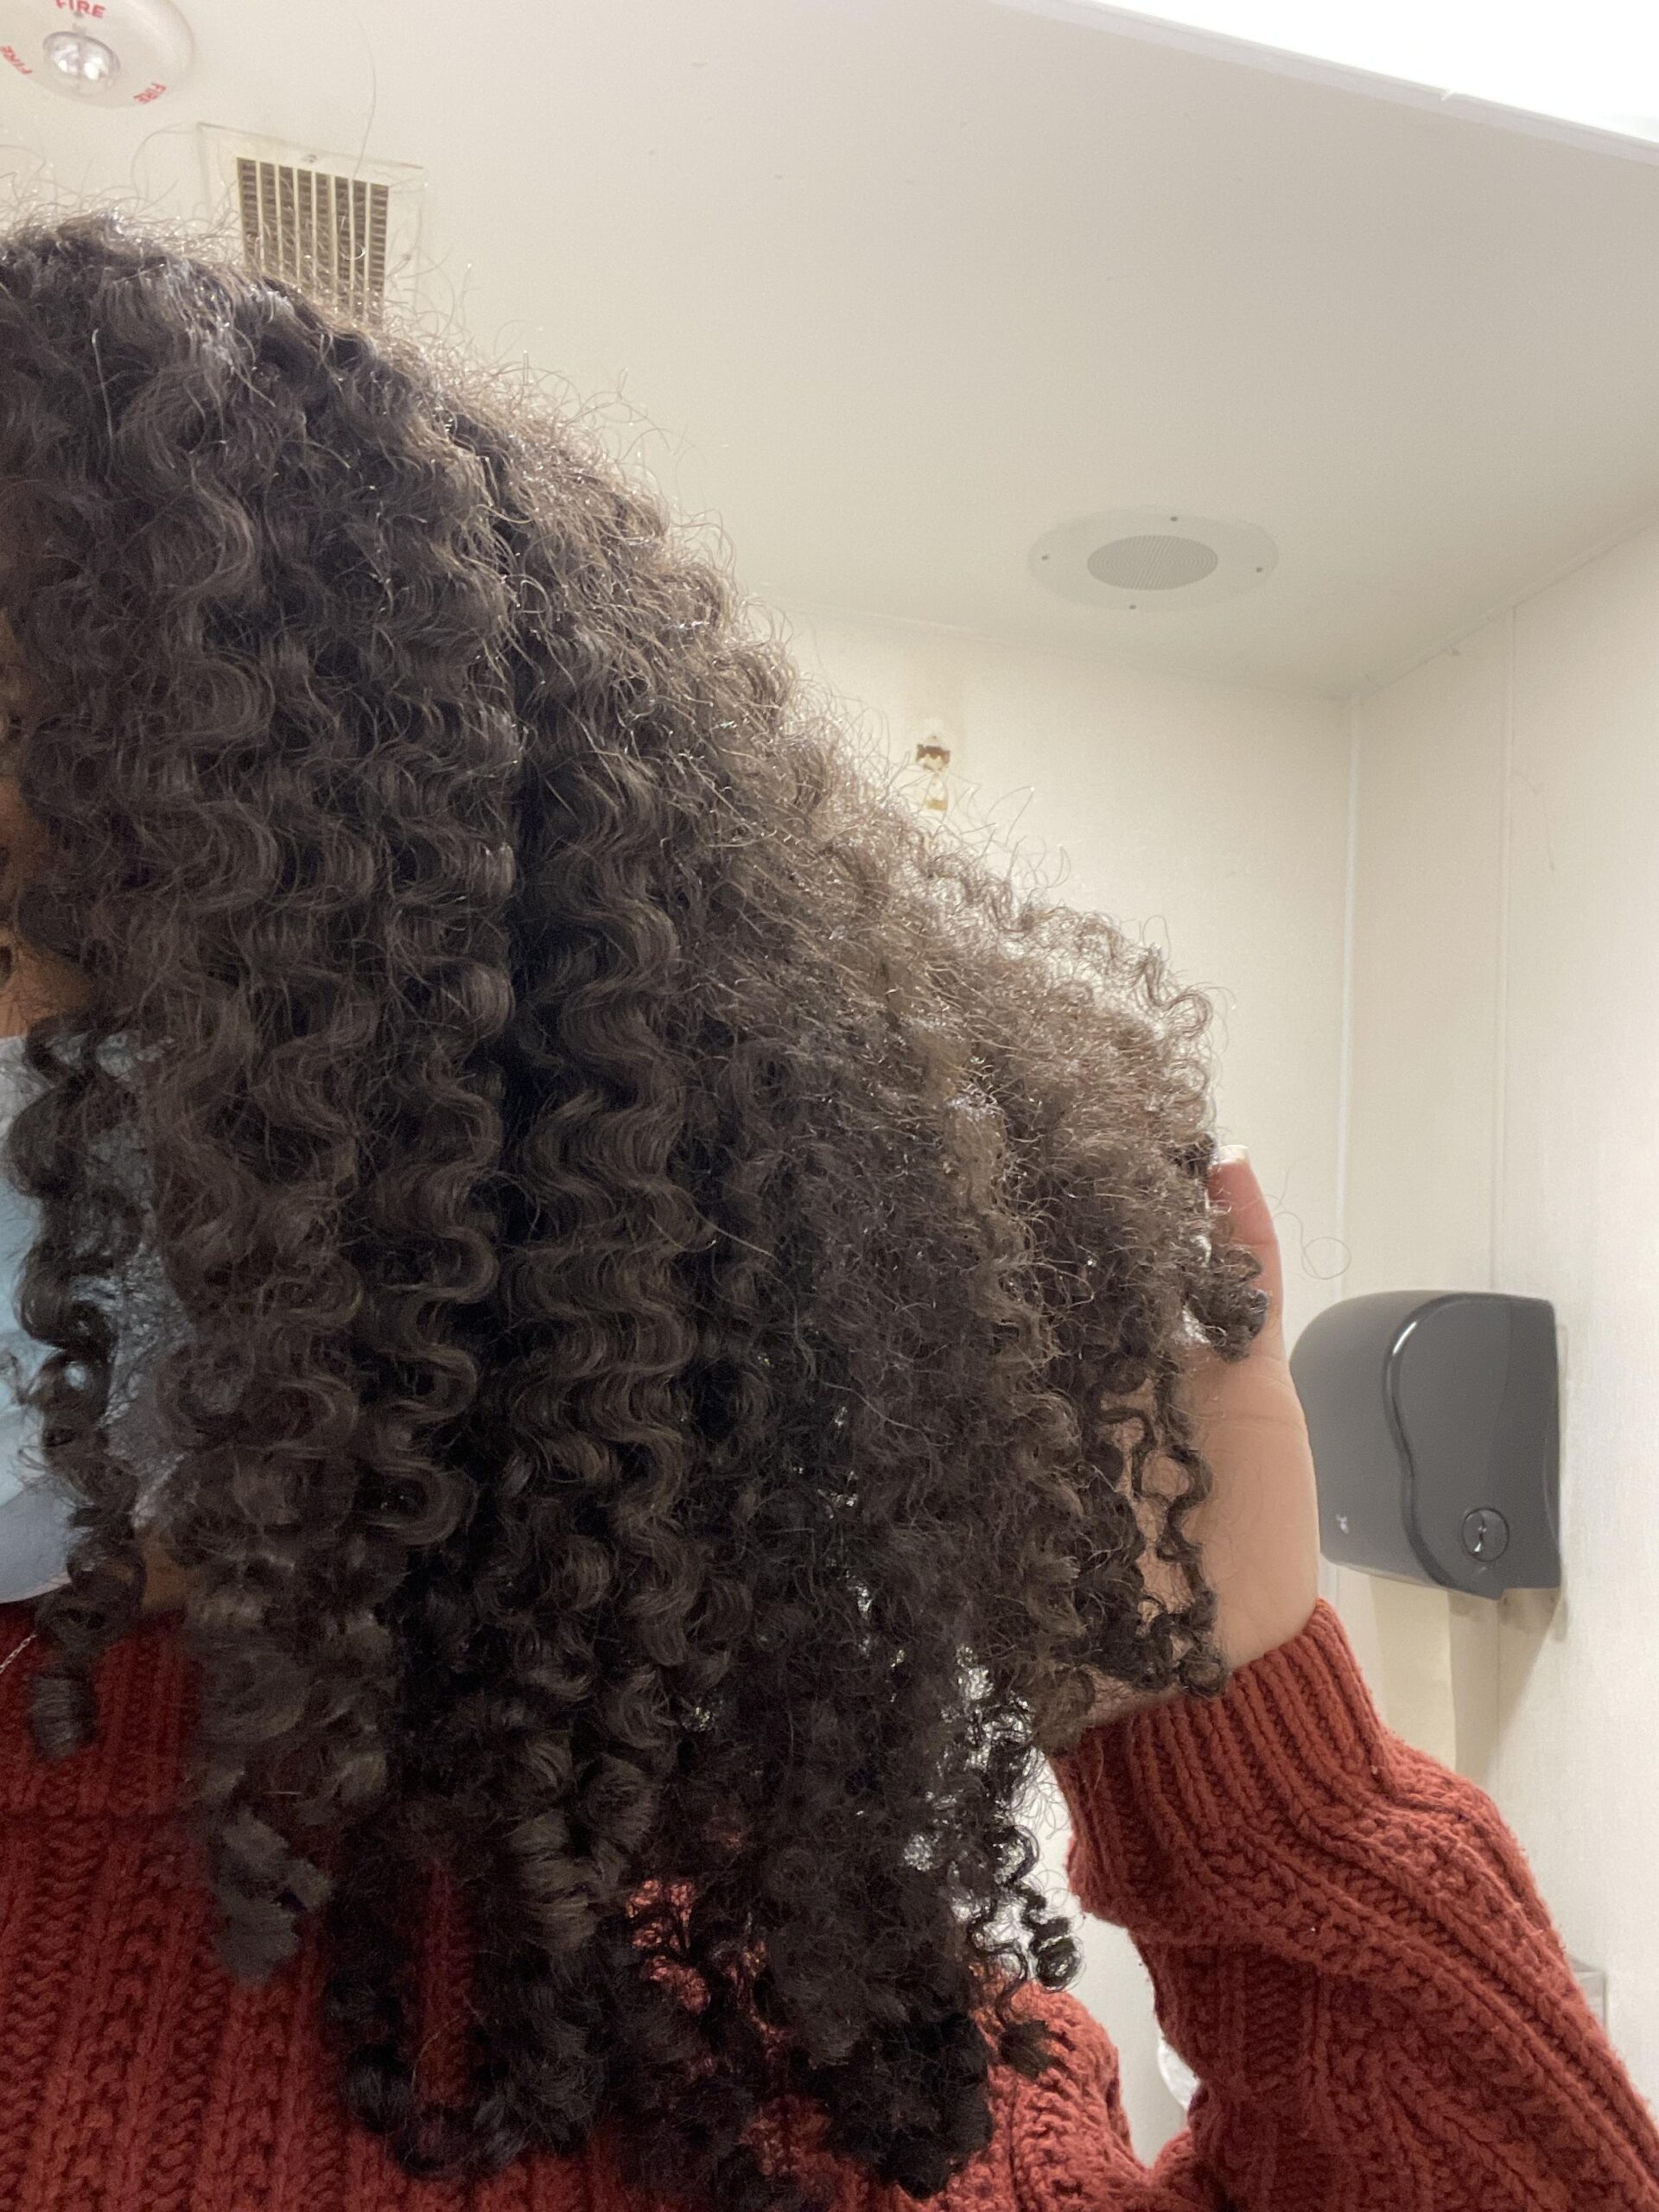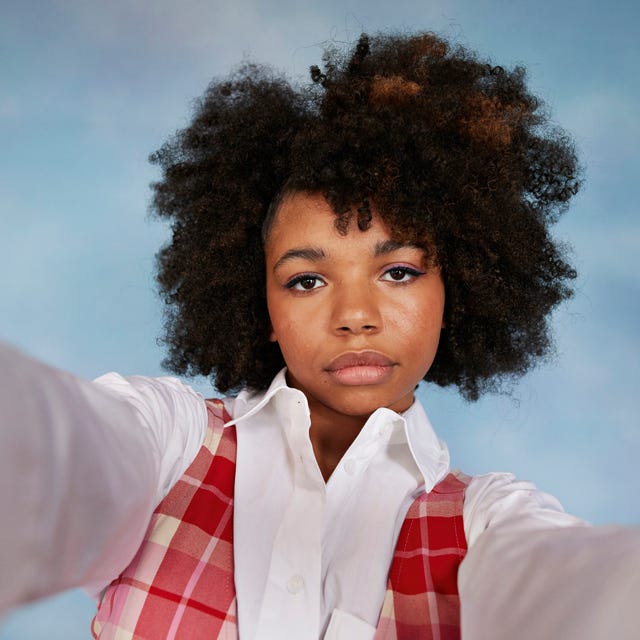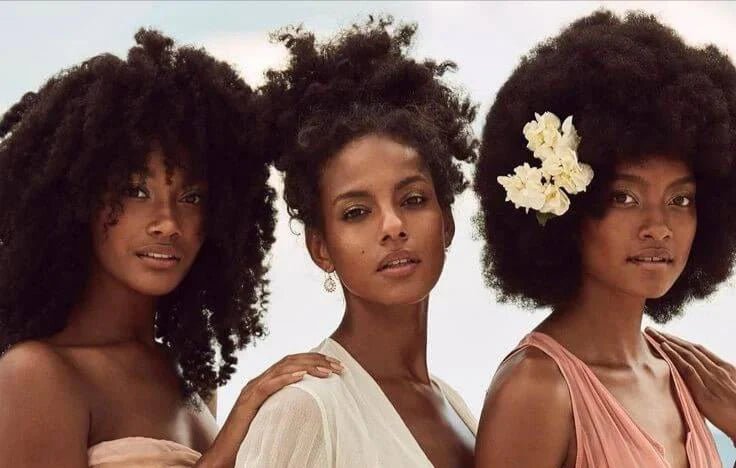
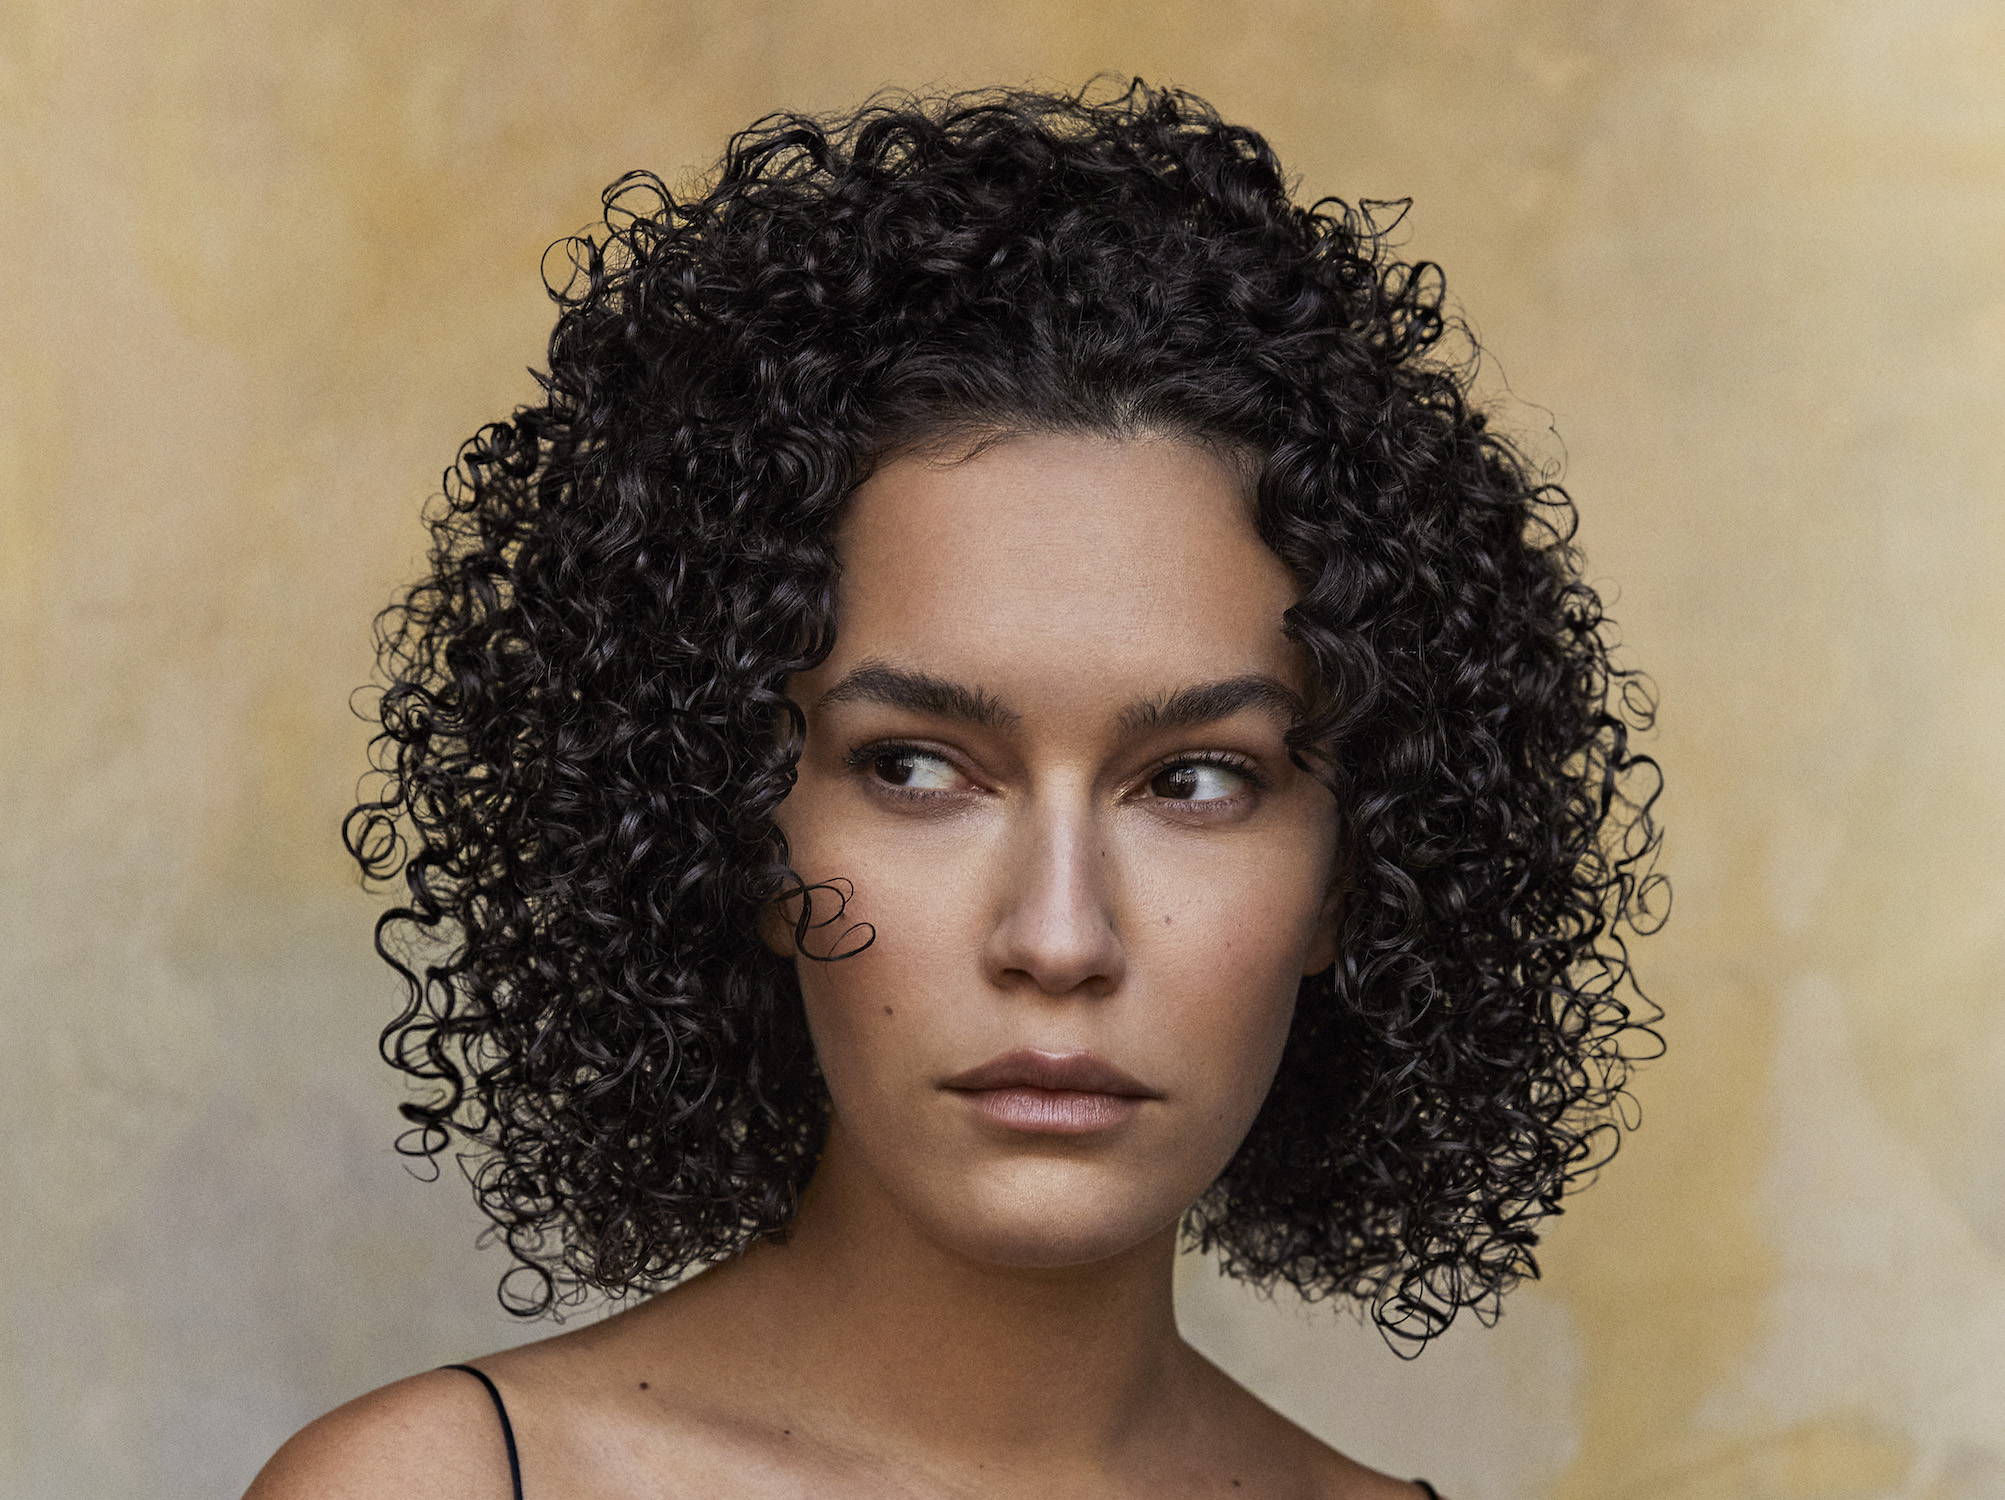
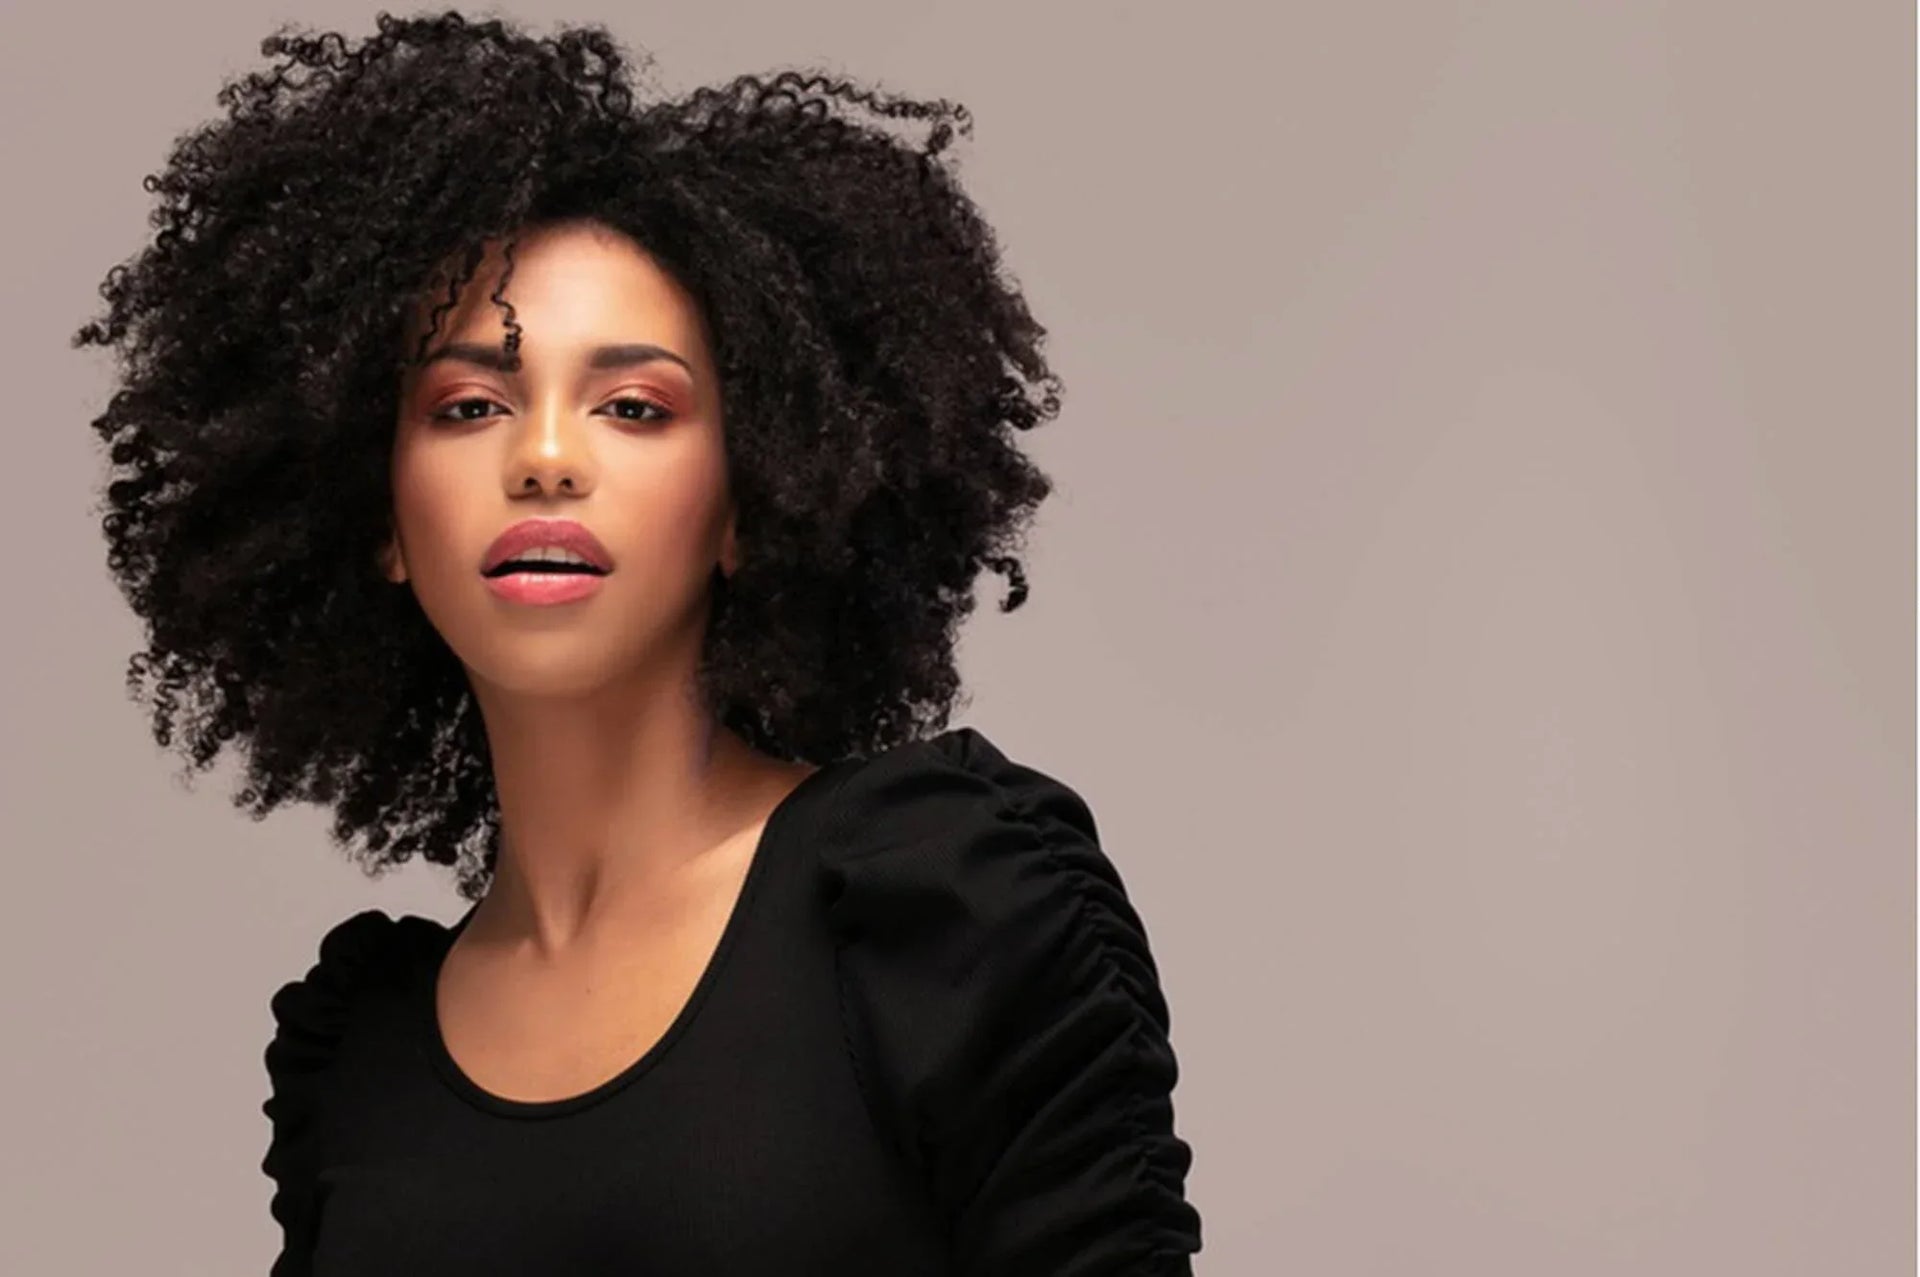
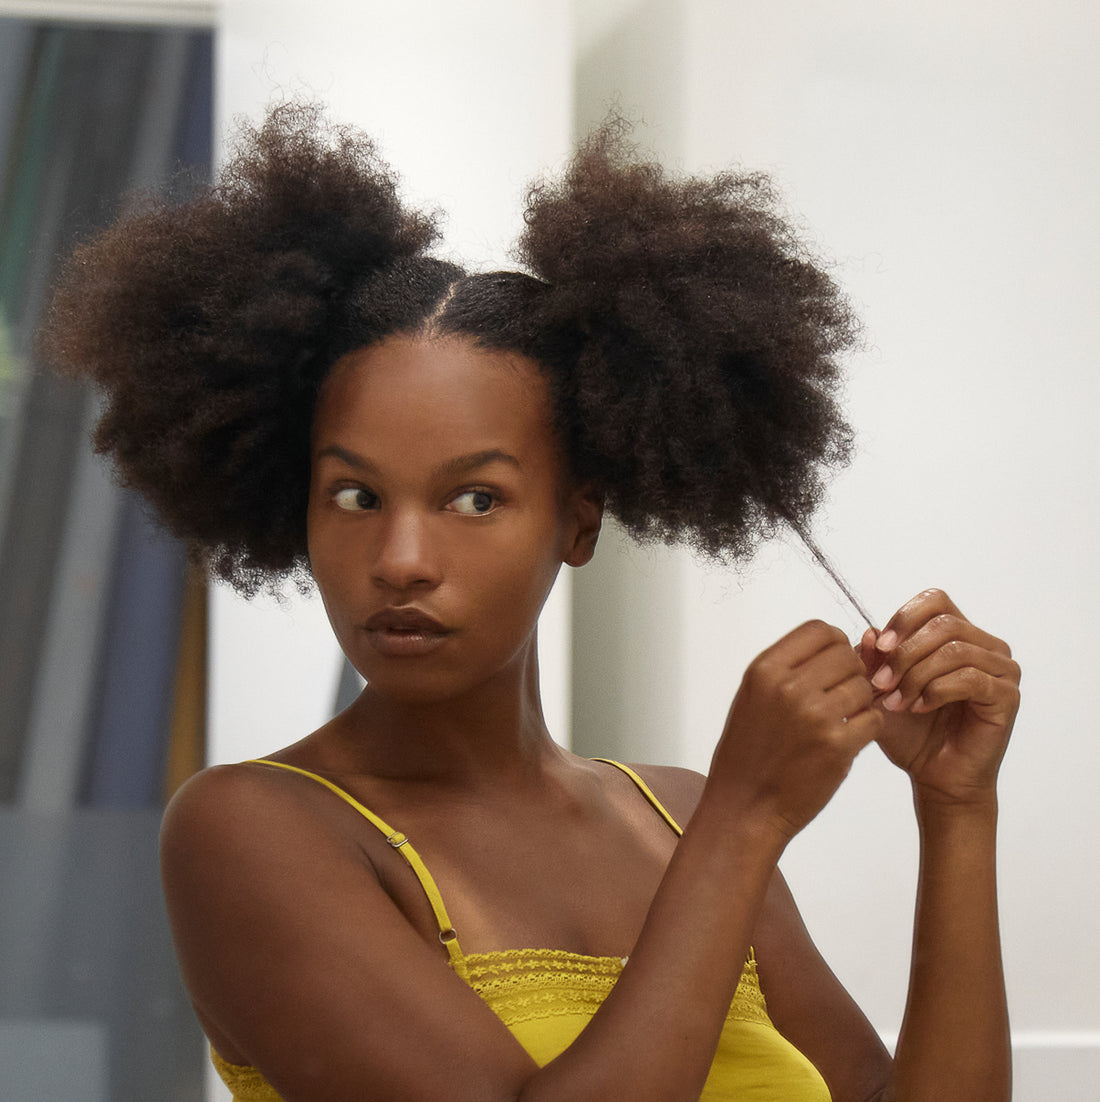
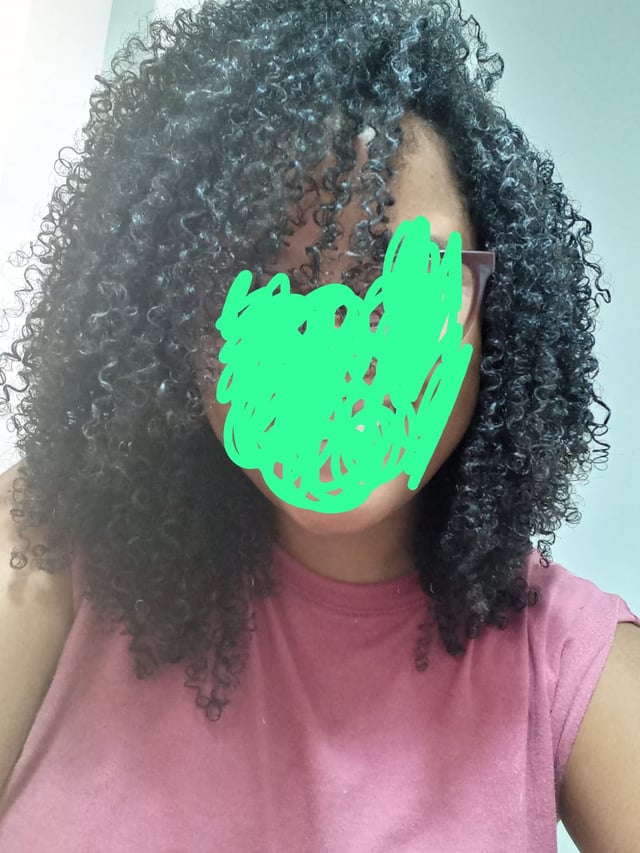
Type 4B hair occupies a unique space in the natural hair world. It is not as loosely coiled as 4A, and it is not as tightly packed as 4C. It sits in the middle with its signature Z-shaped pattern, where strands bend at sharp angles rather than forming round coils. This distinctive pattern gives 4B hair incredible volume and density, but it also creates specific care challenges that many mainstream products simply do not address.
Finding the right products for 4B hair can feel like a never-ending experiment. Products that work beautifully on 4A hair might be too light. Products designed for 4C hair might be too heavy. 4B hair needs its own sweet spot: enough moisture to keep the Z-bends flexible and hydrated, enough hold to define the curl pattern without crunch, and enough oil to seal without weigh-down. It is a balance, and once you find it, everything changes.
This guide is dedicated entirely to 4B hair. Every product recommendation, every technique, and every piece of advice is specific to the unique needs of your Z-pattern coils. We have researched and compiled the best products available in 2026 across every category, from cleansers to sealants, to help you build a routine that keeps your 4B hair moisturized, defined, and thriving.
Understanding 4B Hair: What Makes It Unique
Before you can choose the right products, you need to understand what makes 4B hair different from other type 4 textures.
The Z-Pattern
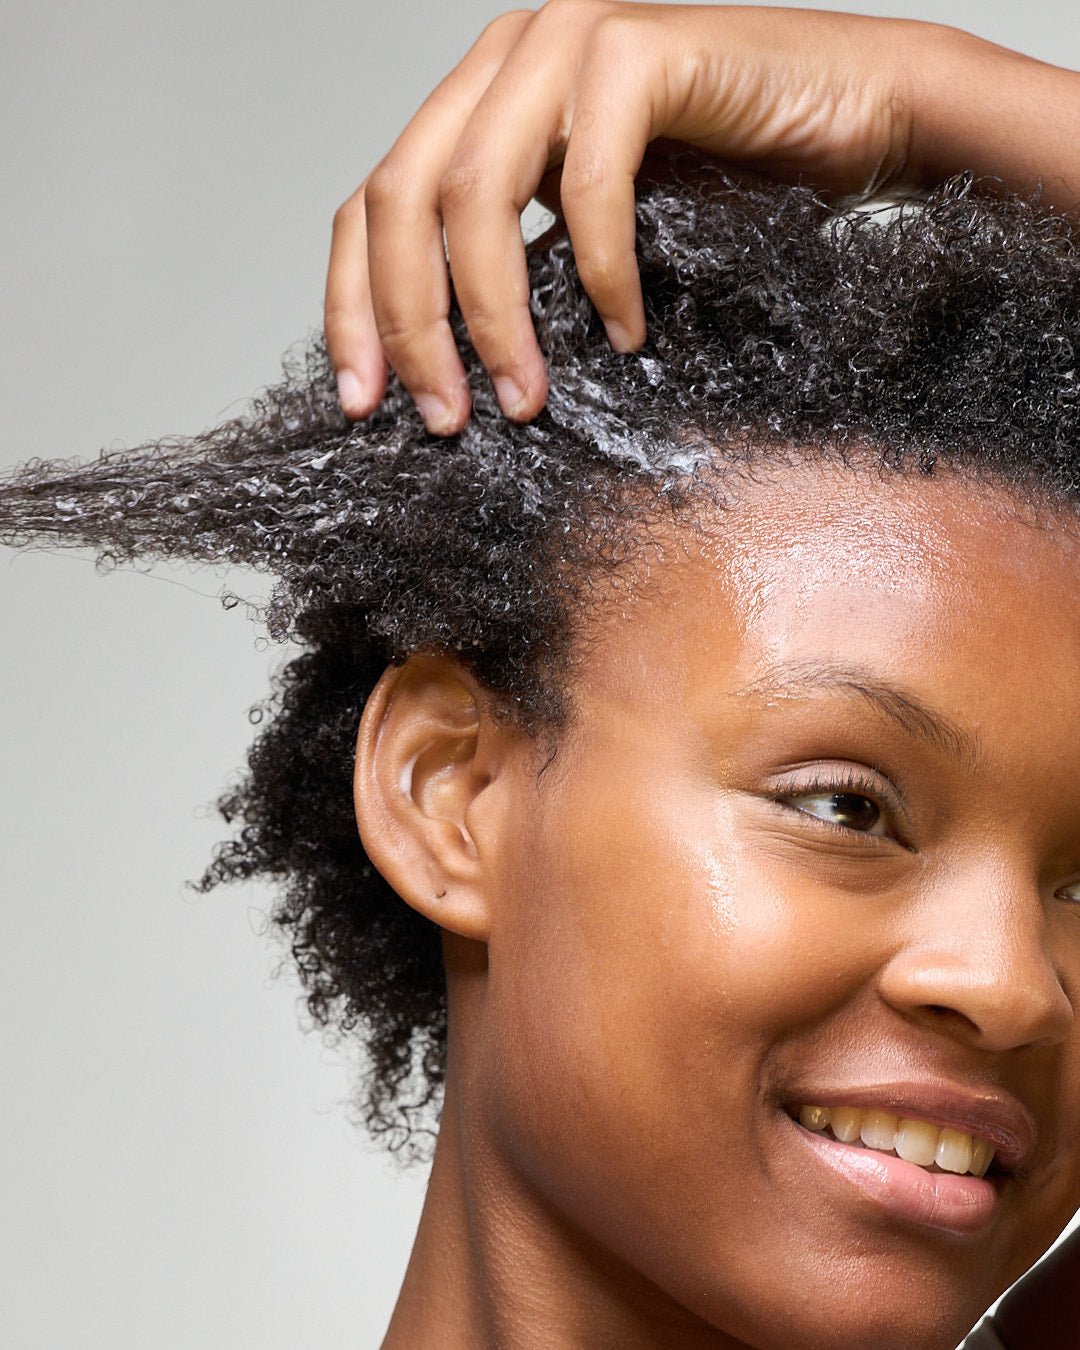
While 4A hair forms clearly defined S-shaped coils and 4C hair has a very tight, less defined coil pattern, 4B hair bends at sharp angles in a Z or zigzag pattern. These sharp bends create more fragile points along the hair strand compared to the gradual curves of looser textures. Each bend is a potential breakage point, which is why gentle handling and consistent moisture are non-negotiable for 4B hair health.
Shrinkage

4B hair experiences significant shrinkage, typically appearing 50 to 75 percent shorter than its actual length when dry. This is a natural characteristic of the tight Z-pattern and is not something that needs to be fixed. Understanding shrinkage helps you set realistic expectations for how your hair will look in different styles and conditions, and it helps you appreciate the true length and growth you are achieving even when it does not look as long as it actually is.
Density and Volume
4B hair tends to be dense, with many strands packed closely together. This density creates gorgeous volume but also means that products need to penetrate through thick sections to reach every strand. Surface application is rarely sufficient for 4B hair, which is why sectioning during product application is so important.
Moisture Retention

Like all type 4 textures, 4B hair struggles with moisture retention. The Z-bends in each strand create points where the cuticle lifts, allowing moisture to escape. Combined with the difficulty of sebum distribution through tight patterns, 4B hair requires regular, intentional moisture application to stay hydrated and flexible.
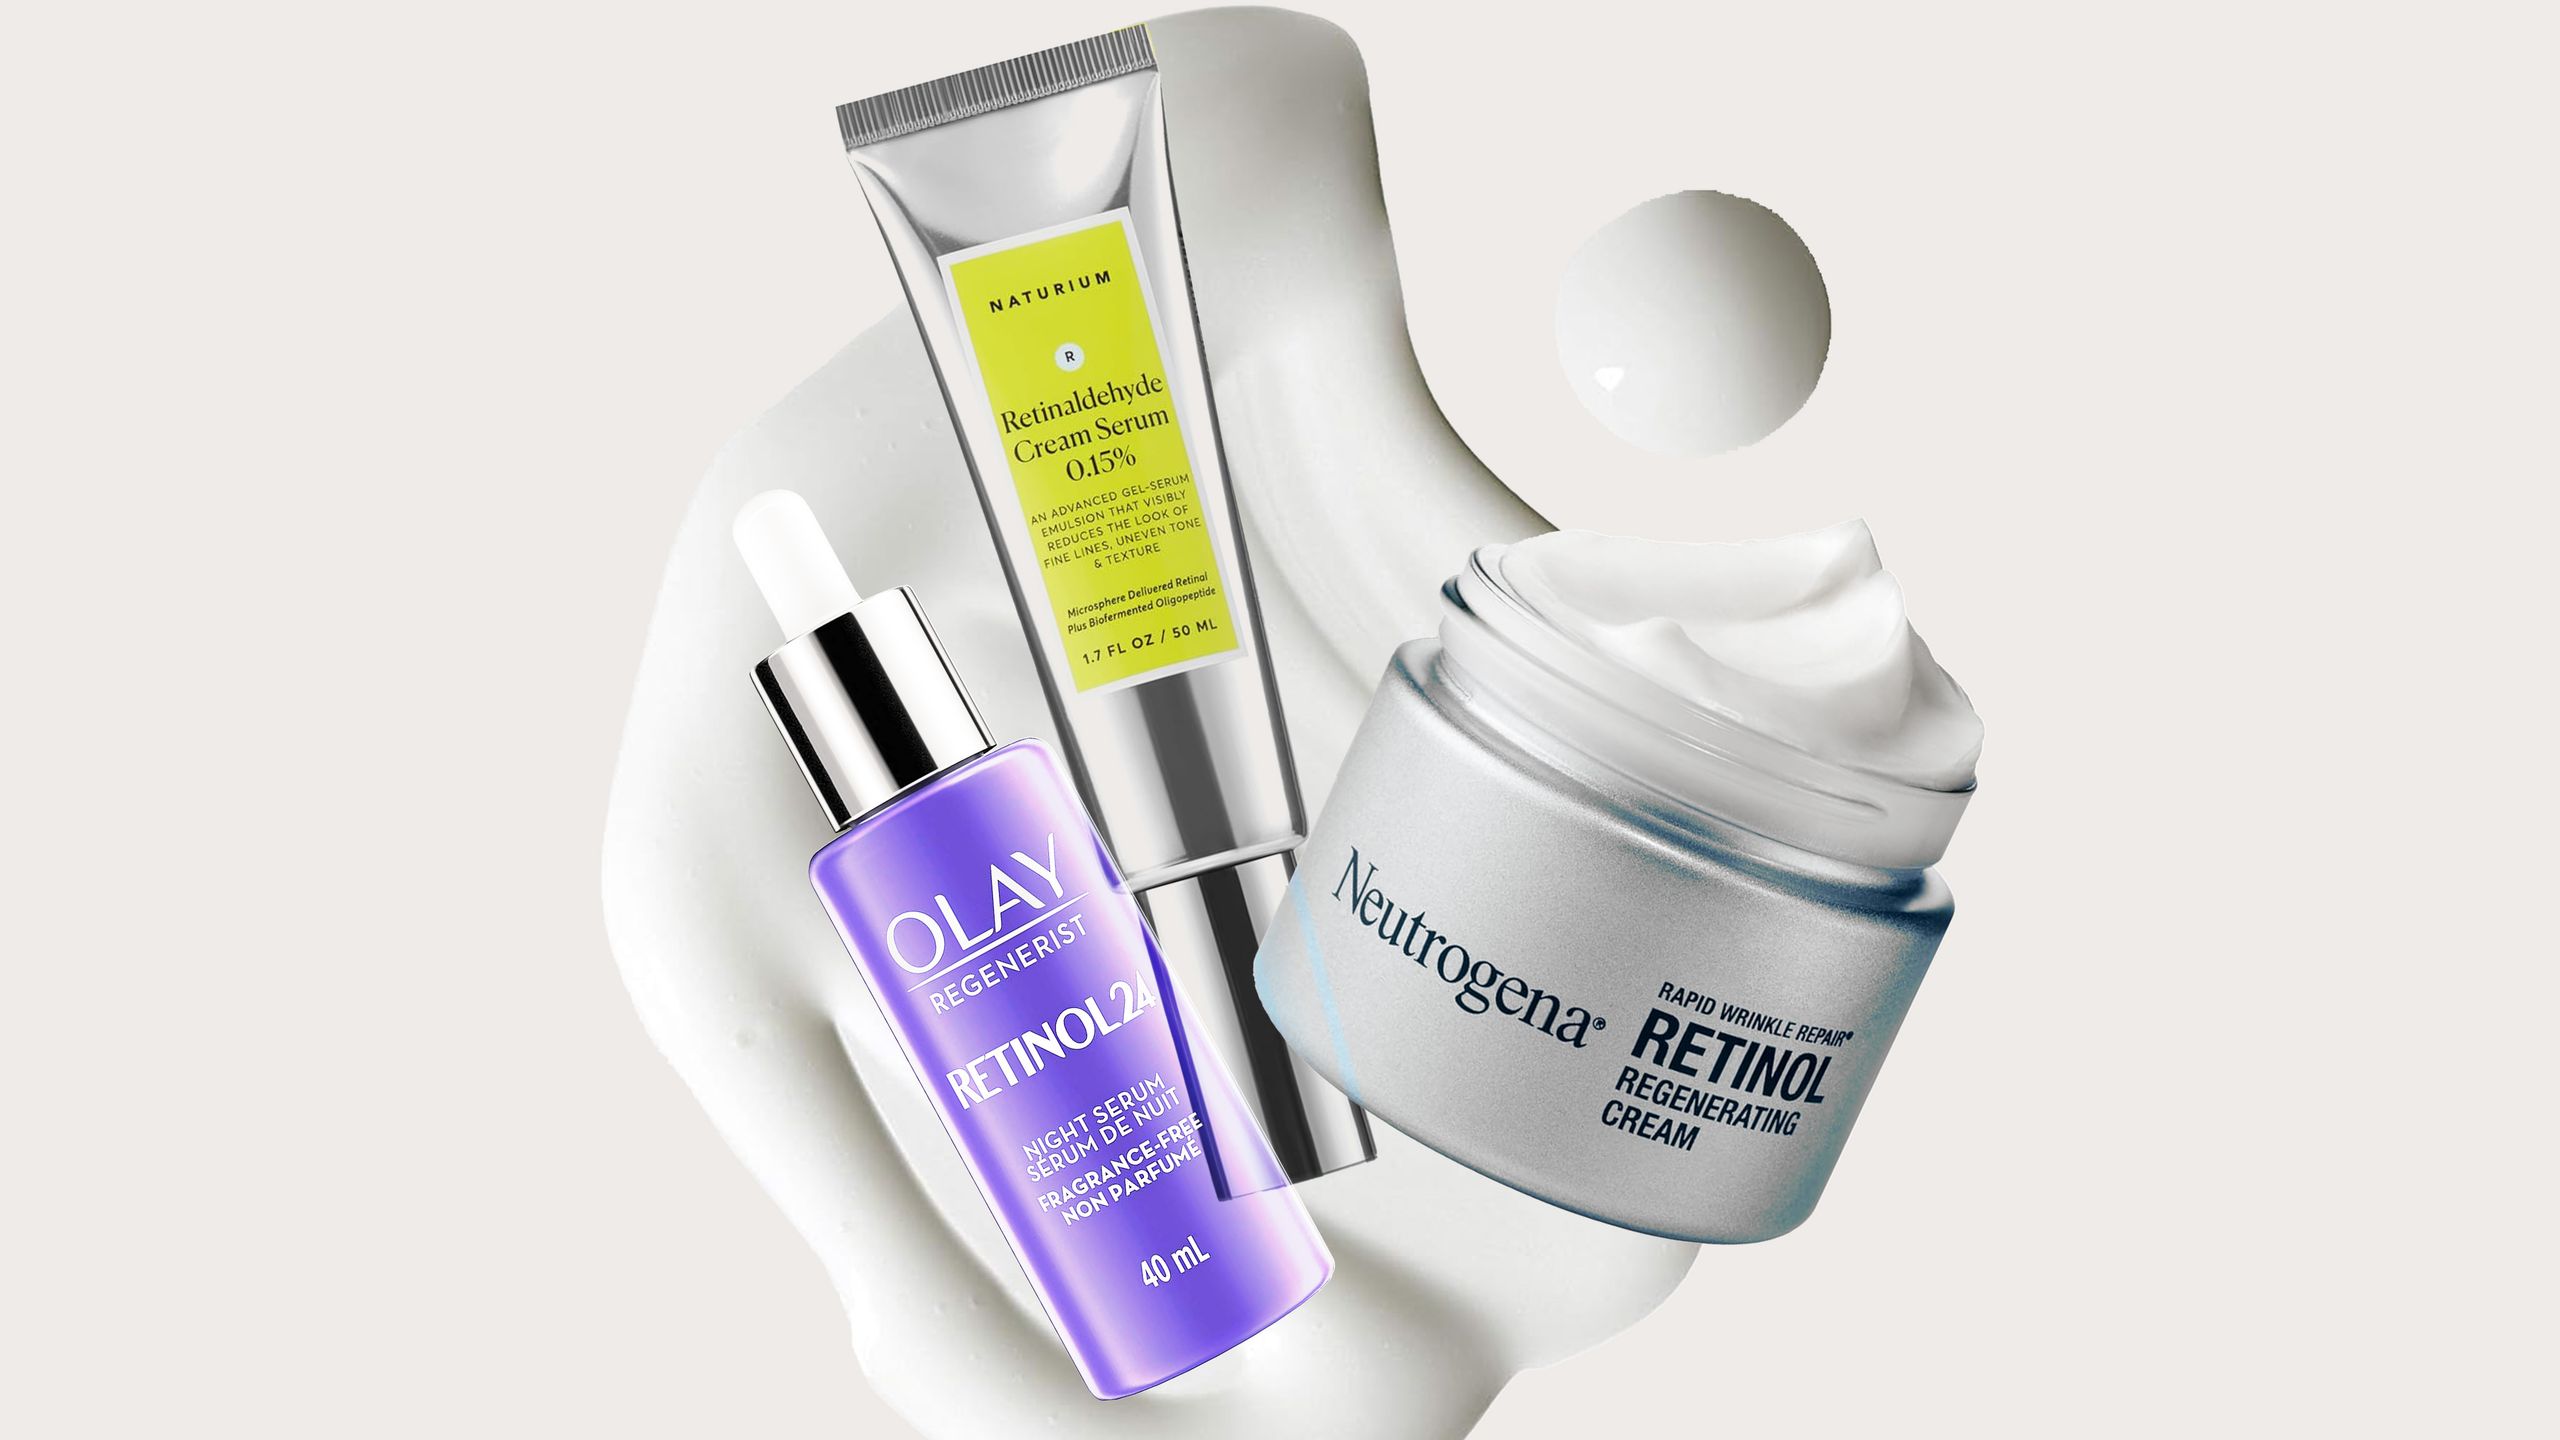
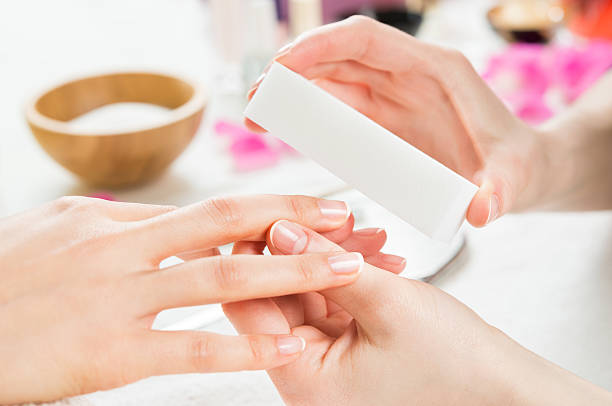
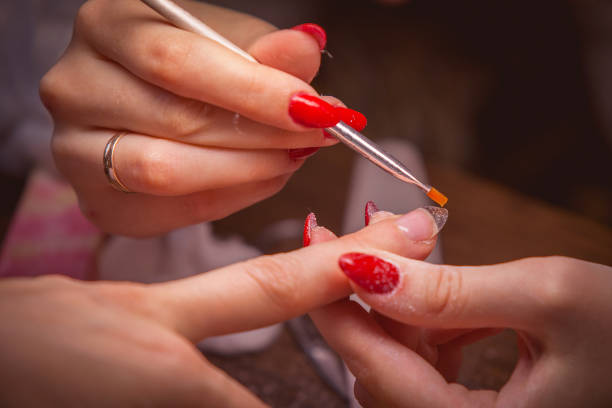
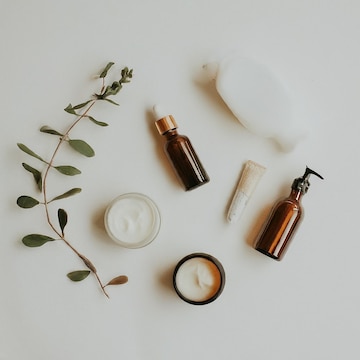
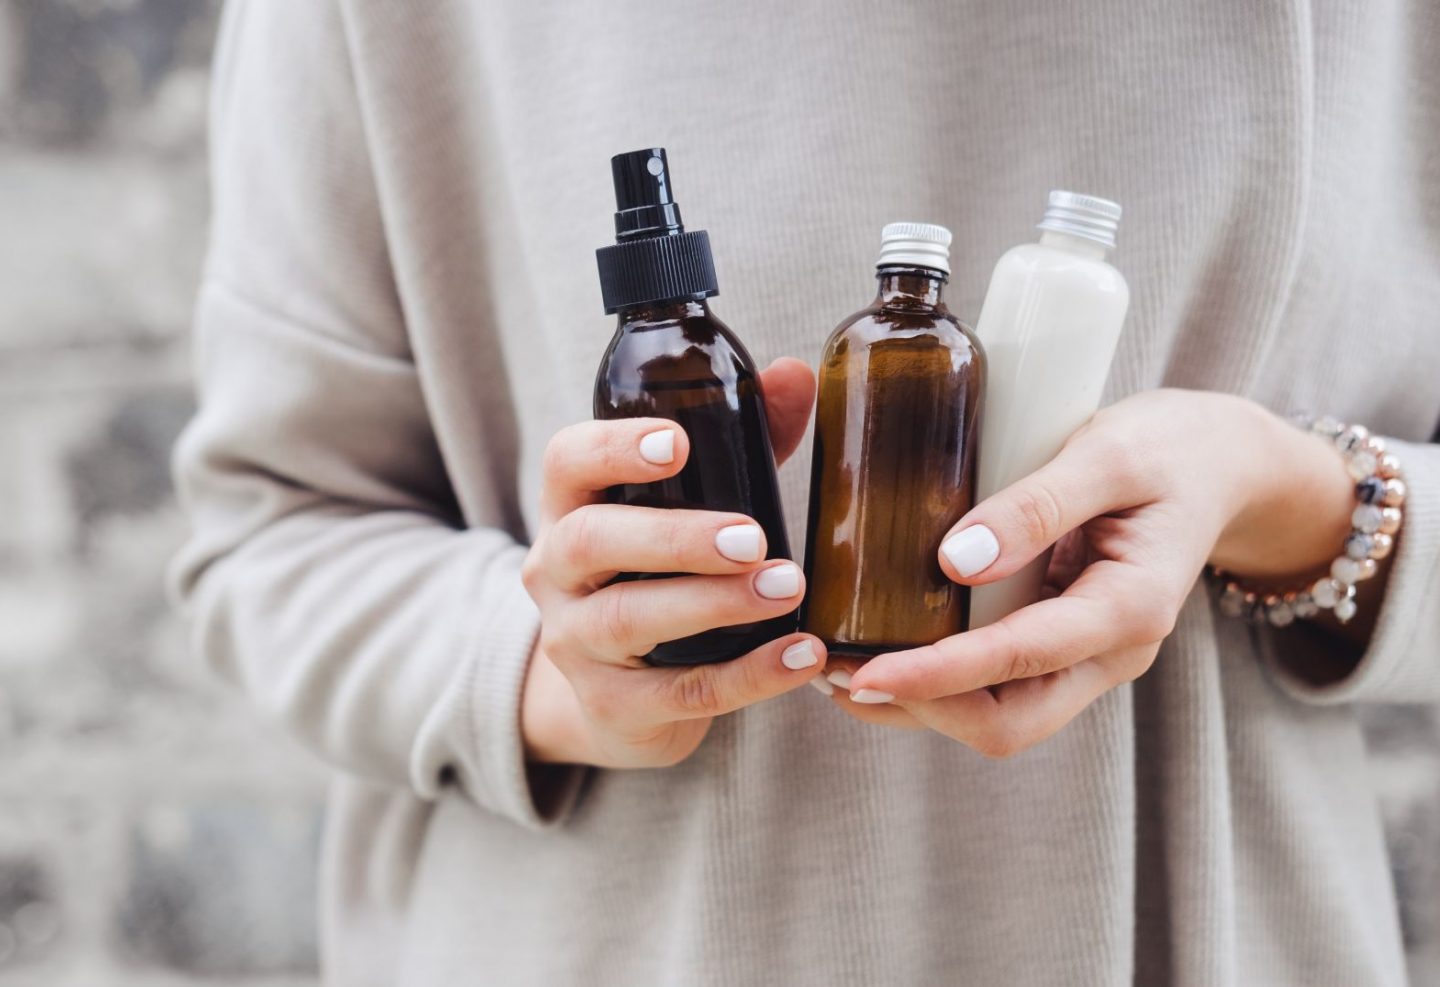
Essential Product Categories for 4B Hair
A complete 4B hair care routine includes products from six categories, each serving a specific purpose in maintaining moisture, strength, and definition.
Cleansers remove buildup without stripping natural moisture. Deep conditioners provide intensive moisture and protein treatments. Leave-in conditioners maintain daily hydration. Styling creams define curls and provide hold. Oils seal moisture and add shine. Gels provide additional definition and hold for specific styles. Not every wash day requires all six categories, but having quality options in each ensures you can address whatever your hair needs at any given time.
Best Shampoos and Cleansers for 4B Hair
Best Sulfate-Free Shampoo: As I Am Coconut CoWash
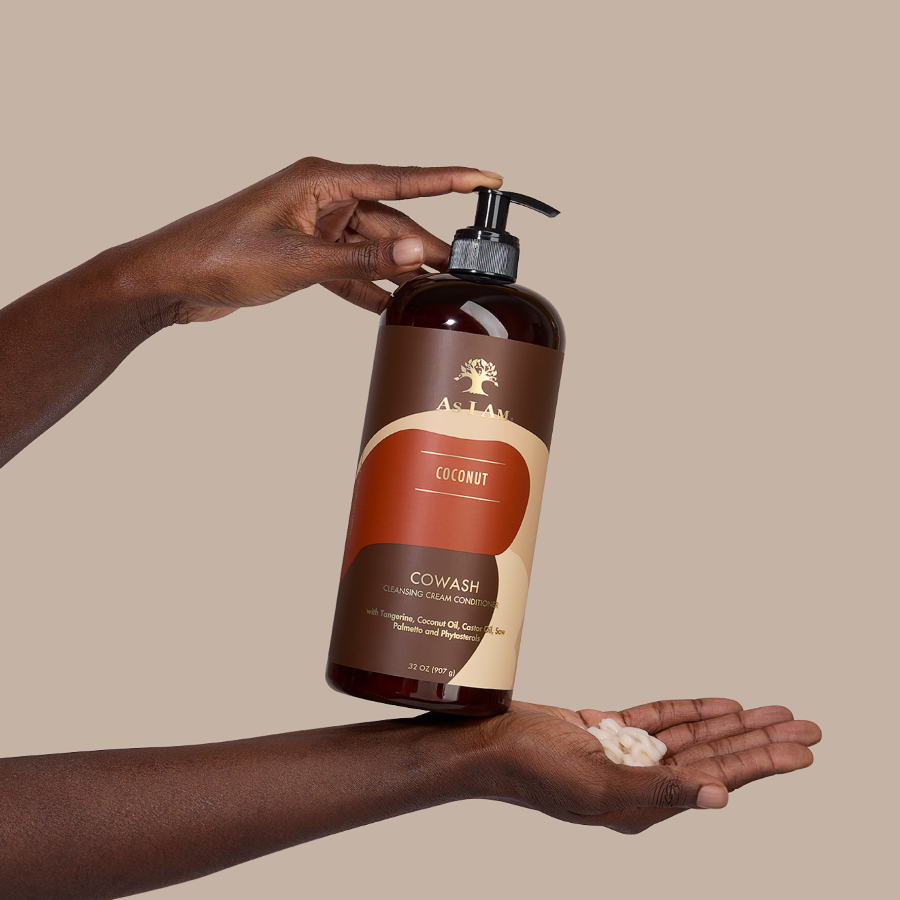
As I Am Coconut CoWash is a cleansing conditioner that removes buildup without the stripping effect of traditional shampoo. For 4B hair that tends toward dryness, co-washing between shampoo sessions helps maintain moisture while keeping the scalp clean. The coconut and tangerine formula has a pleasant scent and provides enough slip for gentle detangling during the wash process.
Best Clarifying Shampoo: Kinky-Curly Come Clean Shampoo
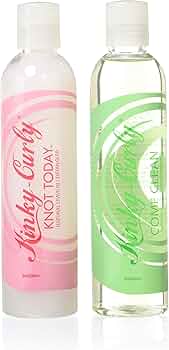
Even with regular co-washing, 4B hair needs periodic clarifying to remove buildup from leave-ins, oils, and creams. Kinky-Curly Come Clean provides a thorough cleanse without harsh sulfates, using mandarin orange extract and sea kelp to purify the hair and scalp. Use this once a month to reset your hair and improve product absorption.
Best Moisturizing Shampoo: Carol’s Daughter Black Vanilla Moisture and Shine Shampoo
For regular wash days, Carol’s Daughter Black Vanilla shampoo cleanses while adding moisture back into 4B strands. The sulfate-free formula lathers gently and leaves hair feeling soft rather than stripped. The vanilla and sweet almond oil formula also smells incredible, making wash day a genuinely pleasant experience.
Best Deep Conditioners and Treatments
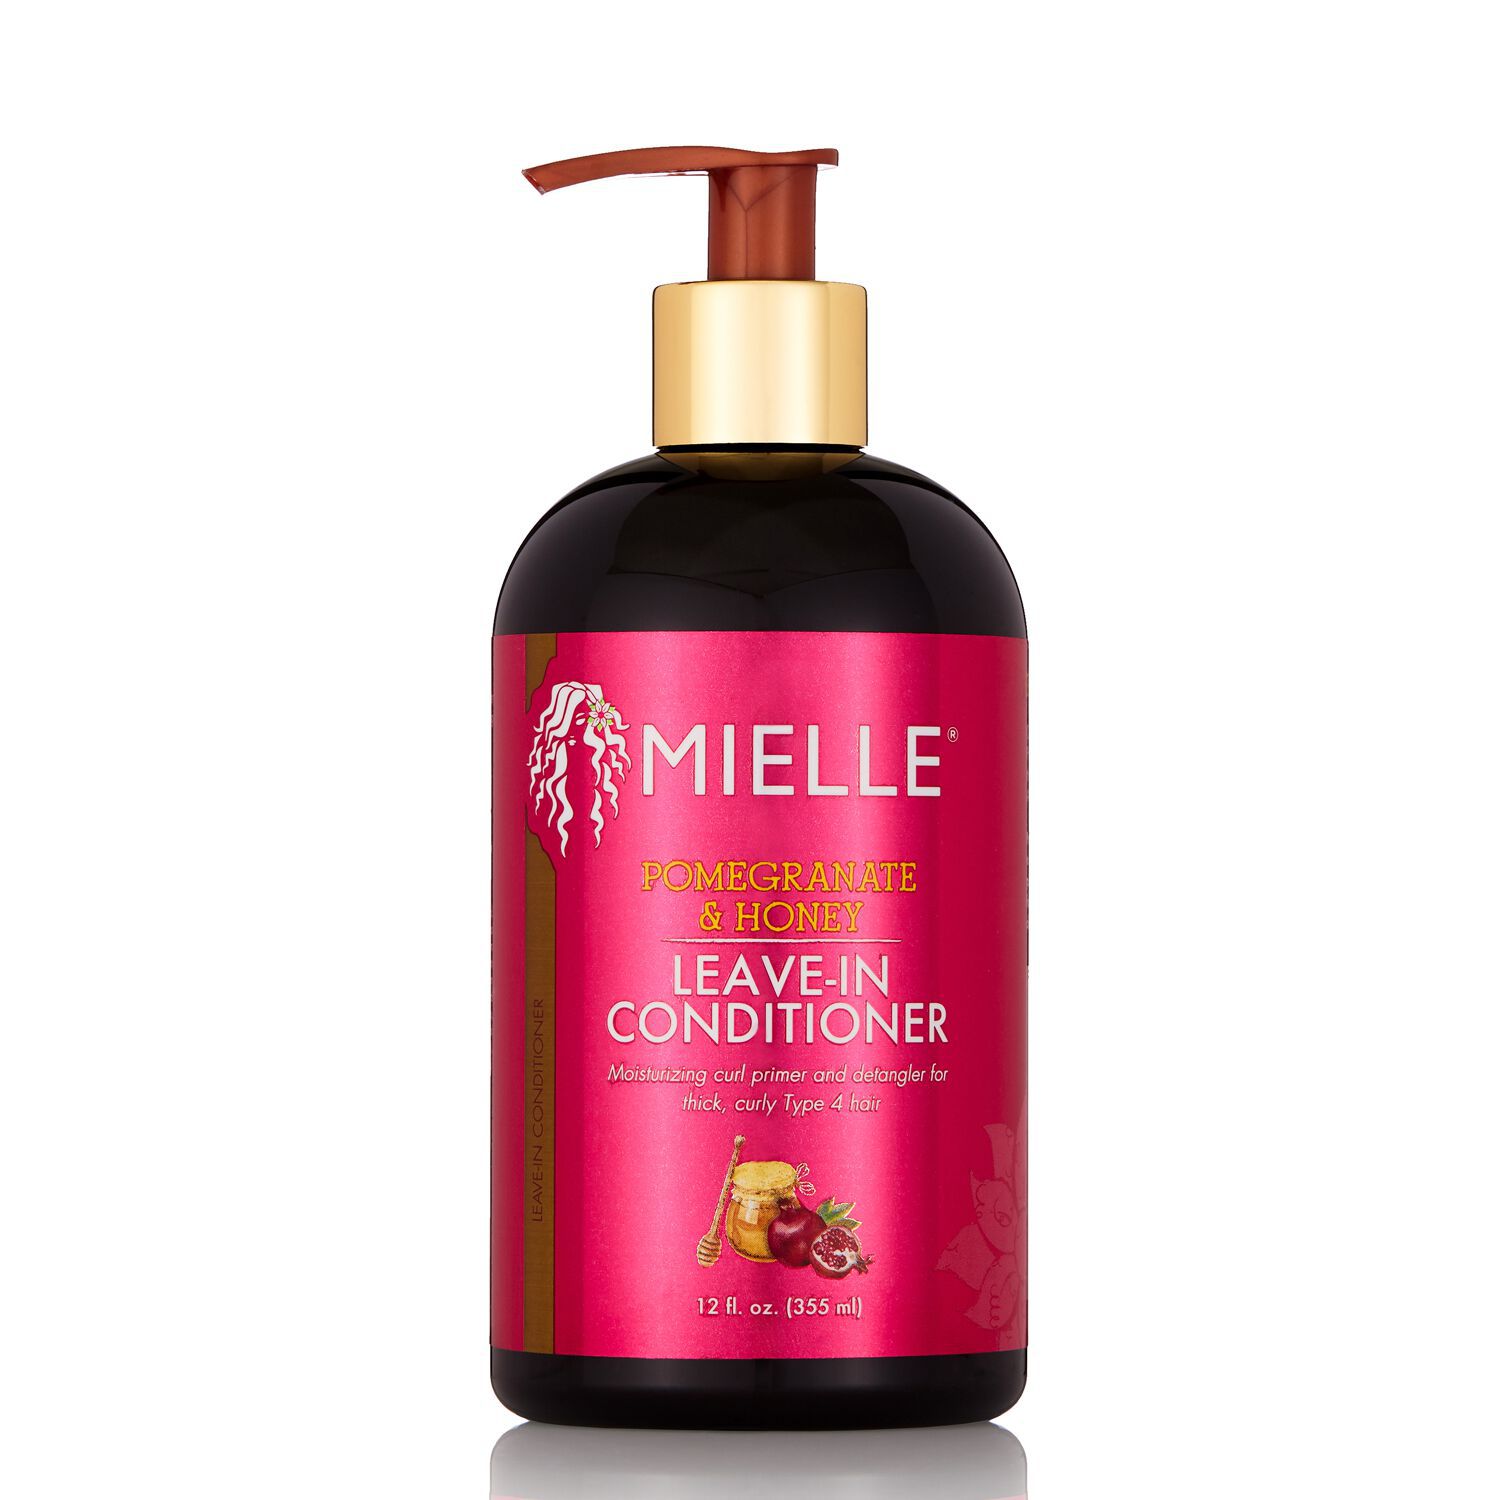
Best Moisture Treatment: Mielle Organics Babassu Oil and Mint Deep Conditioner
Mielle’s Babassu Oil and Mint deep conditioner provides intense hydration with a cooling mint sensation that feels refreshing on the scalp. For 4B hair that is chronically dry, this deep conditioner penetrates the tight Z-pattern to deliver moisture deep into the strand. Use with a heat cap for 20 to 30 minutes for maximum absorption.
Best Protein Treatment: Aphogee Two-Step Protein Treatment
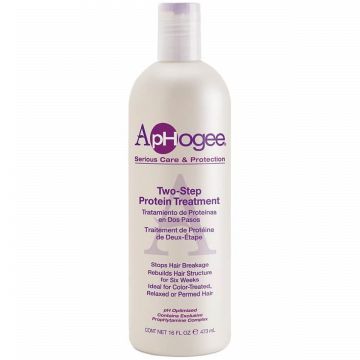
When your 4B hair feels mushy, overly elastic, or breaks easily when stretched, it needs protein. Aphogee’s Two-Step treatment is the gold standard for rebuilding protein bonds in damaged hair. Use this treatment every six to eight weeks to maintain the moisture-protein balance that keeps 4B hair strong and resilient. Follow with a moisturizing deep conditioner to prevent protein overload.
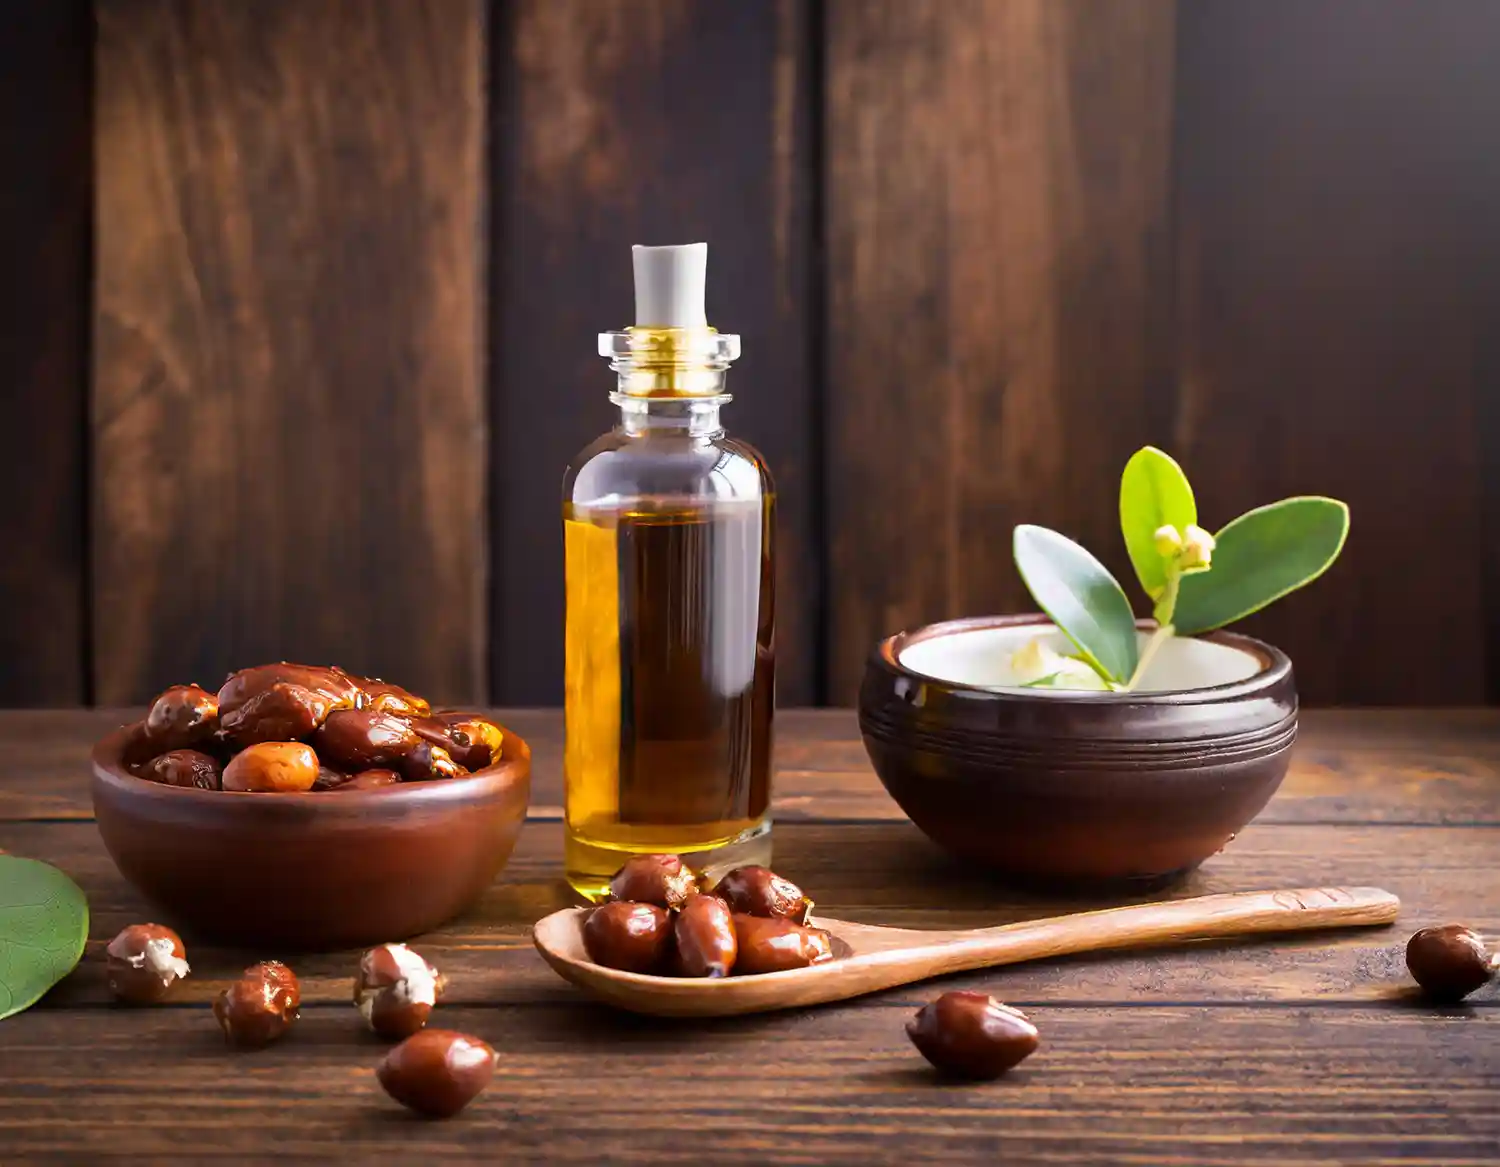
Best Hot Oil Treatment: Jamaican Mango and Lime Black Castor Oil
A warm oil treatment once a month provides deep nourishment for 4B strands. Jamaican Black Castor Oil is particularly beneficial for 4B hair because it strengthens the shaft, promotes growth, and seals moisture effectively. Warm the oil slightly, apply to damp hair in sections, cover with a plastic cap, and leave on for 30 minutes before shampooing.
Best Leave-In Conditioners and Moisturizers
Best Leave-In: SheaMoisture Coconut and Hibiscus Curl and Shine Conditioner
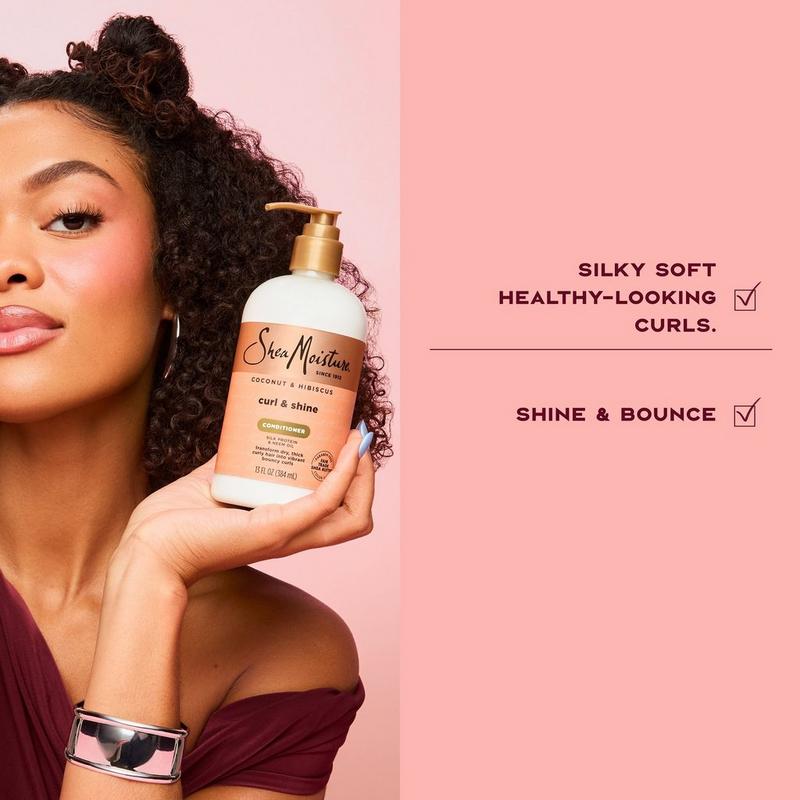
This SheaMoisture leave-in provides excellent moisture and slip for 4B hair. The coconut oil and silk protein formula strengthens while hydrating, and the consistency is light enough to absorb without weighing down your coils. Apply to soaking wet hair in sections and follow with your preferred sealant for best results.
Best Daily Moisturizer: Oyin Handmade Hair Dew
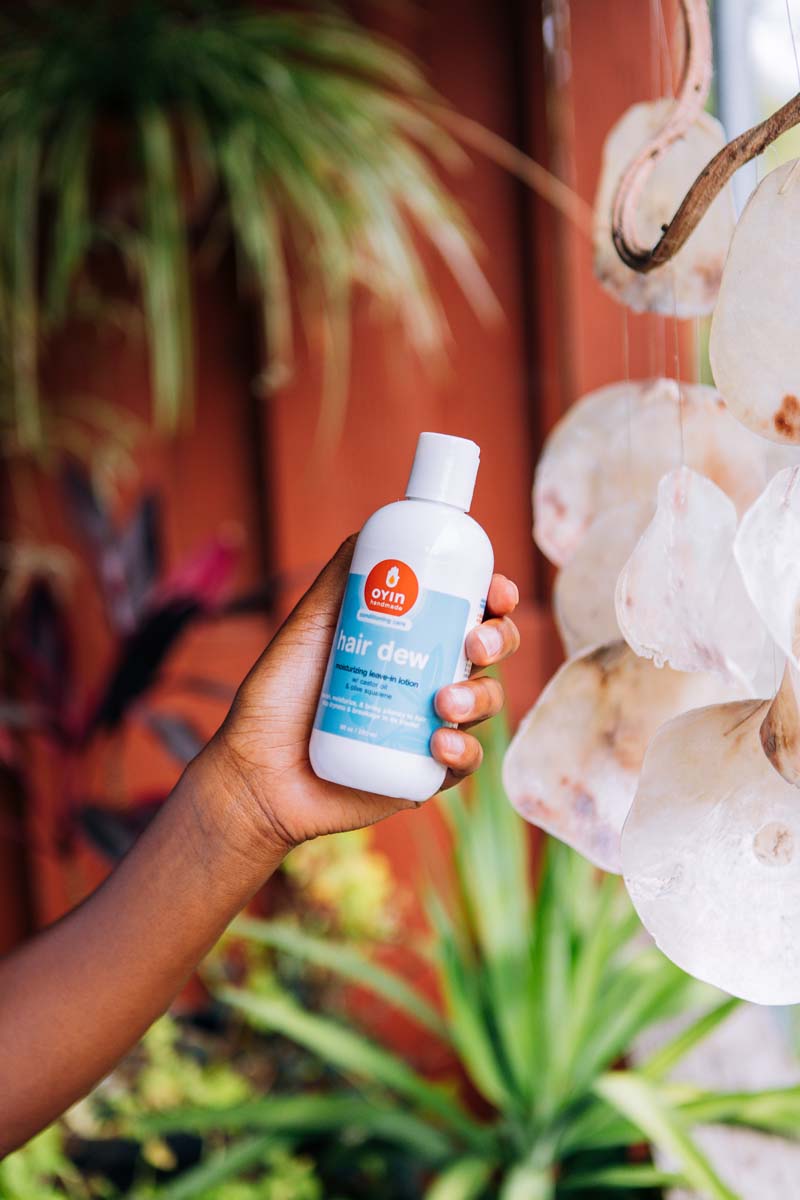
For mid-week moisture refreshing, Oyin Handmade Hair Dew is a lightweight daily moisturizer that rehydrates 4B hair without buildup. The water-based formula penetrates quickly and can be applied to dry hair with a light misting of water. Use this between wash days when your hair starts feeling dry to extend your moisture from wash day.
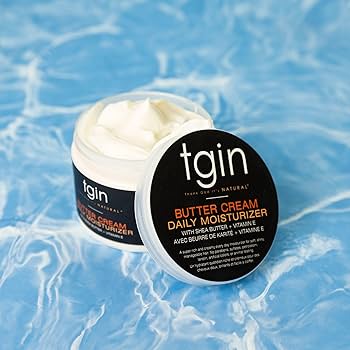
Best Cream Moisturizer: Karen’s Body Beautiful Sweet Ambrosia Leave-In Conditioner
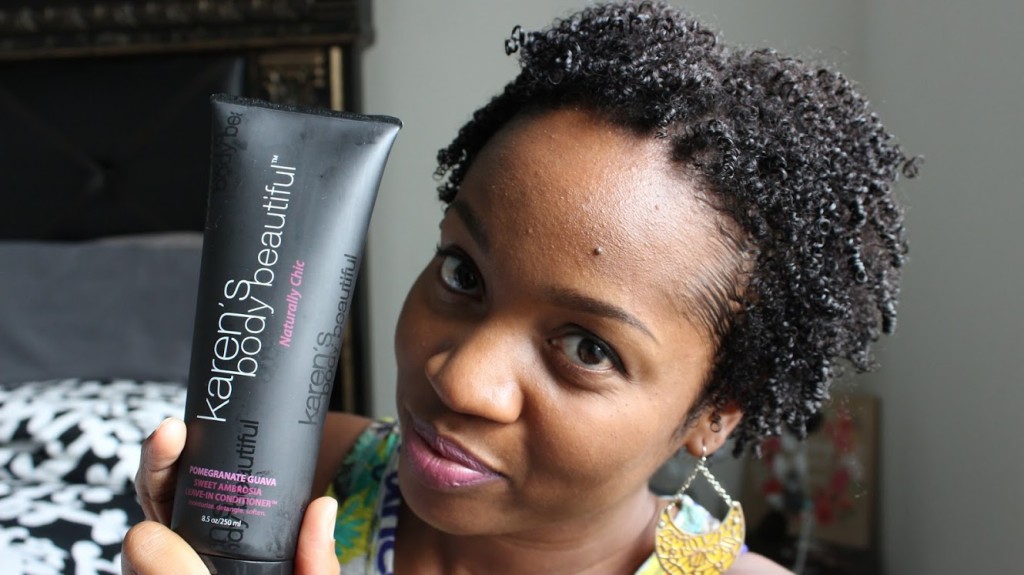
This cream-based leave-in conditioner provides lasting moisture with a formula that was designed specifically for textured hair. The sweet ambrosia scent is light and pleasant, and the cream absorbs without leaving a heavy residue. It works particularly well on 4B hair because it provides enough moisture for the sharp Z-bends without weighing down the overall texture.
Best Styling Creams for Curl Definition
Best for Twist-Outs: SheaMoisture Coconut and Hibiscus Curl Enhancing Smoothie

The SheaMoisture Curl Enhancing Smoothie is a classic for 4B twist-outs and braid-outs. The thick, creamy formula coats each strand with moisture and defines the Z-pattern into visible curls when used with twisting or braiding techniques. Apply a generous amount to each twist section for maximum definition and hold that lasts several days.
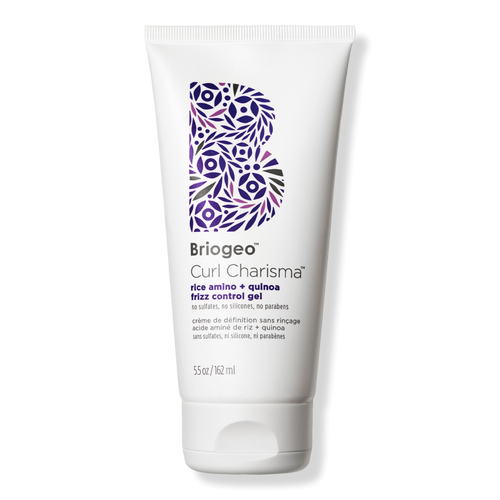
Best for Wash-and-Go: Ecostyler Olive Oil Gel
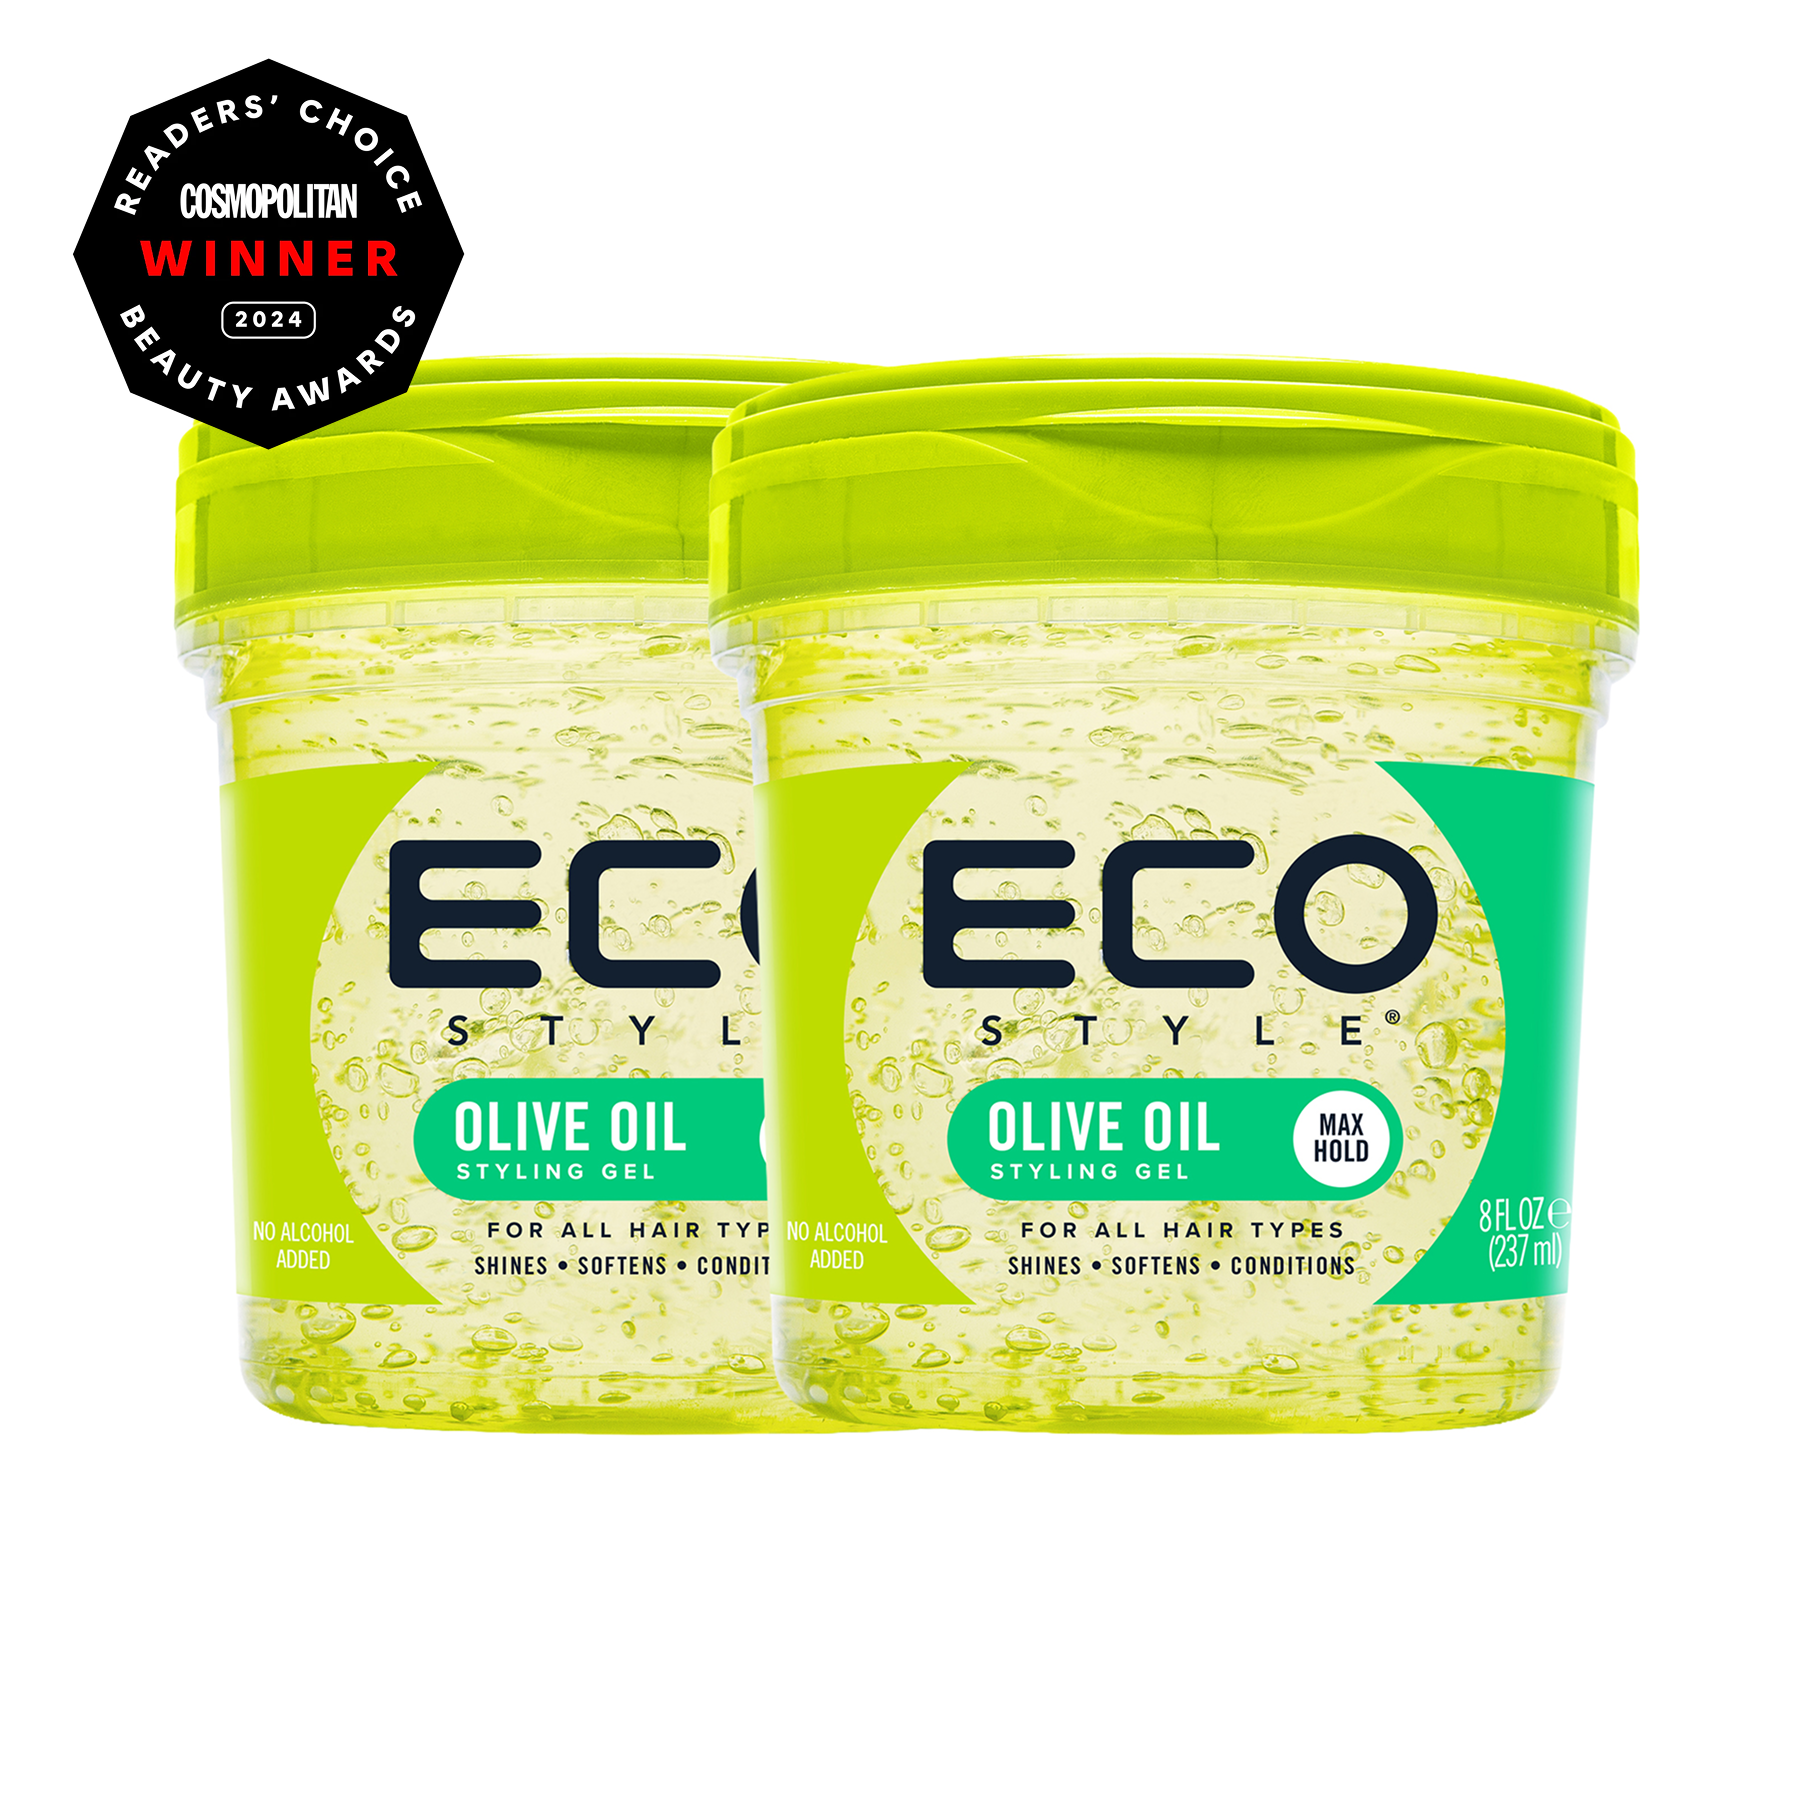
While not a cream, Ecostyler gel is essential for 4B women who want defined curls from a wash-and-go. Apply over your leave-in conditioner using the praying hands method or shingling technique for maximum curl clumping and definition. The olive oil formula provides hold without flaking, and the curl definition improves as you experiment with application amount and technique.
Best Butter-Based Styler: Cantu Shea Butter for Natural Hair Coconut Curling Cream
For a softer, less defined look, Cantu’s Coconut Curling Cream provides moisture and light definition with a touchably soft finish. This is the styling cream for women who want their 4B curls to look and feel soft and natural rather than defined and set. It works well for second-day refresh styles and for achieving a fluffy, voluminous look.
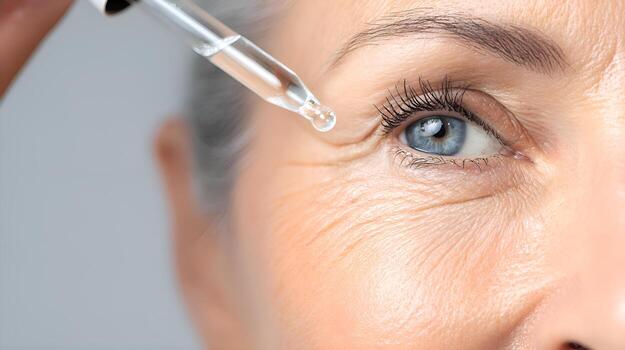
Best Oils for Sealing and Growth
Best Sealing Oil: Jojoba Oil
Jojoba oil is the closest natural oil to the sebum your scalp produces, making it an ideal sealant for 4B hair. It absorbs well without feeling greasy, provides a natural shine, and does not clog pores or follicles. Use a few drops after your leave-in conditioner to seal moisture into each section. Pure cold-pressed jojoba oil is affordable and widely available.
Best for Growth: Jamaican Black Castor Oil
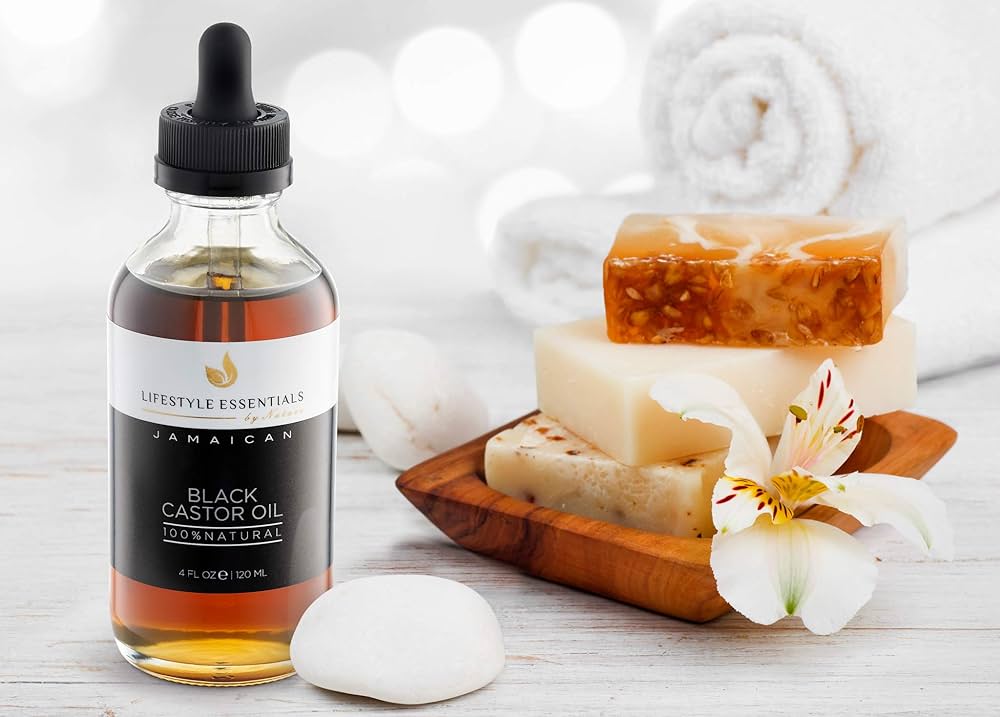
Jamaican Black Castor Oil has been used for generations to promote hair growth and thickness. For 4B hair, apply a small amount to your scalp twice a week, massaging in circular motions to stimulate blood flow to the follicles. The thick consistency also makes it an excellent sealant for ends, which are the oldest and driest part of your hair.
Best Lightweight Oil: Grapeseed Oil
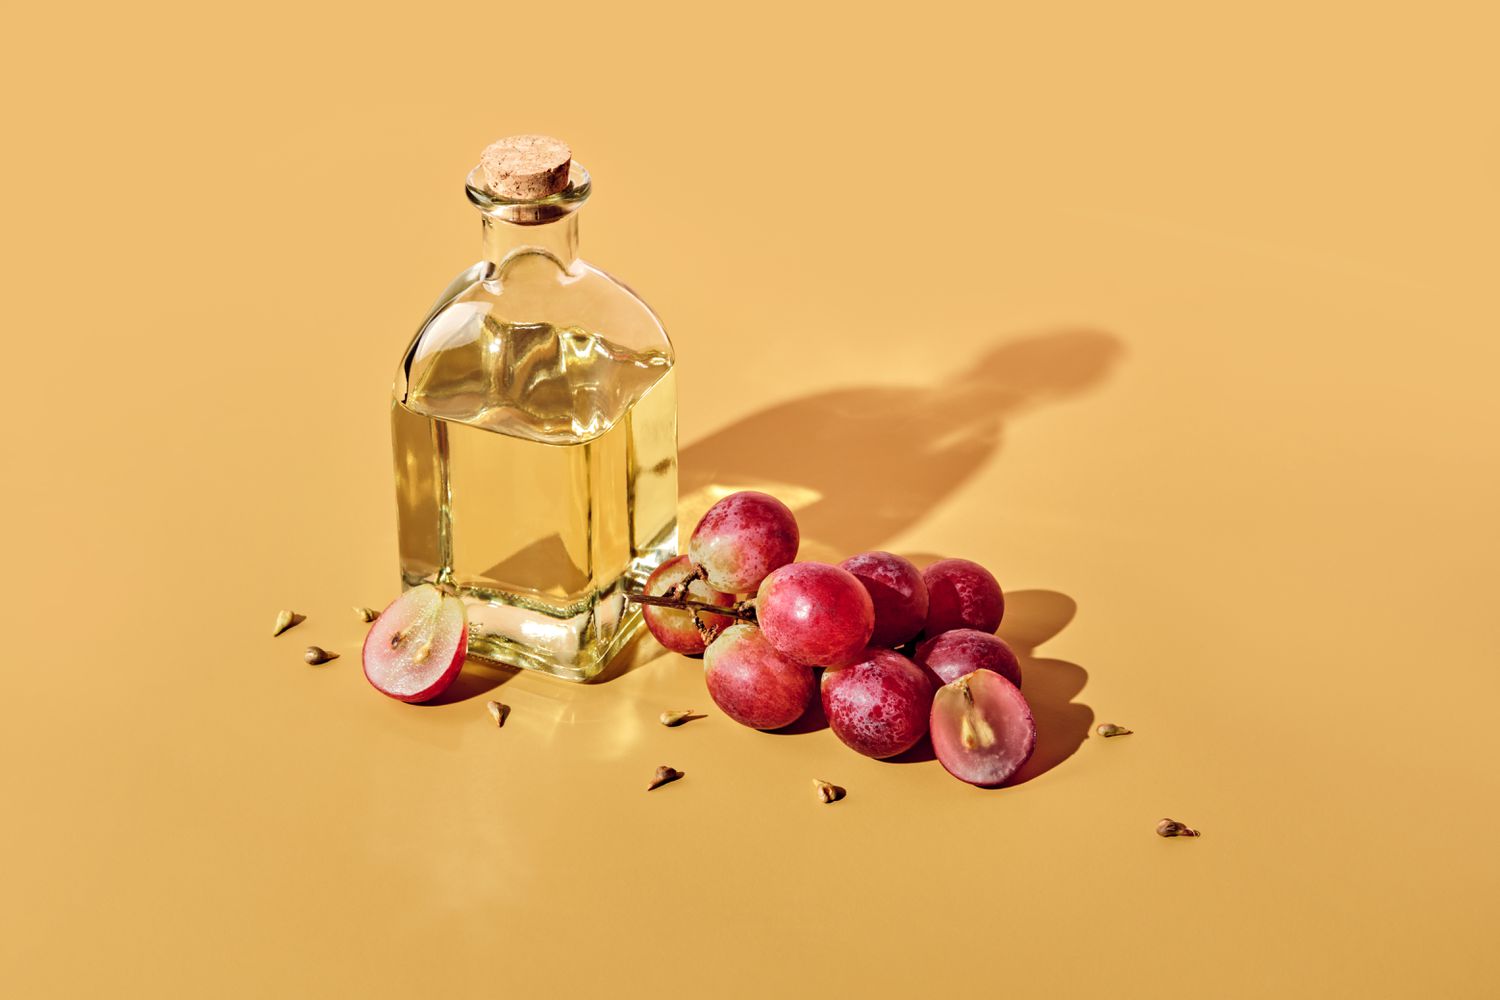
For 4B hair that gets weighed down by heavier oils, grapeseed oil provides moisture-sealing benefits with a feather-light consistency. It is rich in vitamin E and linoleic acid, which strengthen the hair strand and reduce breakage. Grapeseed oil is particularly good for fine 4B hair that needs sealing without heaviness.
Best Multi-Purpose Oil: Argan Oil

Argan oil works as a sealant, a shine enhancer, and a heat protectant all in one. Its medium weight works well on most 4B hair densities, and its high vitamin E content nourishes the hair shaft. A small amount applied to styled hair adds shine and helps combat frizz for a polished finish.
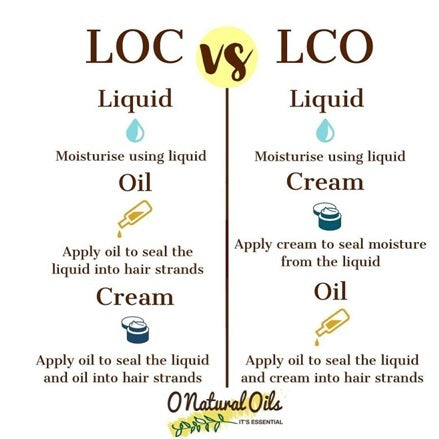
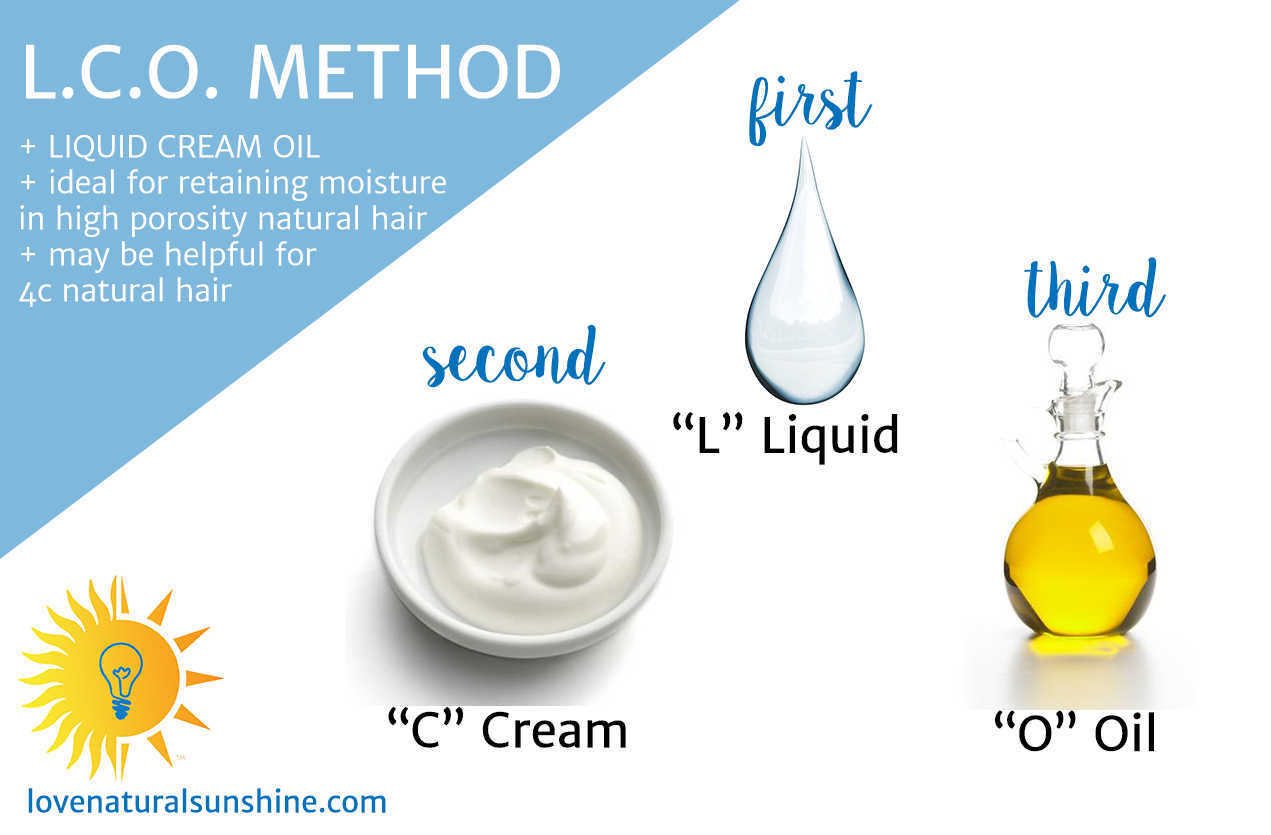
The LOC Method Customized for 4B Hair
The LOC method, which stands for Liquid, Oil, Cream, is a layered moisture approach that works exceptionally well for 4B hair. Here is how to customize it for your specific texture.
Step One: Liquid

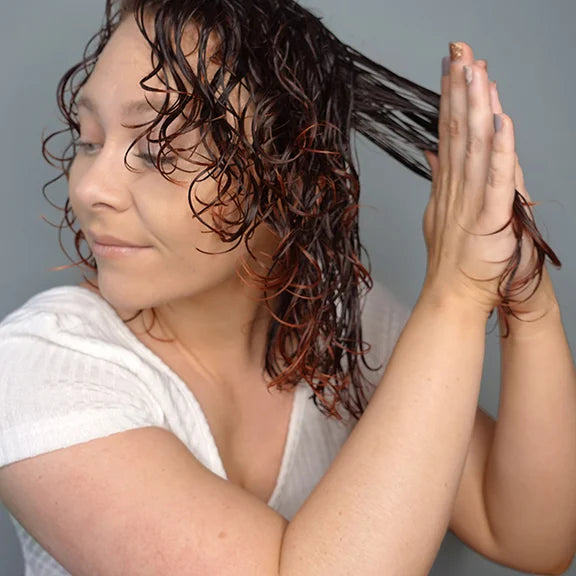
Start with soaking wet hair or heavily mist dry hair with water. Water is the foundation of moisture for 4B hair. Some women add a small amount of leave-in conditioner to their spray bottle for added hydration in this step. Ensure every section is thoroughly dampened.
Step Two: Oil
Apply a light-to-medium weight oil to each section. For 4B hair, jojoba or sweet almond oil works well in this step. The oil begins sealing the water into the hair shaft. Use a few drops per section and distribute with your fingers or a wide-tooth comb.
Step Three: Cream
Follow with a cream-based leave-in conditioner or styling cream. The cream provides an additional moisture barrier over the oil and water, locking everything in. For 4B hair, the cream also helps define the Z-pattern into visible curls when combined with a styling technique like twisting or braiding.
Why This Order Works for 4B
The LOC order is particularly effective for 4B hair because the oil goes on early, sealing water before it can evaporate from the sharp Z-bends. The cream then locks in both the water and oil, creating multiple layers of moisture protection. Many 4B naturals find that this order keeps their hair moisturized one to two days longer than the LCO method.
Styling Tips for 4B Curl Definition
Shingling

Shingling is the technique of applying product to small sections of hair while smoothing each strand between your fingers. For 4B hair, this technique is the most effective way to achieve defined curls from a wash-and-go. It is time-consuming, but the definition it creates is unmatched. Apply gel over your leave-in and oil, then shingle each small section from root to tip.
Finger Coiling

For even more defined curls, wrap small sections of product-coated 4B hair around your finger from root to tip. This creates uniform coils that are more defined than what 4B hair typically achieves on its own. While incredibly time-intensive, the results can last five to seven days with proper nighttime protection.
Twist-Outs

The twist-out is the classic 4B styling technique that combines curl definition with volume. Apply your styling cream generously to each section, two-strand twist from root to tip, and allow to dry completely before unraveling. The key to a great 4B twist-out is using enough product, making your twist sections small enough for your desired definition level, and allowing the twists to dry completely before taking them down.
Key Takeaways
- 4B hair has a unique Z-shaped pattern that requires specific products for moisture, definition, and gentle care.
- The LOC method (Liquid, Oil, Cream) works particularly well for 4B hair to maximize moisture retention.
- SheaMoisture, Mielle Organics, and Carol’s Daughter offer some of the best products for 4B hair in 2026.
- Jojoba oil is the ideal sealing oil for 4B hair because it mimics natural sebum and absorbs without heaviness.
- Clarify monthly to remove buildup that blocks product absorption and moisture penetration.
- Twist-outs, shingling, and finger coiling are the most effective styling techniques for 4B curl definition.
- Always apply products to wet or damp hair in sections to ensure every strand receives moisture and product.
Frequently Asked Questions
What is the difference between 4B and 4C hair?
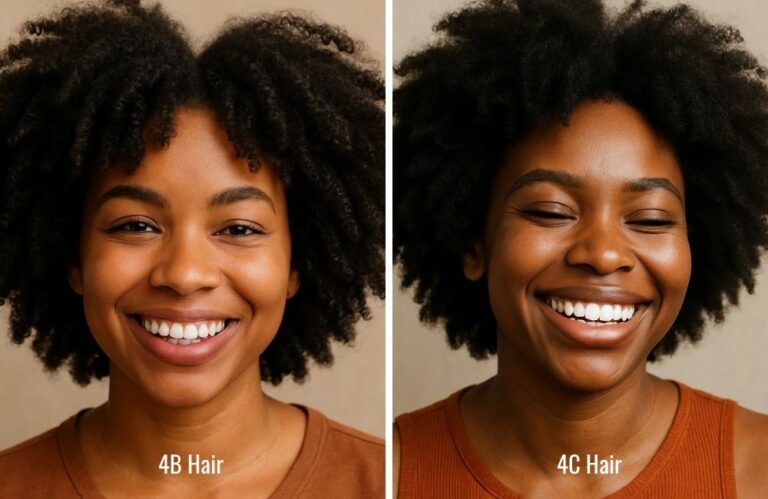
4B hair has a distinct Z-shaped or zigzag pattern with sharp angles between bends. 4C hair has an even tighter coil pattern that may appear to have no defined curl pattern when dry. 4B hair typically shows more visible curl definition than 4C hair when products are applied, and the Z-pattern creates a slightly different texture and volume profile. Many people have a mix of both types across different areas of their head.
How often should I wash 4B hair?
Most 4B naturals do well washing once a week or every ten days. Washing too frequently strips the natural oils that 4B hair desperately needs, while waiting too long leads to buildup that blocks moisture absorption. A co-wash mid-week can help refresh moisture without the full shampooing process. Adjust your wash frequency based on your scalp health, product buildup, and how quickly your hair feels dry.
Why does my 4B hair shrink so much?
Shrinkage is a natural characteristic of the tight Z-pattern. Each sharp bend in the strand causes the hair to compact on itself, appearing much shorter than its stretched length. 4B hair commonly shrinks 50 to 75 percent. Shrinkage is actually a sign of healthy, elastic hair. While stretch methods like banding, twisting, and braiding can elongate your hair for certain styles, embracing shrinkage as part of your hair’s natural beauty is the healthiest mindset.
Can I do a wash-and-go with 4B hair?
Yes, though wash-and-go results on 4B hair typically look different from results on looser curl types. For the best definition, use the shingling technique with a strong-hold gel over your leave-in conditioner and oil. Make your sections very small for maximum definition. 4B wash-and-go styles tend to have a more fluffy, voluminous appearance than the uniform curl clumps that looser textures achieve, and that look is beautiful in its own right.